There is genuinely no cake on earth that creates more immediate joy than a Funfetti cake. You cut into it, the colorful sprinkles appear throughout the white crumb, and every person at the table — regardless of age — immediately looks a little happier. I have made this Funfetti cake recipe homemade for birthdays, Tuesdays, and once just because someone had a bad week. It works every single time.
The store-bought box version is fine. But this easy Funfetti cake from scratch is in a completely different league — softer, more vanilla-forward, with a tender crumb that holds the sprinkles perfectly without bleeding color everywhere. Once you make this version, the box stays on the shelf permanently.
Servings: 12 to 16 slices Prep Time: 20 minutes Bake Time: 28 to 32 minutes per layer Decorating Time: 30 minutes Total Time: Approximately 2 hours (including cooling)
What You Need — The Complete Ingredients List
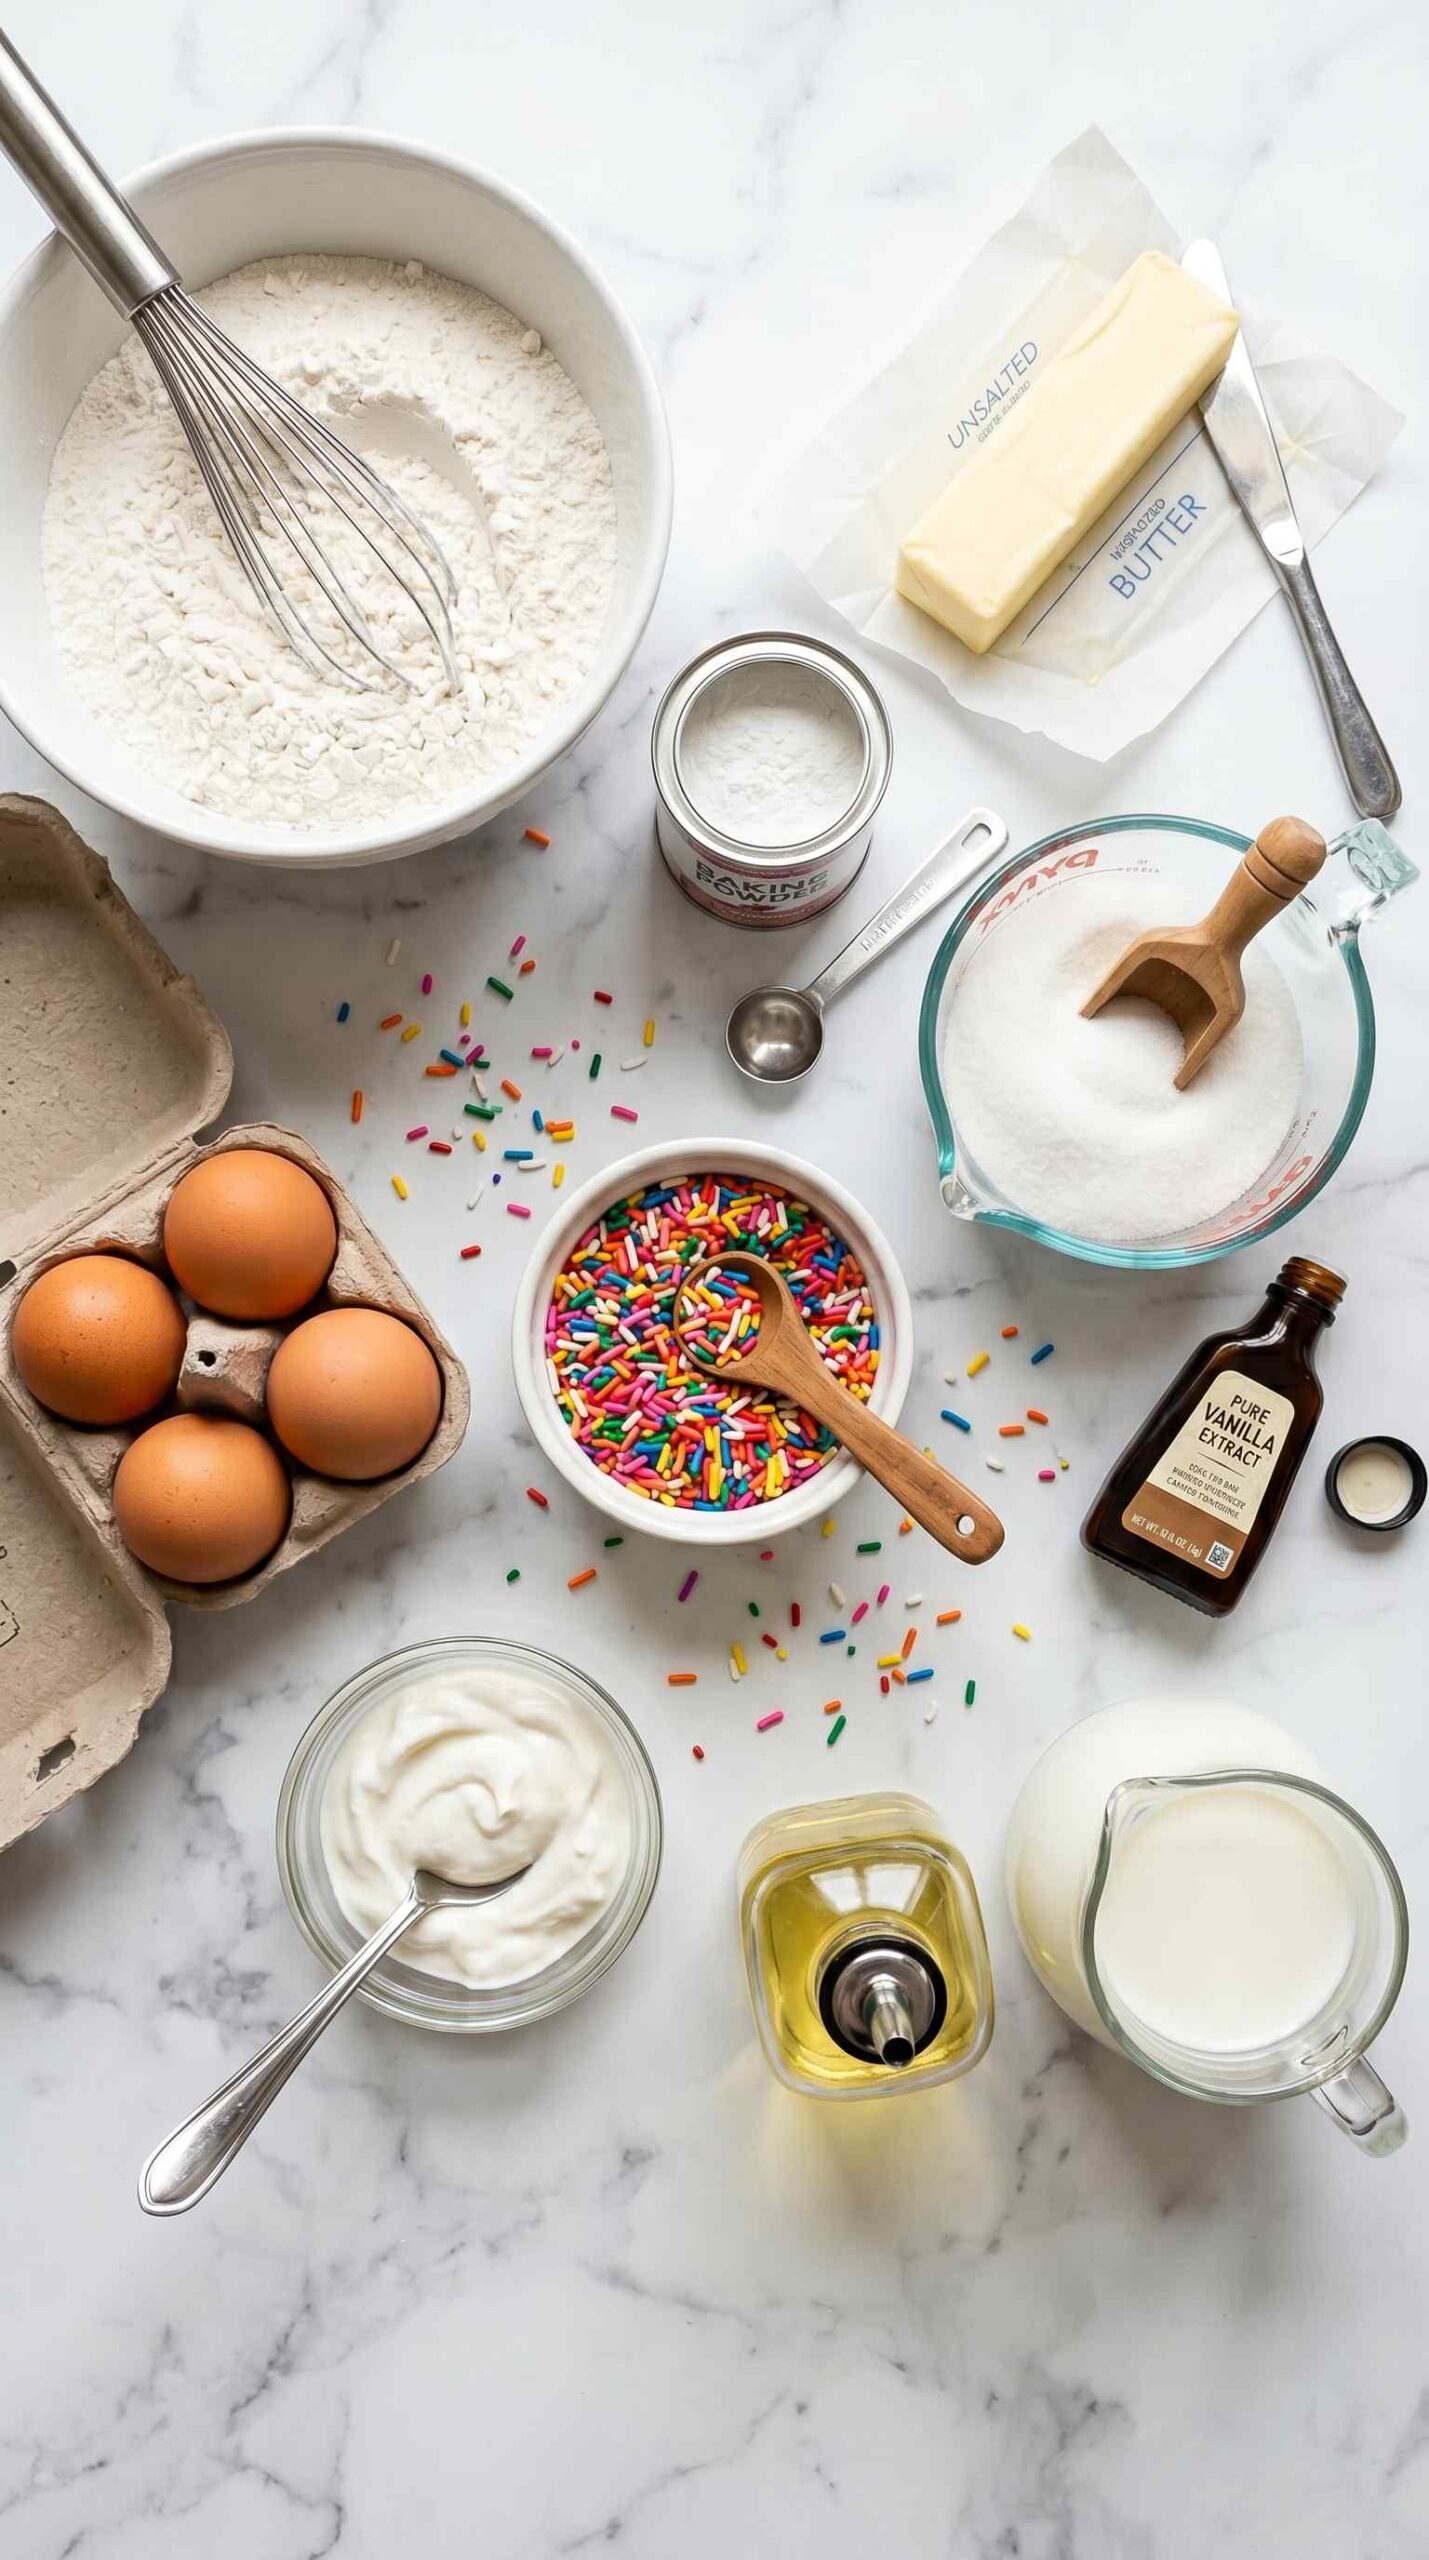
This moist Funfetti vanilla cake recipe uses precise, purposeful ingredients. Here is everything for a two-layer 23cm round cake:
For the Funfetti cake layers:
- 3 cups all-purpose flour, sifted
- 1 tablespoon baking powder
- 1/2 teaspoon baking soda
- 1 teaspoon salt
- 225g unsalted butter, room temperature
- 1.75 cups granulated white sugar
- 4 large egg whites, room temperature (whites only — no yolks keeps the cake white)
- 2 whole large eggs, room temperature
- 1 cup full-fat sour cream, room temperature
- 1/2 cup whole milk, room temperature
- 1/4 cup vegetable oil (adds moisture that butter alone cannot provide)
- 1 tablespoon pure vanilla extract
- 1 teaspoon almond extract (optional — adds a subtle warmth that elevates the vanilla beautifully)
- 3/4 cup rainbow jimmies sprinkles (jimmies only — round quins bleed color and turn the batter grey)
For the vanilla buttercream frosting:
- 450g unsalted butter, completely room temperature
- 6 cups powdered sugar, sifted
- 5 to 6 tablespoons heavy cream or whole milk
- 1 tablespoon pure vanilla extract
- 1/4 teaspoon salt
- Extra rainbow sprinkles for decorating the outside
FYI, jimmies are the elongated, rod-shaped sprinkles — not the round confetti quins. Jimmies hold their color during baking because their coating is more heat-stable. Round quins are softer and bleed immediately into the batter, turning it a murky, unappetizing grey-green color instead of keeping the confetti effect clean and bright.
The Making Process — Every Step in Full Detail
Step 1: Prepare Your Pans and Preheat the Oven
Preheat your oven to 175 degrees Celsius. Grease two 23cm round cake pans with butter or cooking spray, line the bottoms with parchment paper cut to fit, then grease the parchment and lightly flour the sides. This three-step pan preparation — grease, parchment, flour — is what professional bakers use for a reason. It guarantees clean release every single time without any tearing or sticking along the edges.
Cut two circles of parchment paper by tracing the bottom of the pan with a pencil and cutting just inside the line. Press each circle flat into the greased pan bottom. The parchment prevents the bottom of the cake from sticking even if the sides release perfectly — which they often do while the bottom clings stubbornly. Skipping this one small step is the most common reason beautiful cake layers break apart during unmolding.
Step 2: Whisk the Dry Ingredients
Sift the all-purpose flour, baking powder, baking soda, and salt together into a large bowl. Whisk them together for 30 seconds after sifting to ensure the leavening agents distribute completely and evenly through the flour. Clumps of baking powder create bitter, soapy spots in the finished crumb — the sifting and whisking combination eliminates this risk entirely.
Set the whisked dry ingredients aside. This pre-mixing of the dry components means they incorporate more quickly and evenly into the batter later, reducing the total mixing time needed after the wet and dry ingredients combine — which in turn reduces gluten development and keeps the cake crumb tender rather than tough.
Step 3: Cream Butter, Oil, and Sugar Together
Place the room-temperature butter in a stand mixer fitted with the paddle attachment. Add the vegetable oil directly to the butter. Beat them together on medium speed for two full minutes before any sugar is added. Combining the butter and oil before creaming is a technique that produces a more tender, moist crumb than butter-only cakes because the oil — which remains liquid at room temperature — contributes moisture that butter cannot provide once it solidifies.
Add the granulated sugar to the butter and oil mixture and beat on medium-high speed for a full four minutes until the mixture looks very pale, almost white, and genuinely fluffy in texture. Scrape down the sides and bottom of the bowl at the two-minute mark and again at the four-minute mark. Do not rush this step — the air incorporated during this extended creaming phase is what creates the fluffy, light texture that makes this colorful sprinkle birthday cake recipe so appealing in every bite.
Step 4: Add the Eggs and Egg Whites
Add the two whole eggs and four egg whites to the creamed butter mixture one at a time on medium speed, beating for 20 seconds after each addition before adding the next. Using a combination of whole eggs and egg whites rather than whole eggs exclusively serves two important purposes in this rainbow sprinkle cake recipe simple. The yolks from whole eggs would tint the batter yellow — using mostly whites keeps the cake crumb as white as possible so the sprinkle colors stand out vividly against it.
The egg whites also contribute to a slightly lighter, more tender crumb than yolk-heavy batters. This is the technique that makes the best confetti cake mix recipe homemade results look and taste so different from a standard vanilla cake. After all six additions are incorporated, scrape down the bowl and add the vanilla and almond extracts. Mix on low for ten seconds.
Step 5: Alternate Wet and Dry Ingredients
Combine the sour cream and whole milk together in a small bowl and stir until uniform. Add the sifted dry ingredients and the sour cream milk mixture to the batter in three alternating additions — beginning and ending with the dry ingredients. Add one-third of the flour mixture, mix on low just until it disappears, add half the sour cream mixture, mix briefly, add another third of flour, mix, add remaining sour cream mixture, mix, finish with the final third of flour.
Mix on the absolute lowest speed after every addition and stop the mixer the moment each addition is just incorporated — no visible dry flour streaks remaining, but no more than that. Overmixing after flour is added develops gluten significantly and produces a tough, chewy crumb rather than the soft, delicate texture that defines a great fluffy Funfetti cake frosting recipe ready vanilla layer. Have you ever eaten a homemade cake that tasted like bread? Overmixed batter is almost always why.
Step 6: Fold in the Sprinkles — The Critical Step
Remove the mixing bowl from the stand mixer. Add the three-quarter cup of rainbow jimmies sprinkles to the batter. Use a rubber spatula to fold them in by hand using slow, deliberate scooping motions — scraping from the bottom of the bowl upward and folding over the top. Fold just until the sprinkles distribute evenly throughout the batter — approximately eight to ten folds maximum.
Do not use the electric mixer to incorporate the sprinkles. The high speed of the mixer paddles breaks the jimmies apart and causes the colored coating to crack and bleed into the batter regardless of how heat-stable they are. Hand folding keeps the sprinkles whole and intact so they appear as distinct, colorful confetti pieces in the finished cake rather than colored smears. This is the single most commonly skipped instruction in Funfetti recipes and the one that most directly affects the final visual result.
Step 7: Fill the Pans and Bake
Divide the batter evenly between the two prepared pans — a kitchen scale ensures perfect equality so both layers rise to the same height. Spread each portion to an even, level surface using a rubber spatula or offset spatula. Tap each pan firmly on the counter three times to release any large air bubbles that could create hollow spots in the crumb.
Bake at 175 degrees Celsius for 28 to 32 minutes. Do not open the oven door before the 25-minute mark. The leavening system in this batter needs an uninterrupted heat environment during the first two-thirds of baking — opening the door too early causes the layers to sink in the center as the structure collapses before the crumb has set. Test for doneness at 28 minutes by inserting a toothpick into the center of each layer — it should come out with just a few moist crumbs and no wet batter.
Cool the layers in their pans on wire racks for exactly fifteen minutes. Then run a thin knife or offset spatula around the edges, invert onto the racks, peel the parchment away, and allow to cool completely before any frosting or stacking. Completely means no warmth whatsoever — frosting a warm cake melts the buttercream and slides the layers apart :/
Step 8: Make the Vanilla Buttercream Frosting
Beat 450g of fully room-temperature butter in your stand mixer on medium-high speed for a full five minutes until the butter turns noticeably pale — almost white — and looks whipped and airy in the bowl. This extended pre-beating is what makes buttercream light and fluffy rather than dense and heavy. If your butter still looks yellow and dense after five minutes, keep beating — it will eventually turn pale and lighten in texture.
Add the sifted powdered sugar in three to four additions, mixing on the lowest speed after each to prevent clouds of powdered sugar escaping the bowl. After all the sugar is incorporated, add the vanilla extract, salt, and five tablespoons of heavy cream. Beat on medium-high for three more minutes until the frosting looks smooth, bright white, and holds soft peaks confidently. Taste and adjust — more vanilla if it tastes flat, a tiny pinch of salt if it tastes too sweet.
The finished buttercream should spread smoothly without dragging or tearing the cake surface and hold its shape when piped. If it feels too stiff, add cream one teaspoon at a time. If it looks too soft, add powdered sugar one tablespoon at a time and beat briefly. Getting the consistency right before you start frosting saves significant frustration during the assembly process.
Step 9: Stack, Frost, and Decorate
Level both cooled cake layers with a long serrated knife if they domed during baking. Place a small dab of buttercream on your serving plate or cake board, then place the first layer flat-side down. Add a generous layer of buttercream on top — about 60 to 70ml — and spread to the edges. Place the second layer flat-side up on top and press gently to adhere.
Apply a thin crumb coat of buttercream over the entire exterior — top and sides — with an offset spatula. Refrigerate for 20 minutes until firm. Then apply the final, thicker layer of white buttercream over the chilled crumb coat and smooth with a bench scraper for the sides and an offset spatula for the top. Take your time with this smoothing step — a clean, level final coat is the most impressive canvas for the decorations.
Press rainbow sprinkles generously around the bottom half of the side of the cake using the palm of your hand or a cupped hand held against the side and rotated around the cake. Scatter additional sprinkles over the top surface. Add any piped rosettes, borders, or additional decorations as desired for your party Funfetti cake decoration ideas. This is where the cake truly comes alive and looks genuinely celebratory 🙂
The Boxed Mix Upgrade Version
Not in the mood to bake from scratch today? This boxed Funfetti cake upgrade recipe transforms a standard box into something genuinely impressive:
Replace the water in the box instructions with equal amounts of whole milk. Replace the vegetable oil with melted butter in the same quantity. Add one extra egg beyond what the box calls for. Add one teaspoon of vanilla extract and half a teaspoon of almond extract. Mix in an additional quarter cup of rainbow jimmies over whatever sprinkles come in the box. The result tastes completely homemade and significantly richer than the standard box preparation.
Decoration Ideas for Different Occasions
Classic Birthday Version
Frost the cake in white buttercream and press rainbow sprinkles around the sides generously. Pipe large swirled rosettes around the top edge using a large open star tip. Add birthday candles in the center surrounded by a sprinkle cluster. This is the iconic Funfetti birthday cake ideas easy look that never fails to delight absolutely everyone at the table.
Pastel Party Version
Color portions of the buttercream in soft pastel pink, lavender, and mint using gel food coloring. Apply them around the cake in a striped or ombre pattern for a more sophisticated but still celebratory look. Use pastel-colored sprinkles instead of classic rainbow for a cohesive color palette. This version photographs beautifully and works perfectly for baby showers, spring parties, or any occasion where soft colors suit better than bold ones.
Drip Cake Version
Apply the white buttercream base coat, then add a ganache drip around the top edge using white chocolate ganache tinted with gel food coloring. The colored ganache drips down the sides over the white buttercream, then the top gets loaded with extra sprinkles. This elevated version takes the classic Funfetti base and adds visual drama that makes it look genuinely professional while still being completely achievable at home.
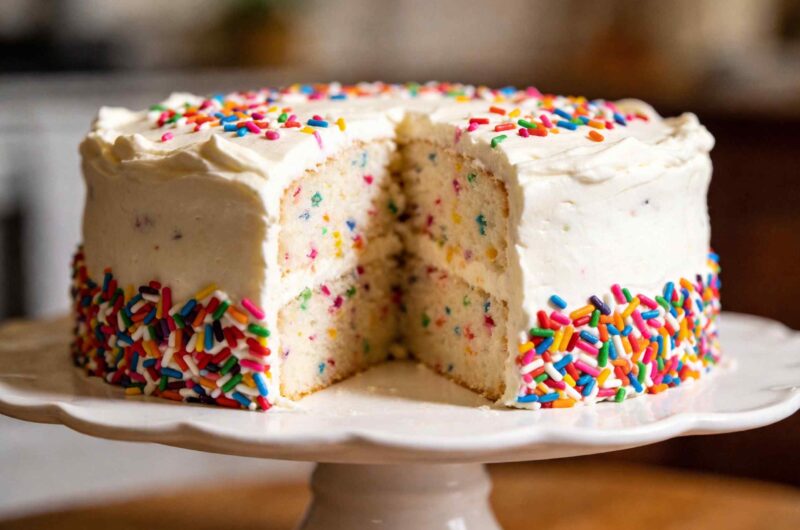
Soft Vanilla Funfetti Cake With White Buttercream Frosting
16
servings19
minutes30
minutesThis Homemade Funfetti Cake uses a white vanilla batter with egg whites for a bright crumb, sour cream and oil for moisture, and rainbow jimmies sprinkles folded in by hand. Frosted in fluffy vanilla buttercream and decorated with extra sprinkles, it serves 12 to 16 with maximum celebratory impact.
Ingredients
Funfetti Cake Layers:
3 cups all-purpose flour, sifted
1 tablespoon baking powder
1/2 teaspoon baking soda
1 teaspoon salt
225g unsalted butter, room temperature
1.75 cups granulated white sugar
4 large egg whites, room temperature
2 whole large eggs, room temperature
1 cup full-fat sour cream, room temperature
1/2 cup whole milk, room temperature
1/4 cup vegetable oil
1 tablespoon pure vanilla extract
1 teaspoon almond extract (optional)
3/4 cup rainbow jimmies sprinkles
Vanilla Buttercream:
450g unsalted butter, room temperature
6 cups powdered sugar, sifted
5 to 6 tablespoons heavy cream
1 tablespoon pure vanilla extract
1/4 teaspoon salt
Extra rainbow sprinkles for decorating
- Preheat oven to 175 degrees Celsius and prepare two 23cm round cake pans with butter, parchment circles, and a light flour dusting on the greased sides
- Sift flour, baking powder, baking soda, and salt together, then whisk for 30 seconds to distribute the leavening evenly and set aside
- Combine sour cream and whole milk in a small bowl and stir together, then set aside
- Beat room-temperature butter and vegetable oil together on medium speed for two minutes, add granulated sugar, and beat on medium-high for four full minutes until very pale and fluffy, scraping the bowl twice
- Add two whole eggs and four egg whites one at a time on medium speed, beating 20 seconds after each, then add vanilla and almond extracts and mix on low for ten seconds
- Add the dry ingredients and sour cream milk mixture in three alternating additions on the lowest speed, beginning and ending with flour, mixing just until each addition disappears with no dry streaks
- Remove the bowl from the mixer and fold three-quarter cup of rainbow jimmies sprinkles into the batter by hand with a rubber spatula using eight to ten deliberate folds — do not use the electric mixer for this step
- Divide the batter evenly between the prepared pans, spread level, tap each pan three times on the counter, then bake at 175 degrees Celsius for 28 to 32 minutes until a toothpick comes out with just a few moist crumbs
- Cool in pans for fifteen minutes, then invert onto wire racks, peel parchment away, and cool completely before frosting
- Beat 450g room-temperature butter on medium-high for five full minutes until pale and whipped, add sifted powdered sugar in three additions on lowest speed, then add vanilla, salt, and heavy cream and beat three more minutes until fluffy
- Level cake layers with a serrated knife, stack with buttercream filling between the layers, apply a crumb coat over the exterior, refrigerate for twenty minutes until firm, then apply the final buttercream layer and smooth with a bench scraper
- Press rainbow sprinkles generously around the sides and top of the frosted cake immediately while the buttercream is still tacky, add any piped decorations, then serve or refrigerate until needed
Common Mistakes That Ruin Funfetti Cakes
Avoid these for a perfect result every time:
- Using round quins instead of jimmies: They bleed color and turn the batter grey — always use rod-shaped jimmies for baking
- Mixing sprinkles with the electric mixer: Breaks the coating and causes bleeding — always fold by hand
- Using cold butter for buttercream: Dense, heavy frosting that never achieves the right fluffy texture — always use genuinely room-temperature butter
- Frosting a warm cake: Melts the buttercream immediately and causes the layers to slide — cool completely, no exceptions
- Skipping the crumb coat: Final layer picks up crumbs and looks messy — always crumb coat and chill before the final frosting layer
- Opening the oven early: Layers sink in the center — wait at least 25 minutes before the first check
Frequently Asked Questions
Q1: Why does my Funfetti cake look grey instead of colorful inside? Grey batter almost always means you used round confetti quins instead of rod-shaped jimmies, or you mixed the sprinkles in with the electric mixer at high speed. Quins have a softer, more water-soluble coating that bleeds immediately when it contacts wet batter. Jimmies have a harder, more stable coating. Always use jimmies, always fold them in by hand, and fold as few times as needed to distribute them evenly.
Q2: Can I make Funfetti cupcakes with this batter? Yes — fill lined cupcake tins two-thirds full with this batter and bake at 175 degrees Celsius for 18 to 20 minutes until a toothpick comes out clean. This batter makes approximately 24 standard-sized cupcakes from one full batch. The same buttercream recipe works perfectly for frosting the cupcakes — pipe generously with a large star tip and top with additional rainbow sprinkles immediately after piping before the frosting sets.
Q3: How do I keep my buttercream bright white instead of yellow? Butter contains natural yellow pigments that tint buttercream yellow even after extended beating. To counteract this, beat the butter for the full five minutes before adding sugar — this does lighten it significantly. Adding a very small amount — literally one drop — of violet gel food coloring neutralizes the yellow tone and makes the buttercream appear bright white. This technique works because violet sits opposite yellow on the color wheel and cancels the yellow pigment visually.
Q4: Can I freeze Funfetti cake layers ahead of time? Yes — bake the layers, cool completely, wrap each individually in two layers of plastic wrap followed by a layer of aluminum foil, and freeze for up to two months. Thaw at room temperature still wrapped for two to three hours before stacking and frosting. Freezing actually improves the moistness of the layers slightly because the ice crystal formation and thawing process tenderizes the crumb. Make the buttercream fresh on the day of assembly.
Make This Cake and Bring Joy to Every Single Table
This Funfetti cake recipe homemade delivers something that no other cake quite achieves — pure, immediate, universal happiness the moment it appears. Fluffy vanilla cake, white buttercream, colorful sprinkles inside and out — it is visually cheerful, genuinely delicious, and completely appropriate for every occasion from first birthdays to fortieth ones.
Follow the steps, use the right sprinkles, beat the butter properly, and frost it with confidence. Your cake will be the one everyone photographs, requests, and remembers. And honestly, is there a better result than that.