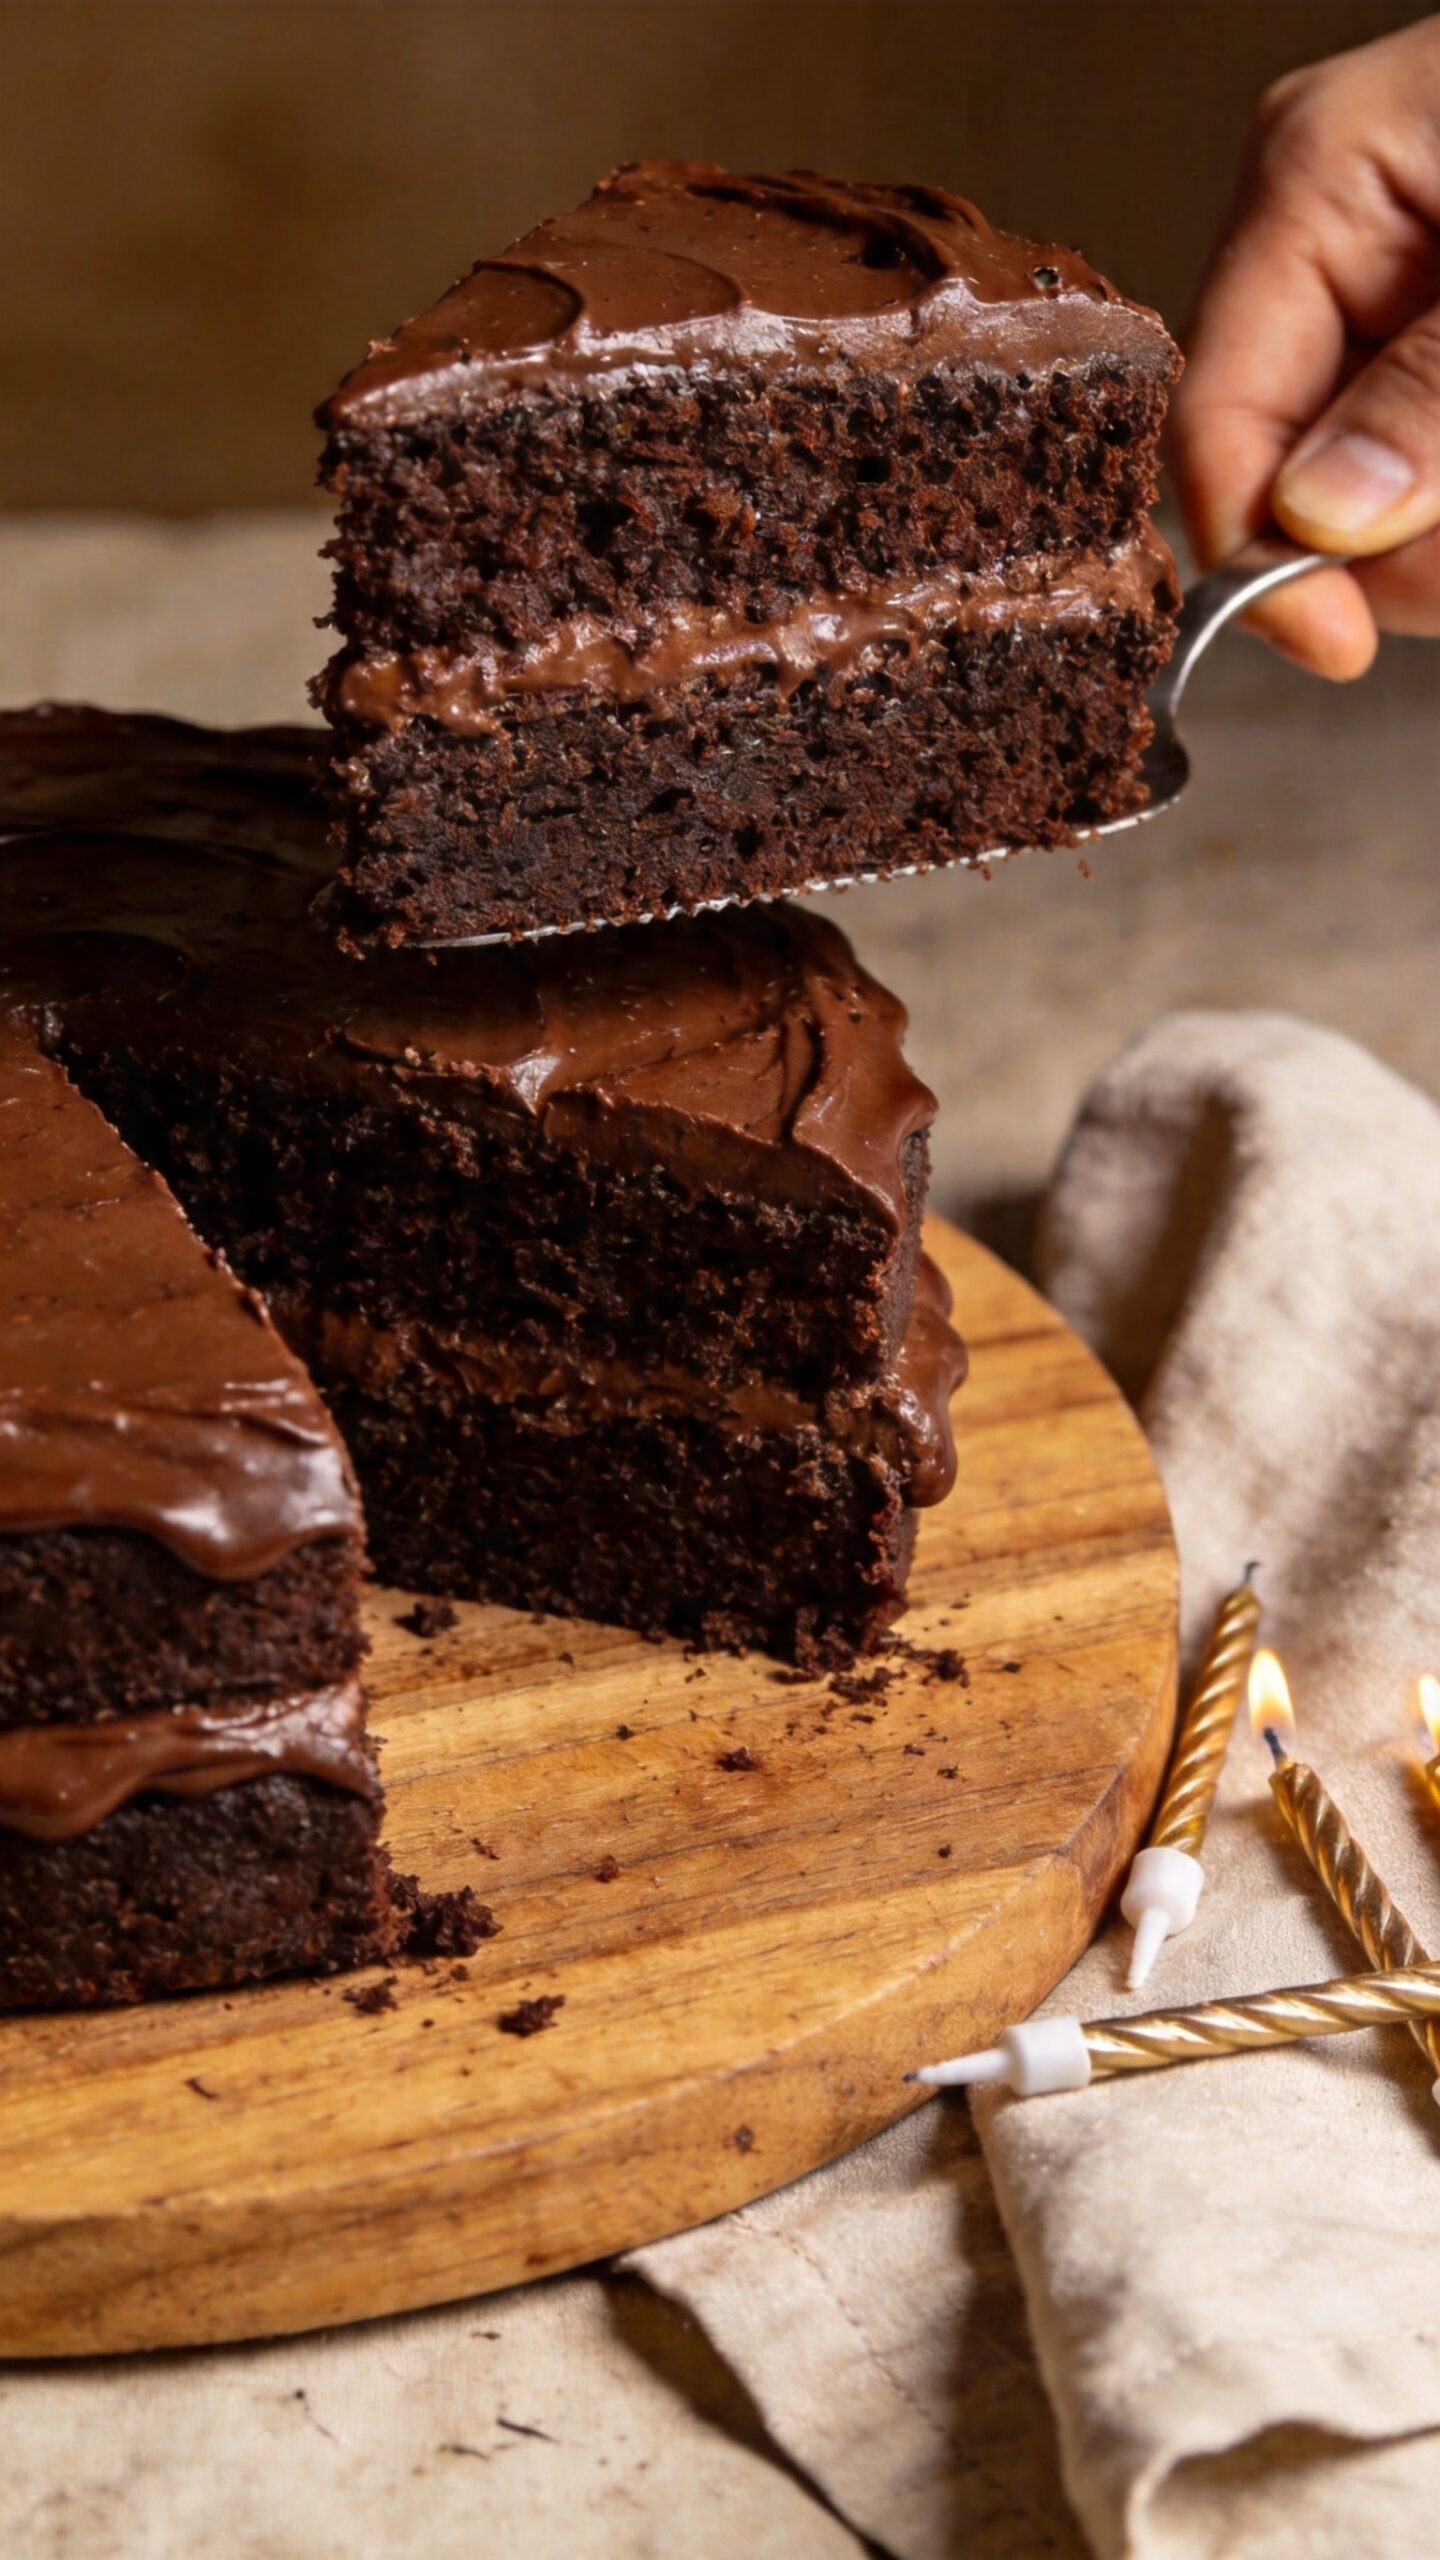
This Chocolate Cake Recipe is the one that genuinely makes people ask for the recipe after their first bite. Rich, moist, deeply chocolatey, and topped with a creamy ganache frosting — it looks like a bakery cake but comes together in your own kitchen without any drama.
Why This Chocolate Cake Recipe Stands Above the Rest
Most homemade chocolate cakes turn out dry, dense, or weirdly bland. However, this recipe fixes all of that with three specific ingredient choices that change everything. Hot coffee, buttermilk, and melted chocolate working together create a depth of flavor that basic chocolate cake recipes simply cannot achieve.
Have you ever baked a chocolate cake that looked amazing but tasted disappointing? That usually comes down to skipping the right wet ingredients. Additionally, getting the baking time exactly right makes the difference between a moist crumb and a dry, crumbly disaster.
Ingredients You Will Need
For the Chocolate Cake:
- 2 cups all-purpose flour
- 2 cups granulated sugar
- 3/4 cup unsweetened cocoa powder
- 2 teaspoons baking soda
- 1 teaspoon baking powder
- 1 teaspoon salt
- 2 large eggs, room temperature
- 1 cup buttermilk, room temperature
- 1 cup hot strong black coffee
- 1/2 cup vegetable oil
- 1 teaspoon vanilla extract
- 100 grams dark chocolate, melted and cooled
For the Chocolate Cream Frosting:
- 200 grams dark chocolate, finely chopped
- 1 cup heavy cream
- 3 tablespoons unsalted butter, room temperature
- 1 and 1/2 cups powdered sugar, sifted
- 1/2 cup unsweetened cocoa powder
- 1 teaspoon vanilla extract
- Pinch of salt
For Decoration:
- Chocolate shavings or curls
- Fresh berries (optional)
- Cocoa powder for dusting
How to Make This Chocolate Cake Recipe at Home
Step 1 — Prepare Your Pans and Preheat the Oven
- Preheat your oven to 180C or 350F before doing anything else
- Grease two 9-inch round cake pans thoroughly with butter or cooking spray on the base and sides
- Cut two circles of parchment paper to fit the base of each pan and press them in
- Then dust the sides of each greased pan lightly with cocoa powder instead of flour — this prevents white marks on your dark cake edges
- Set both prepared pans aside and move on to making the batter
Step 2 — Mix All the Dry Ingredients Together
- In a large mixing bowl, add the flour, sugar, cocoa powder, baking soda, baking powder, and salt
- Whisk everything together thoroughly for a full 1 to 2 minutes until completely combined
- Make sure there are no lumps of cocoa powder hiding in the mixture — those lumps create bitter pockets in the finished cake
- Then sift the mixture once if you want an even finer, lighter texture in the final crumb
- Set this dry mixture aside and prepare your wet ingredients next
Step 3 — Combine the Wet Ingredients
- In a separate large bowl or a large measuring jug, combine the eggs, buttermilk, vegetable oil, and vanilla extract
- Whisk these together briskly until the mixture looks smooth and fully combined
- Next, add the melted and cooled dark chocolate to the wet mixture and whisk again until everything is incorporated evenly
- Then carefully pour in the hot black coffee last — the coffee will intensify the chocolate flavor dramatically without making the cake taste like coffee at all
- Stir the wet mixture one final time to make sure everything is fully combined before moving on
Pro Tip: The hot coffee in this recipe is not optional. Coffee activates the cocoa powder and deepens the chocolate flavor significantly. If you dislike coffee, simply use hot water instead — it works nearly as well without changing the taste.
Step 4 — Combine Wet and Dry Ingredients into Batter
- Pour the wet ingredient mixture gradually into the bowl of dry ingredients
- Use a spatula or whisk to fold and stir everything together using gentle circular motions
- Mix only until no dry flour streaks remain visible in the batter — do not overmix beyond that point
- Overmixing develops the gluten in the flour and makes the finished cake tough and chewy instead of soft and tender
- The finished batter will look quite thin and pourable — that is completely normal and exactly what you want
- Let the batter rest for 2 minutes before pouring it into the pans
Step 5 — Pour and Bake the Cake
- Divide the batter evenly between the two prepared cake pans
- Tap each pan firmly on the counter two or three times to release any air bubbles trapped in the batter
- Place both pans on the middle rack of the preheated oven side by side
- Bake for 32 to 35 minutes without opening the oven door during the first 25 minutes
- After 32 minutes, test the cake by inserting a toothpick into the center of each layer
- The toothpick should come out clean or with just one or two moist crumbs — not wet batter
- If the toothpick comes out wet, return the pans to the oven for another 3 to 5 minutes and test again
Pro Tip: Always test the cake in the center, not the edges. The edges set faster than the middle and give you a false reading if you test there first.
Step 6 — Cool the Cake Layers Completely
- Remove both pans from the oven and place them on a wire cooling rack
- Let the cakes cool inside their pans for 15 minutes before attempting to remove them
- After 15 minutes, run a thin knife carefully around the edges of each pan to loosen the cake
- Turn each pan upside down onto the wire rack and lift the pan away gently
- Peel the parchment paper from the bottom of each cake layer carefully
- Then allow both layers to cool completely at room temperature for at least 1 full hour before frosting
- Frosting a warm cake melts the frosting and causes it to slide off — always wait for full cooling
Step 7 — Make the Chocolate Cream Frosting
- Place the finely chopped dark chocolate into a heatproof bowl
- Heat the heavy cream in a small saucepan over medium heat until it just begins to simmer around the edges — do not let it boil
- Pour the hot cream directly over the chopped chocolate and let it sit undisturbed for 2 full minutes
- After 2 minutes, stir slowly from the center outward until the chocolate and cream combine into a smooth, glossy ganache
- Add the room temperature butter and stir again until fully melted and incorporated
- Let the ganache cool at room temperature for 20 to 30 minutes until it thickens to a spreadable consistency
- Once thickened, add the sifted powdered sugar, cocoa powder, vanilla, and salt
- Beat with an electric hand mixer on medium speed for 2 to 3 minutes until the frosting is light, fluffy, and creamy
Pro Tip: If your ganache frosting becomes too thick to spread, warm it very gently in 10-second microwave bursts, stirring between each burst until it reaches the right spreading consistency again.
Step 8 — Assemble and Frost the Cake
- Place the first cooled cake layer on a flat serving plate or cake board
- Scoop a generous amount of frosting onto the center of the first layer and spread it evenly to the edges using an offset spatula
- Place the second cake layer on top, pressing down gently so it sits level and flat
- Apply a thin layer of frosting all over the outside of the cake first — this is called the crumb coat
- Refrigerate the crumb-coated cake for 15 minutes to lock the crumbs in place
- Then apply the final thick layer of frosting all over the top and sides of the cake
- Smooth the sides with the spatula or create a rustic textured finish using the back of a spoon
Step 9 — Decorate and Serve
- Scatter chocolate shavings or curls across the top of the finished cake
- Dust lightly with cocoa powder for a clean Chocolate Cake Aesthetic finish
- Add fresh berries around the top edge for color contrast if desired
- Slice and serve at room temperature for the best flavor and texture
Flavor Variations
Chocolate Brownie Cake Style
- Reduce the flour by 1/4 cup and add an extra 50 grams of melted dark chocolate to the batter
- Bake in a single deep pan instead of two layers for a denser, fudgier texture
- This creates a rich Chocolate Brownie Cake that sits between a brownie and a traditional cake
Chocolate Truffle Cake
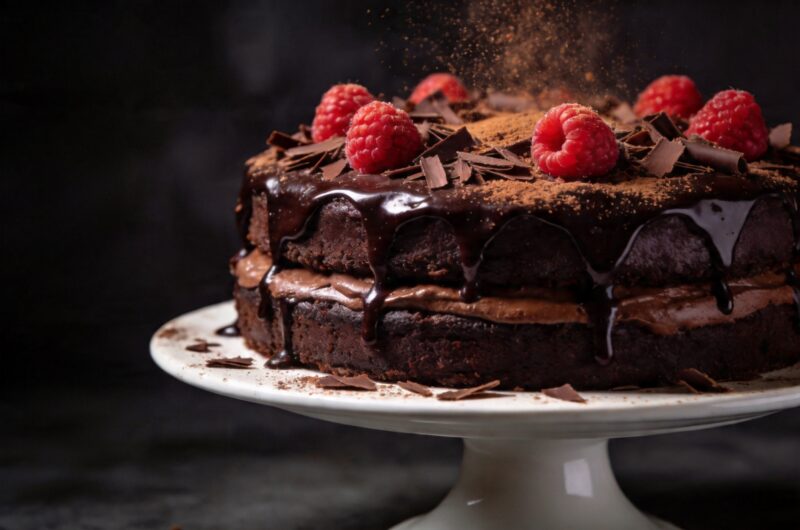
- After frosting, pour a warm thin ganache glaze over the top of the assembled cake
- Let it drip naturally down the sides for a beautiful Chocolate Truffle Cake Design
- Then press chocolate truffles around the top edge for a stunning visual finish
Chocolate Cream Cake with Whipped Filling
- Replace the ganache frosting between the layers with lightly sweetened whipped cream
- Add sliced strawberries or raspberries on top of the cream layer before placing the second cake layer
- This lighter version works perfectly as a Chocolate Cream Cake for summer celebrations
Why This Recipe Works Every Time
Three clear reasons make this chocolate cake recipe consistently reliable:
- Buttermilk in the batter reacts with the baking soda and creates a tender, soft crumb that stays moist for days
- Hot coffee added to the batter deepens the cocoa flavor without leaving any coffee taste behind
- Ganache-based frosting sets firmer than standard buttercream and holds its shape beautifully even at room temperature
Serving and Decoration Ideas
Turn this into a showstopping Chocolate Cake Birthday centerpiece with these ideas:
- Write a message in white chocolate drizzle across the top
- Add Chocolate Cake Decoration using edible gold leaf for a Unique Chocolate Cake Design
- Press chocolate-covered strawberries around the base of the cake
- Dust the plate with cocoa powder and powdered sugar for a professional presentation
- Stack three thin layers instead of two for an impressive tall celebration cake
IMO, a thick slice of this cake with a scoop of vanilla ice cream on the side is genuinely one of the best dessert combinations in existence.
Common Mistakes to Avoid
- Using cold eggs and buttermilk — always bring them to room temperature before mixing or the batter splits
- Opening the oven during baking — this causes the cake to sink in the middle every single time
- Skipping the crumb coat — without it, crumbs mix into the final frosting layer and ruin the clean finish
- Frosting a warm cake — warm cake melts the frosting immediately and creates a sliding, messy result
- Measuring flour incorrectly — always spoon flour into the measuring cup and level it off, never scoop directly from the bag
Storage Tips
- Room temperature: Store the frosted cake under a cake dome for up to 2 days in a cool kitchen
- Refrigerator: Store in an airtight container for up to 5 days — bring to room temperature for 30 minutes before serving
- Freezer: Freeze unfrosted cake layers wrapped tightly in cling film for up to 3 months, then thaw and frost when needed
Rich Chocolate Cake Recipe Perfect for Any Birthday
Course: Deserts10
servings20
minutes35
minutes300
kcalThis Chocolate Cake Recipe uses buttermilk, hot coffee, and melted dark chocolate in the batter for an incredibly moist, rich crumb. Topped with a creamy ganache frosting, it bakes in 35 minutes and serves 8 to 10 people. A simple, impressive homemade chocolate cake anyone can make successfully.
Ingredients
For the Cake:
2 cups all-purpose flour
2 cups granulated sugar
3/4 cup unsweetened cocoa powder
2 tsp baking soda
1 tsp baking powder
1 tsp salt
2 large eggs, room temperature
1 cup buttermilk, room temperature
1 cup hot strong black coffee
1/2 cup vegetable oil
1 tsp vanilla extract
100g dark chocolate, melted and cooled
For the Frosting:
200g dark chocolate, finely chopped
1 cup heavy cream
3 tbsp unsalted butter, room temperature
1 and 1/2 cups powdered sugar, sifted
1/2 cup unsweetened cocoa powder
1 tsp vanilla extract
Pinch of salt
For Decoration:
Chocolate shavings or curls
Fresh berries (optional)
Cocoa powder for dusting
- Step 1: Preheat oven to 180C, grease and line two 9-inch pans with parchment and dust with cocoa
- Step 2: Whisk all dry ingredients together in a large bowl until fully combined
- Step 3: Combine eggs, buttermilk, oil, vanilla, melted chocolate, and hot coffee in a separate bowl
- Step 4: Pour wet ingredients into dry ingredients and fold together until just combined — do not overmix
- Step 5: Divide batter between pans, tap to release air bubbles, and bake for 32 to 35 minutes
- Step 6: Cool in pans for 15 minutes, then remove and cool completely on a wire rack for 1 hour
- Step 7: Make ganache frosting by pouring hot cream over chopped chocolate, adding butter, then beating in sugar and cocoa
- Step 8: Apply crumb coat, refrigerate 15 minutes, then apply final frosting layer and decorate
Frequently Asked Questions
Q1: Can I make this chocolate cake recipe without cocoa powder? Yes. Use 150 grams of melted dark chocolate in place of the cocoa powder in the batter. The texture will be slightly denser but the chocolate flavor will be even richer. This is actually a great option for a How To Make Chocolate Cake Without Cocoa Powder result.
Q2: How do I keep this chocolate cake moist for several days? Brush each cake layer lightly with a simple sugar syrup — equal parts water and sugar heated until dissolved — before frosting. This locks moisture into the crumb and keeps the cake soft and fresh for up to 5 days easily.
Q3: Can I make this recipe as cupcakes instead of a full cake? Absolutely. Pour the batter into lined cupcake trays, filling each case two-thirds full. Bake at 180C for 18 to 20 minutes and test with a toothpick. This recipe makes approximately 24 standard cupcakes from a single batch.
Q4: What makes this an easy moist chocolate cake recipe compared to others? The combination of oil instead of butter, hot coffee, and buttermilk keeps the crumb moist long after baking. Furthermore, oil-based cakes stay softer at refrigerator temperatures than butter-based cakes, which makes this Easy Moist Chocolate Cake Recipe ideal for making ahead.
Q5: How do I make the frosting extra creamy and smooth? Make sure the butter is fully at room temperature before beating it into the ganache. Additionally, sift the powdered sugar and cocoa before adding them to avoid any lumps. Finally, beat the frosting for the full 2 to 3 minutes — the extra air makes it noticeably lighter and creamier.
Final Thoughts
This Chocolate Cake Recipe delivers everything you want from a homemade chocolate cake — a moist, rich crumb, a deeply chocolatey flavor, and a creamy ganache frosting that looks and tastes genuinely impressive. Moreover, every step is straightforward enough for a first-time baker to follow with confidence.
Whether you make this as a Chocolate Cake Birthday centerpiece, a casual weekend treat, or a Simple Chocolate Cake for a gathering, it always gets the same reaction. Make it once this week and see exactly what I mean.