If your only experience with pork chops involves dry, rubbery, grey slabs that required serious jaw effort to chew through — I completely understand your hesitation. Bad pork chops are genuinely one of the most disappointing things that can happen at a dinner table. The good news is that terrible pork chops are entirely a technique problem, not an ingredient problem.
This Garlic Butter Pork Chops recipe corrects every mistake that creates dry, flavorless pork. A screaming hot pan, a proper sear, herb-infused basting butter, and a short rest — that is the entire formula. I made these last week and my family ate in complete silence for three minutes straight, which in my house means the food is exceptional.
Servings: 4 Prep Time: 10 minutes Cook Time: 12 to 15 minutes Rest Time: 5 minutes Total Time: 27 to 30 minutes
What You Need — The Full Ingredients List
This one pan garlic butter pork chops recipe uses straightforward ingredients with maximum impact. Here is your complete list for four servings:
For the pork chops:
- 4 bone-in pork chops, approximately 2.5cm thick (bone-in stays juicier than boneless — always)
- 1 tablespoon olive oil
- 1 teaspoon garlic powder
- 1 teaspoon onion powder
- 1 teaspoon smoked paprika
- 1/2 teaspoon dried thyme
- 1/2 teaspoon black pepper
- 1.5 teaspoons salt
For the garlic herb butter sauce:
- 3 tablespoons unsalted butter
- 5 cloves garlic, smashed and peeled (not minced — smashed releases more aroma with less burn risk)
- 3 sprigs fresh thyme
- 2 sprigs fresh rosemary
- 1 tablespoon fresh parsley, finely chopped (for garnish)
- Juice of half a lemon (for finishing)
FYI, bone-in pork chops are worth finding even if boneless is more convenient. The bone conducts heat differently and slows the cooking at the center, giving you a significantly wider window before the meat overcooks and dries out.
The Making Process — Every Step in Complete Detail
Step 1: Bring the Pork Chops to Room Temperature
Take your pork chops out of the refrigerator 20 to 30 minutes before you plan to cook them. Place them on a plate or tray and let them sit at room temperature during this time. Cooking cold pork straight from the fridge causes the outside to overcook rapidly while the center struggles to reach a safe internal temperature — producing that dreaded dry exterior with a potentially undercooked interior.
Pat each chop completely dry on both sides using paper towels. Press firmly and thoroughly — you want every visible surface moisture removed. Wet meat does not sear. It steams. And steamed pork chops in a pan produce a grey, soft, crust-free surface that is the exact opposite of what makes a crispy seared pork chops garlic butter glaze recipe work. Dry surface contact with a hot pan equals that beautiful, deep-brown, caramelized crust. There is no shortcut around this step.
Step 2: Season Generously and Evenly
Combine garlic powder, onion powder, smoked paprika, dried thyme, salt, and black pepper in a small bowl and stir until evenly mixed. Drizzle the olive oil over both sides of each pork chop and use your hands to coat every surface. The oil helps the seasoning adhere uniformly and raises the surface temperature on contact with the pan.
Press the spice mixture generously onto every surface of each chop — both flat sides, the fat cap on the edge, and the bone area. Really work it in with your fingertips rather than just dusting it on. Seasoning that sits loosely on the surface falls off in the pan. Seasoning that gets pressed in stays put and forms part of the crust during searing. Let the seasoned chops sit for five minutes while you heat the pan.
Step 3: Get the Pan Genuinely Hot
Place a large cast iron skillet or heavy stainless steel pan over high heat. Let it heat for two full minutes with nothing in it. Hold your hand about 15cm above the pan surface — if you feel intense, almost uncomfortable radiant heat rising from the pan, it is ready. A properly preheated pan is the single most critical factor in achieving a great sear on any protein.
Add the tablespoon of olive oil to the hot pan and swirl it to coat the surface. The oil should immediately begin to shimmer and thin out across the pan — if it smokes immediately, reduce heat slightly to medium-high. You want the oil shimmering and fluid, not billowing smoke. This two-stage heating approach — pan first, then oil — prevents the oil from overheating while you wait for the pan to catch up.
Have you ever placed meat in a pan and heard only a weak, half-hearted sizzle instead of an aggressive, loud crack of sound? That weak sizzle tells you the pan was not hot enough. A properly hot pan with properly dried meat produces an immediate, loud, dramatic sizzle the moment contact happens. That sound means you are getting a proper sear.
Step 4: Sear the First Side — No Touching
Lay each pork chop carefully into the hot pan, placing them away from you to avoid oil splatter. Leave space between each chop — crowding the pan drops the temperature and causes the meat to steam rather than sear. If your pan cannot fit all four chops with space between them, sear in two batches rather than crowding.
Press each chop gently but firmly down onto the pan surface with a spatula for the first five seconds to ensure full contact between the meat and the hot surface. Then leave them completely alone. Do not press them again. Do not move them. Do not check underneath them every thirty seconds. Let the pan do its work undisturbed for four to five minutes.
The chop will naturally release from the pan surface when the sear is complete. If you try to flip it and it resists and sticks, the crust has not fully formed yet. Give it another 30 to 60 seconds and try again — a properly seared chop releases cleanly with almost no resistance. Forcing a flip before the crust sets tears the surface and ruins the crust you worked to build.
Step 5: Flip and Begin Garlic Butter Basting
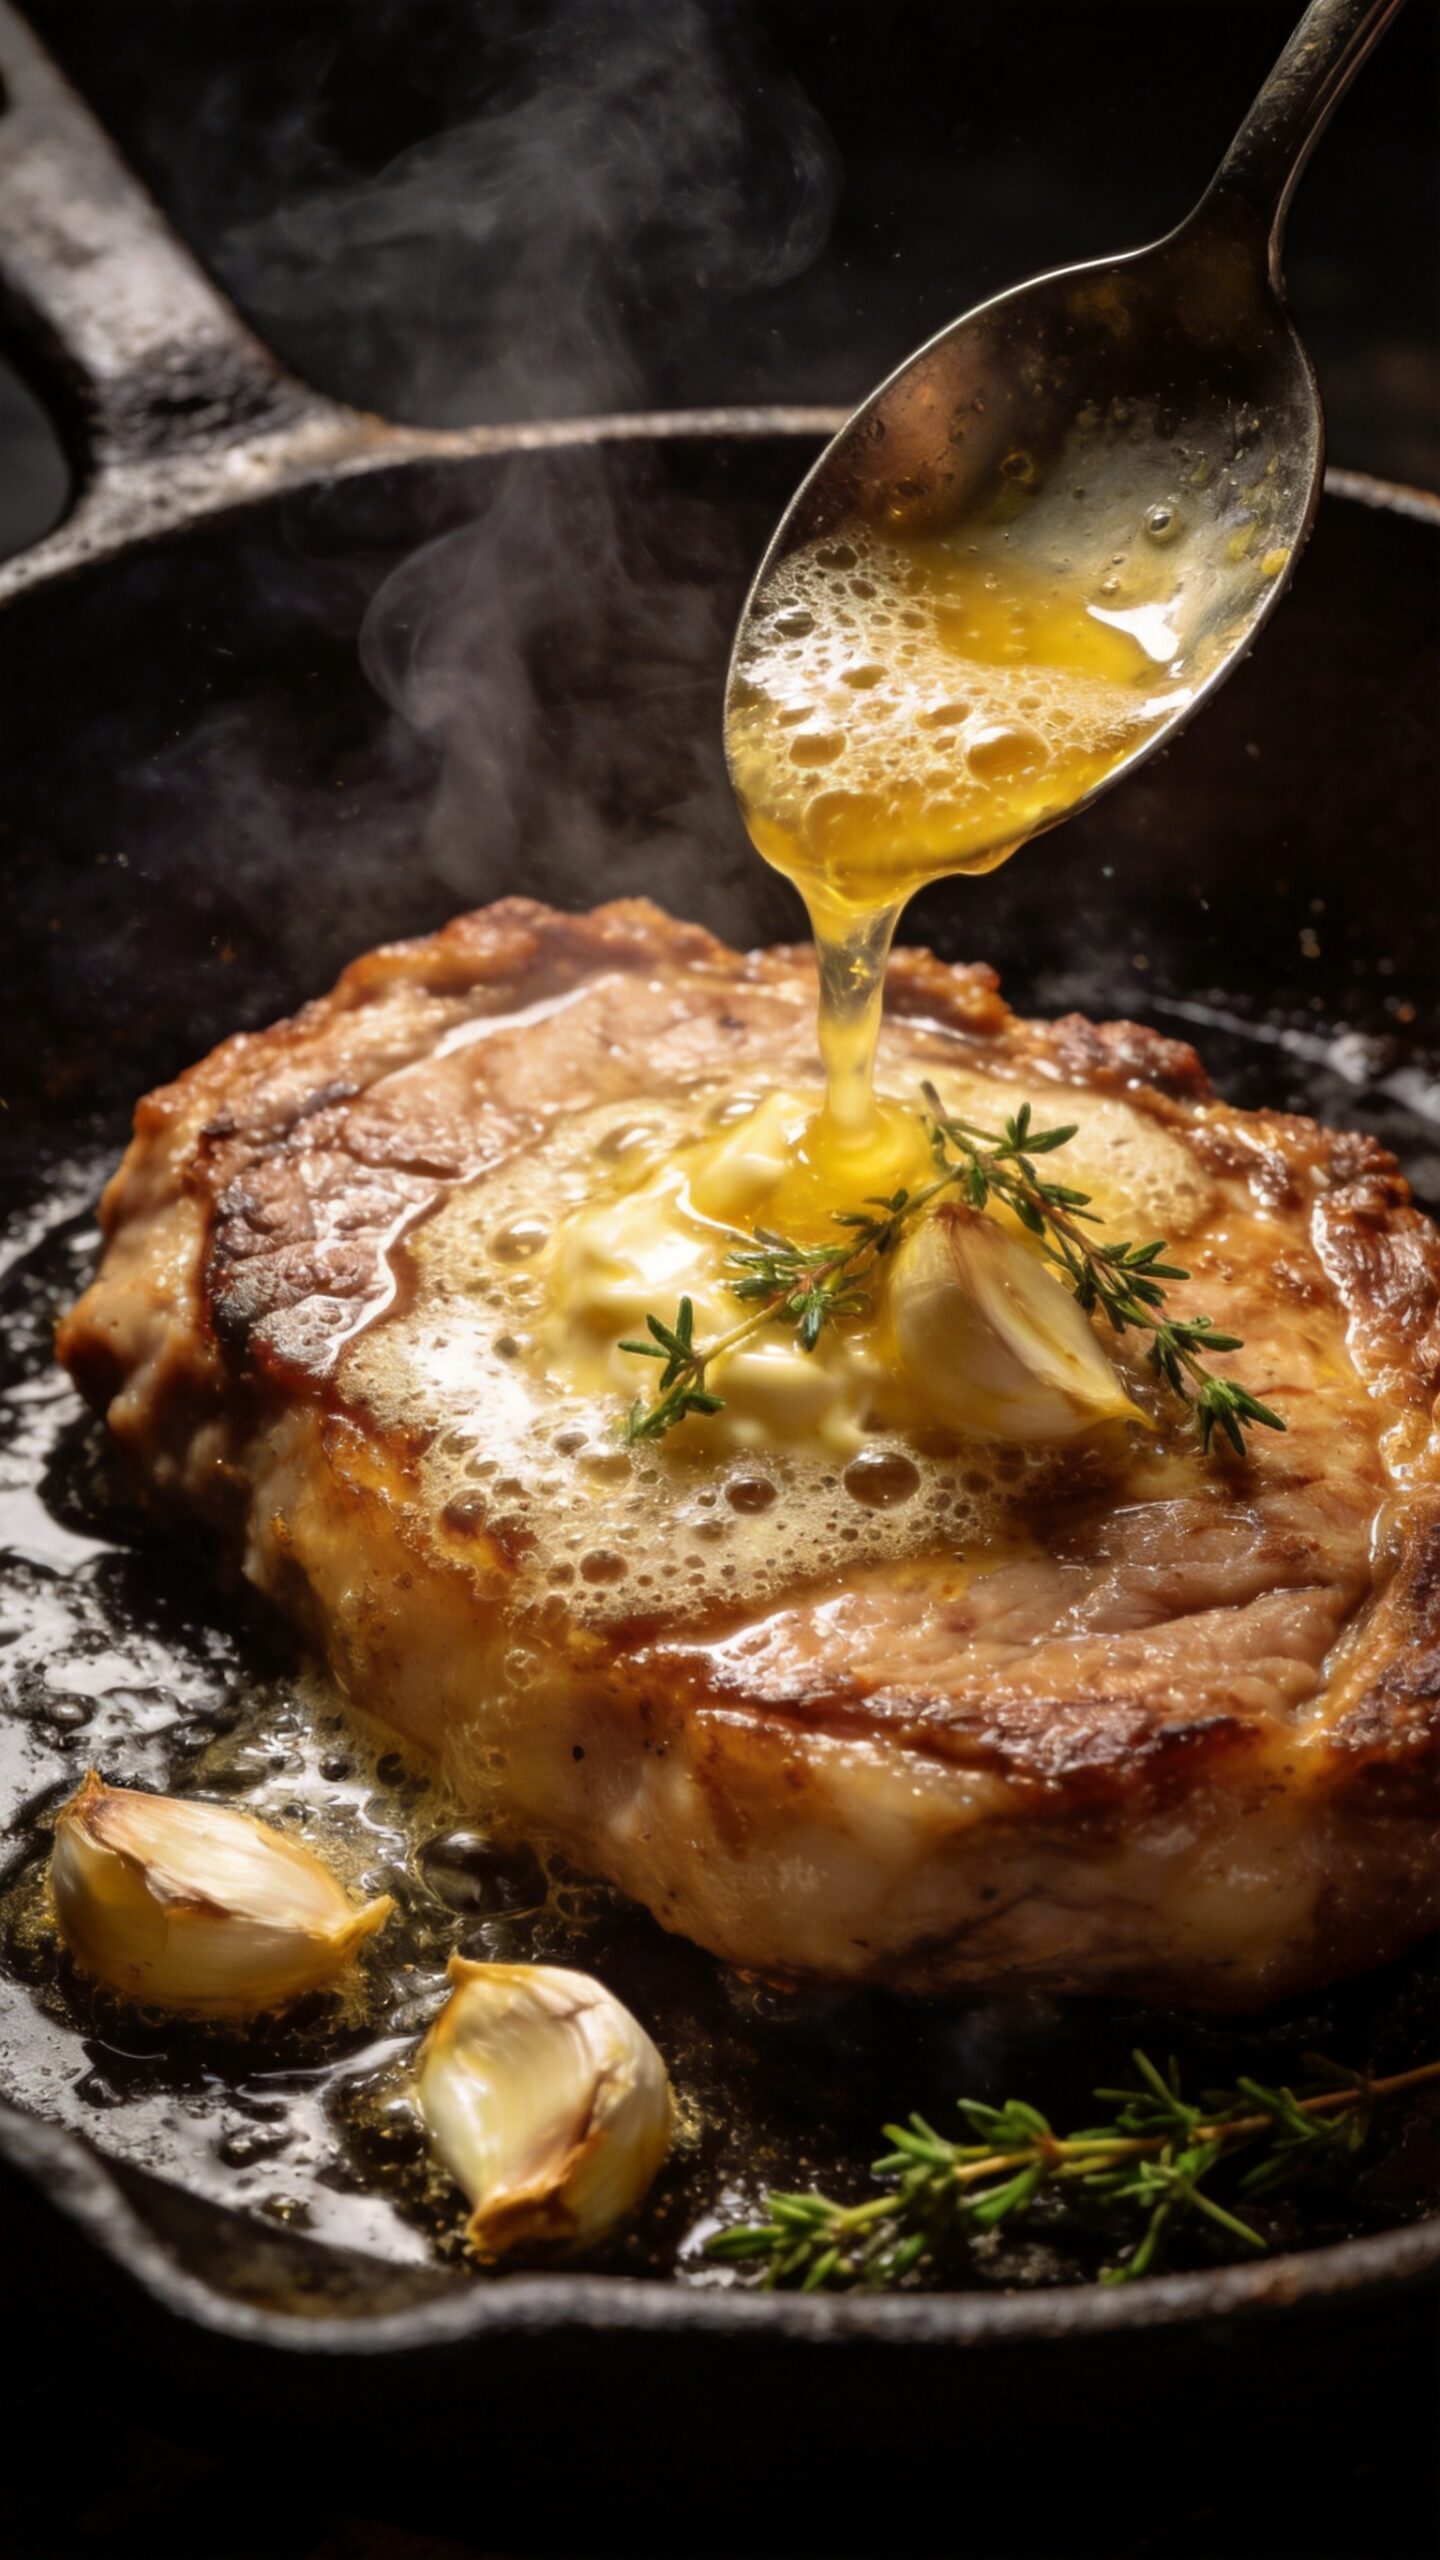
Flip each chop to the second side and immediately reduce the heat to medium. Add all three tablespoons of butter to the pan at once. As the butter melts, add the smashed garlic cloves, fresh thyme sprigs, and rosemary sprigs directly into the pooling butter alongside the chops. The herbs and garlic will immediately begin sizzling and releasing their aromatics into the butter.
Tilt the pan slightly toward you so the melted garlic butter pools at the edge nearest your body. Use a large metal spoon to continuously scoop the foaming butter over the top surface of each pork chop. Keep basting constantly — do not let the spoon sit idle for more than ten seconds at a time. This continuous basting technique, called arroser in classical cooking, cooks the top surface of the chop through convective heat from the hot butter while the bottom continues to sear.
The butter will foam significantly during this stage. That foam is water content evaporating from the butter — it is normal and desirable. Once the foaming subsides and the butter turns slightly golden and begins to smell nutty rather than just creamy, your tender pork chops garlic herb butter sauce is at its most flavorful point. Keep basting and do not walk away from the pan during this critical stage.
Step 6: Cook the Fat Cap Edge
After basting for two minutes on the second side, use tongs to stand each pork chop up on its fat-cap edge — the thick strip of fat running along the side of the chop. Hold it steady with the tongs and let the fat cap cook against the hot pan surface for 60 to 90 seconds. The fat renders and crisps during this time, creating a golden, slightly caramelized edge that adds tremendous flavor and textural contrast to each bite.
This step is something most home cooks skip because it feels awkward, but it produces a noticeably better result. The rendered fat from the edge also drips down into the pan during cooking and further enriches the garlic butter sauce. Every bit of flavor from that fat cap gets captured in the pan and continuously recycled back over the chops during basting. Nothing goes to waste.
Step 7: Check Internal Temperature and Remove
After the fat cap renders, lay the chops back flat and check the internal temperature of the thickest part of each chop — away from the bone — using a meat thermometer. You are targeting 63 degrees Celsius (145 degrees Fahrenheit) for safe, juicy pork. This is the USDA-approved safe temperature for pork and it produces meat that is very slightly pink in the center — which is completely safe and significantly more tender than fully white, overcooked pork.
Remove the chops from the pan the moment they hit 63 degrees Celsius. Carry-over cooking — the continued rise in internal temperature after the meat leaves the heat — will bring them up another two to three degrees during resting. If you wait until the thermometer reads 65 or 68 degrees in the pan, the chops will finish at 68 to 71 degrees after resting, which is noticeably drier and tougher than the 63-degree target.
Squeeze the juice of half a lemon directly into the remaining garlic butter in the pan. Stir quickly — the lemon juice will sizzle and partly emulsify with the butter. This lemon butter pan sauce is the finishing touch that makes this a genuine restaurant style pork chops pan seared recipe rather than just a solid home-cooked meal. Spoon the pan sauce over the resting chops immediately.
Step 8: Rest the Chops Before Serving
Transfer the cooked chops to a clean plate or cutting board. Spoon any remaining garlic butter and herbs from the pan over the top of each chop. Let them rest for a full five minutes without cutting. Resting allows the internal juices — which migrate toward the center of the meat during the intense heat of cooking — to redistribute evenly throughout the entire chop.
Cutting a pork chop immediately after cooking causes all those redistributed juices to flood out onto your cutting board rather than staying inside the meat. A rested chop retains dramatically more moisture in every bite. This five-minute wait is genuinely the simplest and most impactful thing you can do for any pan-seared protein :/
Scatter fresh chopped parsley over all four chops after resting. Serve with the garlic herb butter pan sauce spooned generously over the top. This sauce is too good to leave in the pan — every drop of it belongs on the plate.
Choosing the Right Pork Chop Cut
Not all pork chops produce the same result in this juicy pork chops skillet recipe homemade. Here is an honest breakdown:
- Bone-in rib chop: The best choice — the bone insulates the meat and keeps it juicier during high-heat cooking. More flavor, wider safety margin, ideal for pan searing
- Bone-in loin chop: Good alternative — slightly leaner than rib chops but still benefits from the bone’s heat-insulating effect
- Boneless loin chop: Works but requires more attention — cooks faster, dries out quicker, and has less margin for error. Reduce cooking time by about a minute per side
- Thick-cut vs thin-cut: Always choose chops at least 2.5cm thick — thin chops cook through before a proper crust forms and dry out almost instantly in a hot pan
IMO, bone-in rib chops are worth the slight extra cost every single time. The difference in juiciness and flavor compared to boneless chops is genuinely significant and immediately noticeable.
What to Serve With Garlic Butter Pork Chops
This easy garlic butter pork chops dinner pairs beautifully with a wide range of sides:
- Creamy mashed potatoes: The garlic butter pan sauce poured over mashed potatoes is genuinely one of the best things you will ever eat
- Roasted asparagus or green beans: Quick, simple, and the slight bitterness balances the richness of the butter sauce
- Cauliflower puree: A lighter alternative to mashed potatoes that soaks up the pan sauce just as effectively
- Egg noodles: Toss them in the leftover pan sauce for an incredibly simple and satisfying side
- Simple green salad with sharp vinaigrette: The acidity cuts through the butter richness and refreshes the palate between bites
Common Mistakes That Ruin Pork Chops
Avoid these errors for the best juicy pork chops recipe skillet results:
- Starting with cold chops from the fridge: Creates uneven cooking from edge to center — always bring to room temperature first
- Skipping the dry-patting step: Wet meat steams instead of searing — no pat, no crust, full stop
- Moving the chops during searing: Breaks the developing crust and prevents even browning — leave them alone for the full time
- Overcooking past 63 degrees Celsius: The difference between juicy and dry pork is often just five degrees — use a thermometer
- Skipping the rest: Cutting immediately releases all the juices onto the board instead of keeping them in the meat
- Using a cold pan: The most common mistake — always preheat for two full minutes before anything goes in
Easy Garlic Butter Pork Chops That Beat Every Takeout
4
servings10
minutes15
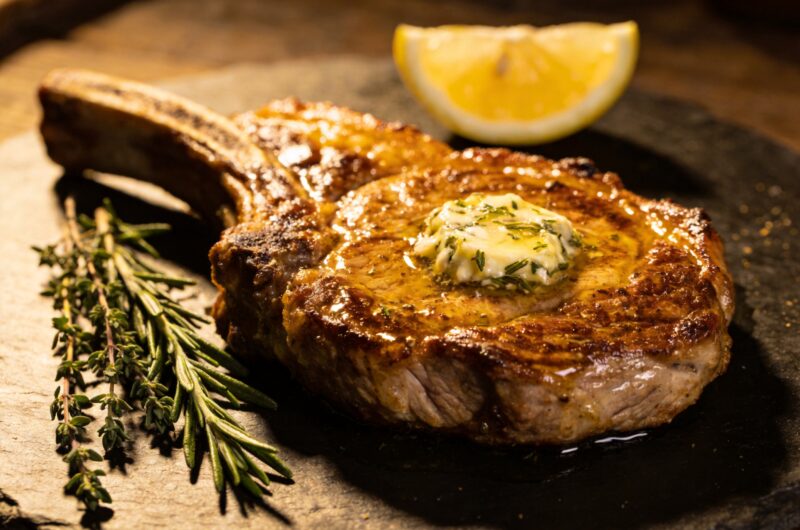
minutesThese Garlic Butter Pan Seared Pork Chops use a screaming-hot cast iron skillet, a bold spice rub, and continuous garlic herb butter basting to create a deeply golden, crispy-crusted exterior with a juicy, tender interior. Ready in 30 minutes, serving four, and finished with a bright lemon butter pan sauce.
Ingredients
Pork Chops:
4 bone-in pork chops, approximately 2.5cm thick
1 tablespoon olive oil
1 teaspoon garlic powder
1 teaspoon onion powder
1 teaspoon smoked paprika
1/2 teaspoon dried thyme
1/2 teaspoon black pepper
1.5 teaspoons salt
Garlic Herb Butter Sauce:
3 tablespoons unsalted butter
5 cloves garlic, smashed
3 sprigs fresh thyme
2 sprigs fresh rosemary
1 tablespoon fresh parsley, chopped
Juice of half a lemon
- Remove pork chops from the refrigerator 20 to 30 minutes before cooking and let them come to room temperature on a plate
- Pat each chop completely dry on both sides with paper towels, pressing firmly to remove all surface moisture
- Mix garlic powder, onion powder, smoked paprika, dried thyme, salt, and black pepper in a small bowl
- Drizzle olive oil over both sides of each chop and press the spice mixture firmly onto every surface including the fat cap edge
- Place a cast iron skillet over high heat and preheat for two full minutes until intensely hot, then add olive oil and swirl to coat
- Lay the chops in the pan with space between each one and press gently for five seconds to ensure full surface contact
- Sear the first side completely undisturbed for four to five minutes until the chop releases cleanly from the pan
- Flip each chop, reduce heat to medium, and immediately add butter, smashed garlic, thyme sprigs, and rosemary to the pan
- Tilt the pan and continuously baste the top surface of each chop with the foaming garlic butter using a large spoon for two to three minutes
- Stand each chop on its fat cap edge using tongs and cook for 60 to 90 seconds to render and crisp the fat
- Check internal temperature at the thickest part away from the bone — remove from heat at exactly 63 degrees Celsius
- Squeeze lemon juice into the remaining pan butter, stir to combine, and spoon the sauce over the chops
- Rest the chops on a clean plate for five full minutes before serving, then garnish with fresh parsley and serve with pan sauce spooned generously over the top
Variations Worth Trying
Honey Garlic Glaze Version
Add one tablespoon of honey directly to the garlic butter in the pan during the basting stage. The honey caramelizes rapidly in the hot butter and creates a beautiful, slightly sweet glaze that coats the chops in a lacquered, golden layer. The sweetness of the honey balances the richness of the butter and the savoriness of the pork exceptionally well. Add a teaspoon of soy sauce alongside the honey for a deeper, more complex glaze with a hint of umami.
Creamy Pan Sauce Version
After removing the rested chops from the board, return the pan to medium heat. Add half a cup of chicken broth and use a wooden spoon to scrape up all the brown bits from the bottom of the pan. Let the broth reduce by half, then add a quarter cup of heavy cream and stir continuously until the sauce thickens to a coating consistency. Pour this creamy garlic herb sauce over the chops for a more indulgent, restaurant-worthy presentation that takes only three additional minutes.
Spicy Version
Add half a teaspoon of cayenne pepper and one teaspoon of chili flakes to the spice rub mixture before seasoning the chops. Substitute one of the rosemary sprigs with a small dried chili in the basting butter. The heat from the cayenne in the crust contrasts brilliantly with the richness of the garlic butter sauce and gives the quick pork chops skillet recipe easy an entirely different character without requiring any additional ingredients.
Frequently Asked Questions
Q1: How do I know when pan seared pork chops are fully cooked without a thermometer? The most reliable visual indicators are juice color and firmness. Press the center of the chop gently with your fingertip — it should feel firm but with a slight spring, similar to the base of your thumb when your hand is relaxed. Cut into the thickest part and check that the juices run clear rather than pink or red. However, a meat thermometer targeting 63 degrees Celsius is genuinely the only reliable method and costs under ten dollars. Use one.
Q2: Why are my pan seared pork chops always tough and dry? Dry, tough pork chops almost always result from overcooking. Modern pork is bred much leaner than it was decades ago, which means it dries out faster at high temperatures than older recipes account for. Cooking to 63 degrees Celsius instead of the old-fashioned 71 or 77 degrees produces dramatically juicier results. Starting with room-temperature chops, searing quickly in a very hot pan, and resting properly before serving all contribute significantly to juiciness.
Q3: Can I use boneless pork chops for this recipe? Yes, but with adjustments. Boneless pork chops cook faster than bone-in and have less insulation against overcooking. Reduce the searing time on the first side to three minutes and check the internal temperature after two minutes of basting on the second side. The target temperature remains 63 degrees Celsius. Boneless chops benefit even more from the resting step than bone-in, as they have less structural fat to keep them moist.
Q4: What pan works best for searing pork chops? Cast iron is the gold standard for this pan seared pork chops garlic butter easy recipe. It retains heat exceptionally well, distributes it evenly, and can withstand very high temperatures without warping. Stainless steel is the second-best option — it heats quickly, sears beautifully, and makes deglazing for pan sauces very easy. Avoid non-stick pans for searing — they cannot safely reach the temperatures required for proper crust formation and degrade rapidly at high heat.
Q5: Can I make this recipe in the oven instead of on the stovetop? You can use a combination method for thicker chops — sear on the stovetop first, then finish in the oven. Sear both sides in the hot skillet for two to three minutes per side to build the crust, then transfer the entire oven-safe skillet to a 200-degree Celsius oven for six to eight minutes until the internal temperature reaches 63 degrees. Baste with the garlic butter halfway through the oven time. This method works particularly well for chops thicker than 3cm.
Go Make These Tonight — Your Pork Chop Game Changes Permanently
This garlic butter pork chops recipe proves that great pork chops are entirely about technique, not luck. A hot pan, dry meat, generous seasoning, proper basting, correct temperature, and a short rest — follow these steps and you will never make a dry, disappointing pork chop again.
Thirty minutes from start to finish, one pan to wash, four people fed with a dinner that tastes genuinely restaurant-quality. Make these tonight and brace yourself for the compliments 🙂