A proper Philly Cheesesteak is one of those sandwiches that ruins you for ordinary food. Savory beef, caramelized onions, soft peppers, and melted cheese all packed into a toasted hoagie roll — it is genuinely one of the greatest things a human being can eat. The problem is that thinly sliced ribeye is expensive and not always easy to find.
This Ground Beef Philly Cheesesteak recipe solves that problem completely. You get every bit of that classic flavor and cheesy, beefy satisfaction using ground beef instead — which is cheaper, easier to cook, and honestly delivers a fantastic result. I make this on busy weeknights and it disappears faster than anything else I put on the table.
Servings: 4 Prep Time: 10 minutes Cook Time: 20 minutes Total Time: 30 minutes
What You Need — The Full Ingredients List
This budget friendly Philly Cheesesteak recipe uses ingredients you can find at any supermarket. Here is everything you need for four generous sandwiches:
For filling:
- 500g ground beef (80/20 fat ratio works best — the fat equals flavor)
- 1 large white onion, thinly sliced into half-moons
- 1 large green bell pepper, thinly sliced
- 1 large red bell pepper, thinly sliced
- 3 cloves garlic, minced
- 2 tablespoons unsalted butter
- 1 tablespoon Worcestershire sauce
- 1 teaspoon garlic powder
- 1 teaspoon onion powder
- 1/2 teaspoon smoked paprika
- 1/2 teaspoon black pepper
- 1 teaspoon salt
- 1 tablespoon soy sauce (the secret ingredient — adds incredible depth)
- 1 tablespoon olive oil
Cheese sauce or topping:
- 8 slices provolone cheese (two per sandwich — do not be stingy)
- OR 1 cup Cheez Whiz warmed through (the authentic Philly way)
- OR 4 slices American cheese (melts incredibly smoothly)
For the rolls:
- 4 hoagie rolls or sub rolls (soft but sturdy — not crusty baguettes)
- 1 tablespoon butter (for toasting the rolls)
FYI, the 80/20 ground beef is genuinely important here. Leaner beef dries out in the pan and produces a crumbly, dry filling. The fat content keeps everything moist, flavorful, and rich throughout the cooking process.
The Making Process — Every Step in Full Detail
Step 1: Prep Everything Before You Start Cooking
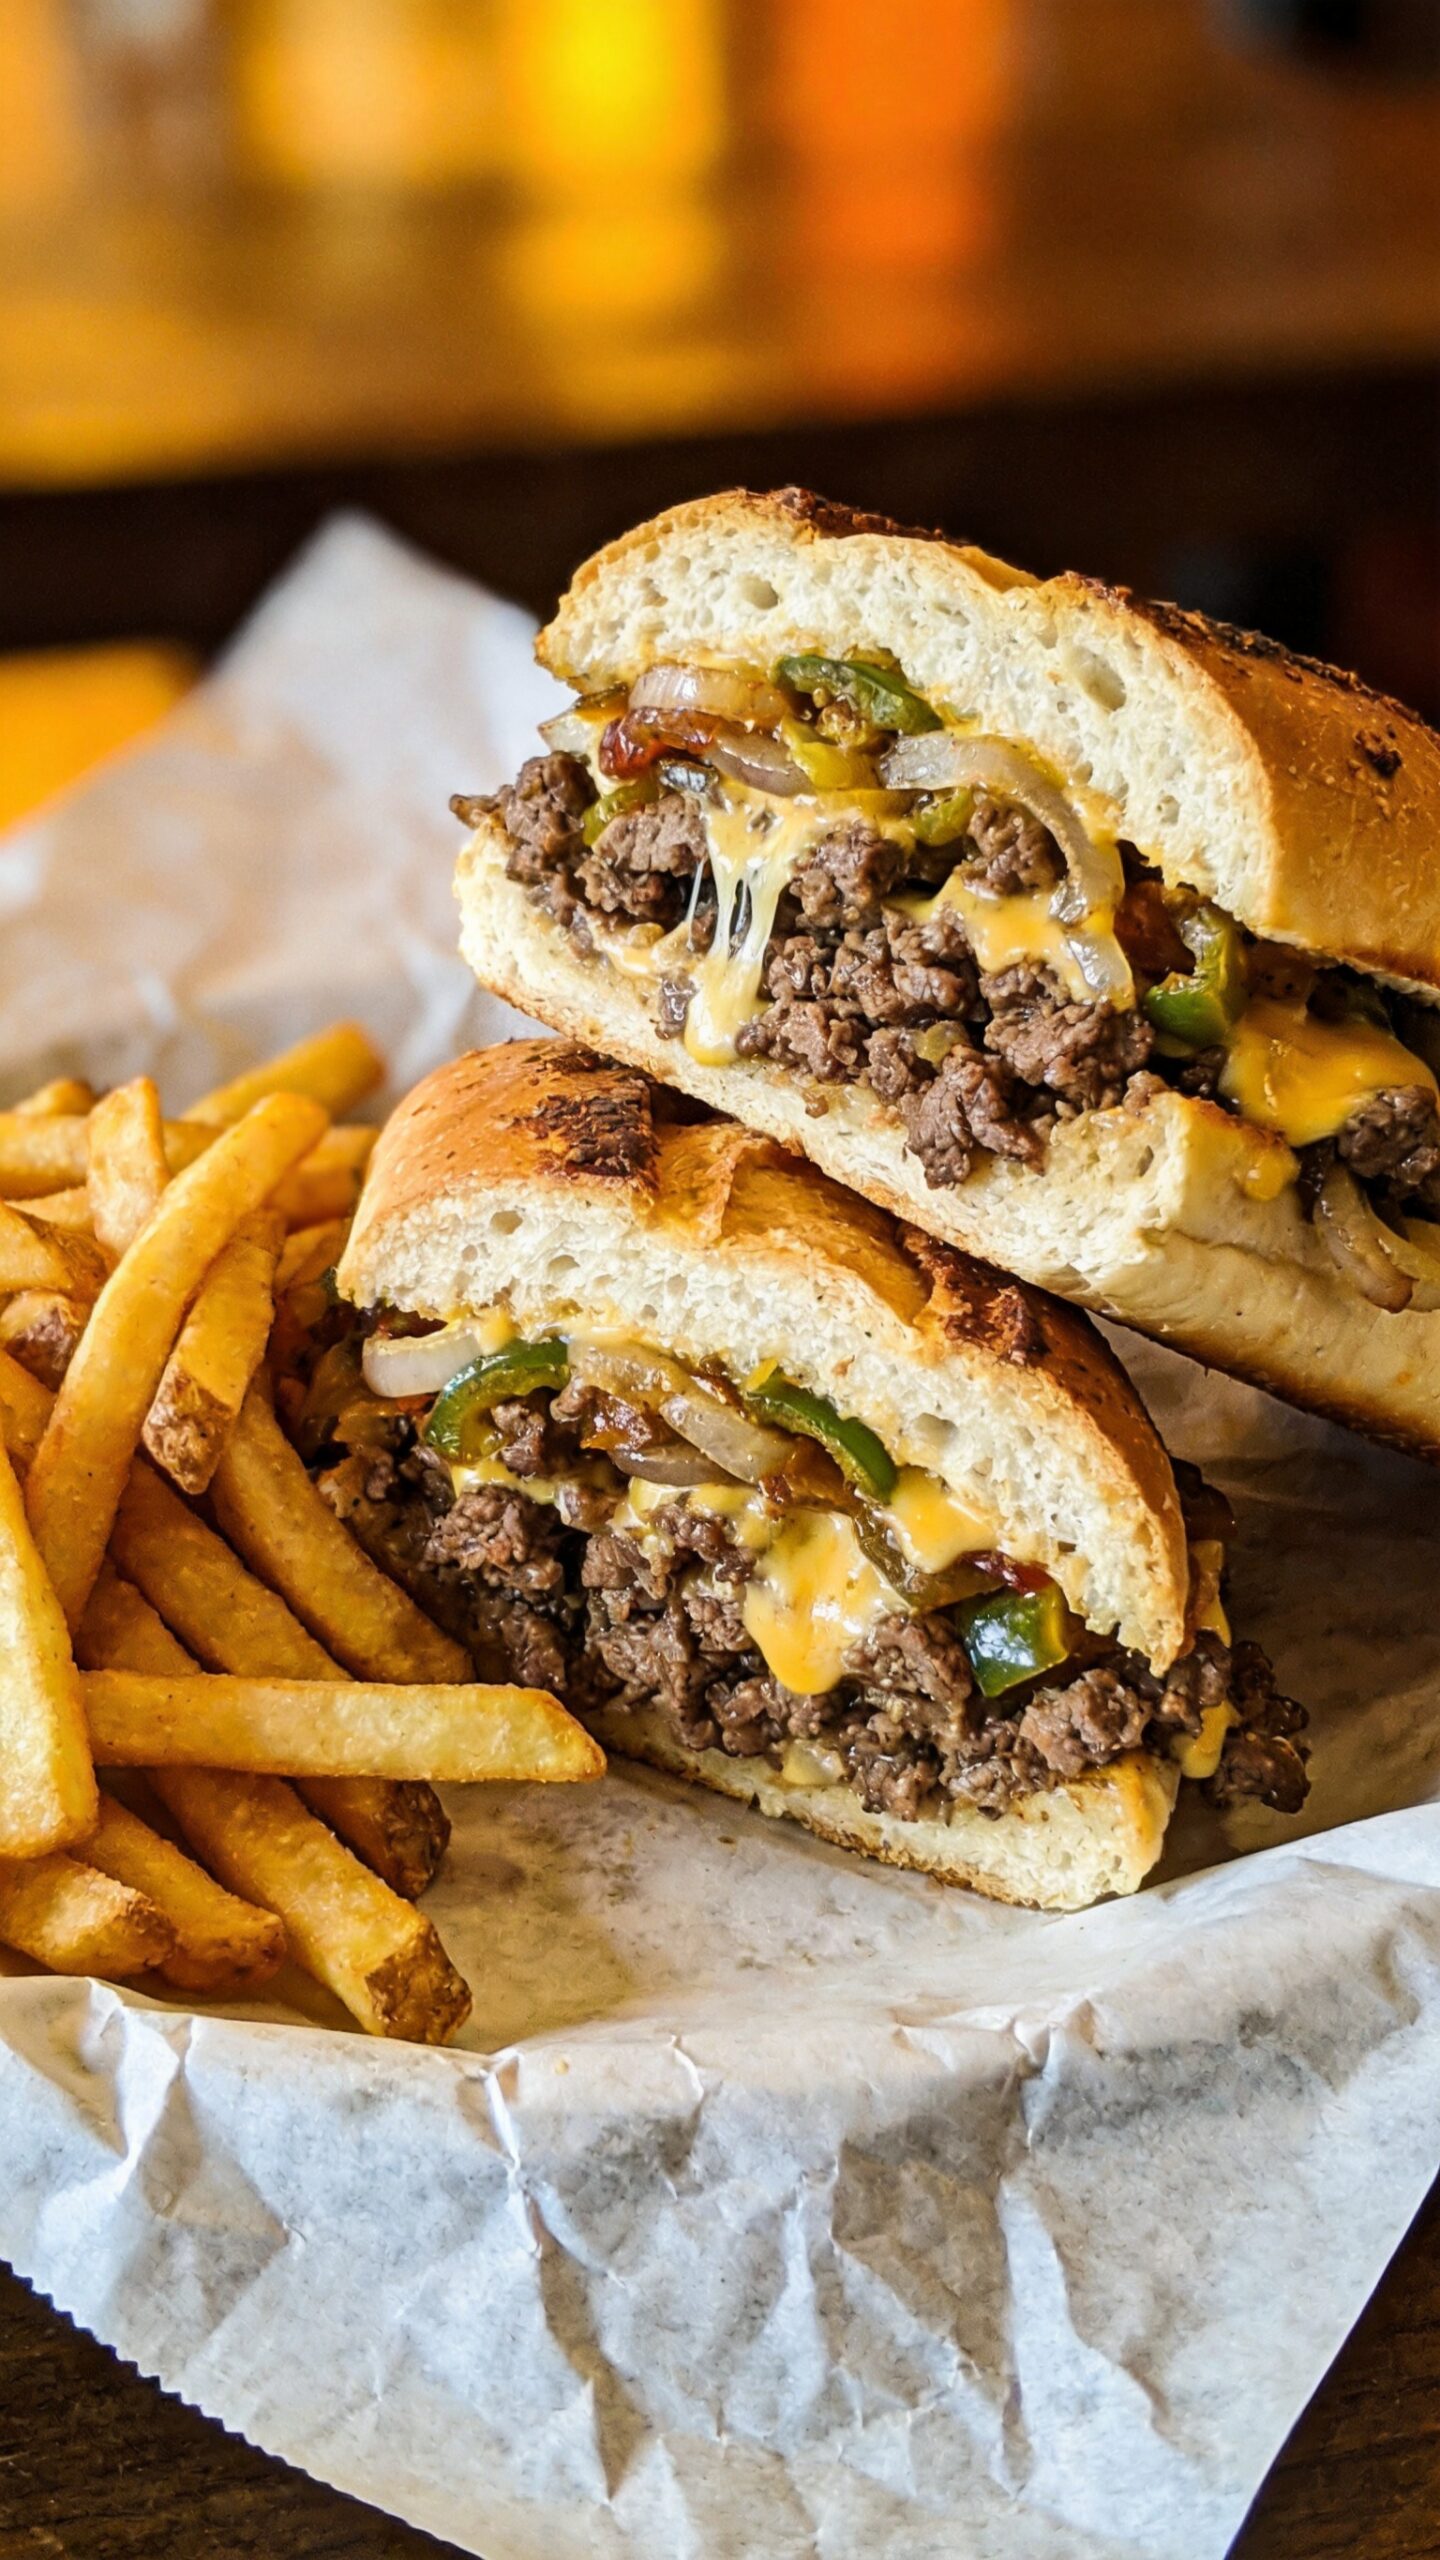
This quick Philly Cheesesteak skillet recipe moves fast once the heat goes on. Have everything chopped, sliced, and measured before you touch the stove. Slice your onion into thin half-moon shapes — not chunky pieces. Thin slices caramelize properly and integrate into the beef filling rather than sitting on top as separate chunks.
Slice both bell peppers into thin strips of roughly similar size to the onion slices. Uniformity matters here for even cooking — if some pieces are thick and some are thin, you get a mix of undercooked and overcooked vegetables in the same pan. Take an extra two minutes on the prep and it pays off significantly in the final result.
Mince your garlic finely. Measure out your Worcestershire sauce, soy sauce, and all the dry spices and set them near the stove. Pull your provolone slices or Cheez Whiz out of the refrigerator so they reach room temperature before going onto the hot filling. Cold cheese on hot meat cools everything down too fast and slows the melting process considerably.
Step 2: Toast the Hoagie Rolls
Split your hoagie rolls open lengthwise without cutting all the way through — leave the back hinge intact so the filling stays put when you eat. Spread a thin layer of butter on the cut surfaces of each roll. Place them cut-side down in a dry skillet over medium heat and press them gently for one to two minutes until the surfaces turn golden and slightly crisp.
Toasted rolls hold up to the juicy beef filling without turning soggy immediately. Soft untoasted bread absorbs the moisture from the filling and collapses into a wet mess within minutes. This one extra step — literally two minutes — transforms your homemade ground beef cheesesteak sandwich from good to genuinely great. Set the toasted rolls aside on a board cut-side up, ready for filling.
Step 3: Sauté the Onions and Peppers First
Place your large skillet or wide frying pan over medium-high heat. Add one tablespoon of olive oil and one tablespoon of butter. Let them heat together until the butter melts and the mixture begins to shimmer. The combination of oil and butter raises the smoke point and adds a richer flavor than either fat alone.
Add the sliced onions to the hot pan and spread them into an even layer. Let them cook without stirring for two full minutes — this initial undisturbed contact with the hot pan starts the caramelization process on the bottom of each slice. Then stir and let them sit again. Keep this stir-and-rest pattern going for a total of six to seven minutes.
After six minutes, add the sliced green and red bell peppers to the pan with the onions. Stir everything together and cook for another four to five minutes until the peppers soften and develop slightly charred edges. The peppers and onions should look deeply golden, soft, and fragrant at this point — not pale and barely cooked. Season with a pinch of salt and pepper, then push the whole vegetable mixture to the outer edges of the pan.
Step 4: Brown the Ground Beef in the Same Pan
With the vegetables pushed to the sides, add the ground beef directly to the center of the hot pan. Break it apart immediately with a wooden spoon or spatula into small, crumbled pieces. You want the pieces to be roughly pea-sized — small enough to mix well with the vegetables but not so small that the beef loses all texture and becomes powder-like.
Let the beef cook undisturbed for about two minutes after breaking it apart. This contact time with the hot pan browns the bottom layer of meat — that browning is the Maillard reaction creating deep, savory flavor that you simply cannot develop if you stir constantly. After two minutes, break it apart further and stir, letting it cook for another two to three minutes.
Cook the ground beef until no pink remains and the majority of the pieces develop at least some browning on their surface. Drain any excess fat if there is a significant pool of it in the pan — but leave a small amount because it carries flavor and keeps the filling moist. About a tablespoon of remaining fat in the pan is perfectly fine and actually desirable.
Step 5: Combine Everything and Add the Seasoning
Once the beef is fully browned, stir the caramelized onions and peppers from the edges back into the center of the pan, mixing everything together thoroughly. Now add the minced garlic and stir it through the beef and vegetable mixture constantly for 60 to 90 seconds. The garlic cooks quickly in the residual heat and fat of the beef — watch it closely and stir without stopping.
Pour the Worcestershire sauce and soy sauce over the beef mixture and stir everything together immediately. These two sauces add an incredible savory depth — umami-rich and slightly smoky — that is the defining characteristic of a great garlic onion beef Cheesesteak recipe easy. The liquids will sizzle loudly and partly evaporate, concentrating their flavor into the beef rather than pooling at the bottom.
Add the garlic powder, onion powder, smoked paprika, remaining salt, and black pepper. Stir the spices through the beef mixture until everything is evenly combined. Taste the filling at this stage and adjust — more Worcestershire for deeper savoriness, more salt if needed, more paprika for smokiness. The filling should taste bold, savory, and satisfying on its own before the cheese even touches it.
Step 6: Melt the Cheese Directly in the Pan
This step separates a good cheesy beef Philly sandwich recipe easy from a truly great one. Reduce the heat to the lowest setting on your stove. Spread the beef and vegetable filling into four roughly equal sections in the pan — one section per sandwich. Lay two slices of provolone cheese over each section, covering the filling completely.
Place a lid over the pan and let the cheese melt from the trapped steam and residual heat for about 60 to 90 seconds. Do not crank the heat — gentle heat melts cheese smoothly. High heat makes it rubbery and causes the fat to separate from the protein, which gives you greasy rather than creamy melted cheese. The lid traps steam that melts the top surface of the cheese while the pan heat melts the underside.
Lift the lid after 90 seconds and check the cheese. It should look completely melted, glossy, and flowing slightly over the edges of each beef section. Provolone melts into a smooth, slightly stretchy layer that holds together when you scoop it into the roll. American cheese melts even more smoothly and creamier. Cheez Whiz — warmed separately and drizzled over — delivers that classic authentic Philadelphia Cheesesteak experience that some people absolutely insist upon.
Step 7: Load the Rolls and Serve Immediately
Use a wide spatula to scoop one cheese-covered beef section cleanly from the pan and transfer it directly into one toasted hoagie roll. Work quickly — the cheese is at its best the moment it comes off the heat. Press the filling gently into the roll so it settles into the bread rather than sitting on top in an unstable pile.
Repeat with the remaining three sections. Serve the sandwiches immediately while the cheese is still fully melted and the roll is still warm and slightly crisp. A restaurant style Philly Cheesesteak at home waits for nobody — these are best eaten within the first five minutes of assembly. The longer they sit, the more the bread softens and the filling cools :/ Eat them fast and eat them hot.
Cheese Options — An Honest Comparison
Not all cheese choices deliver the same result in this classic Cheesesteak sandwich with ground beef. Here is an honest breakdown:
- Provolone: Mild, slightly tangy, melts smoothly into a creamy layer — IMO the best everyday choice
- American cheese: Melts the most smoothly of all options, very creamy, mild flavor that lets the beef shine
- Cheez Whiz: The authentic Philadelphia choice — intensely savory, very smooth, polarizing but genuinely delicious
- Mozzarella: Melts well and stretches beautifully but has a very mild flavor that can get lost under bold beef
- Cheddar: Strong flavor but does not melt as smoothly — can become grainy at high heat in the pan
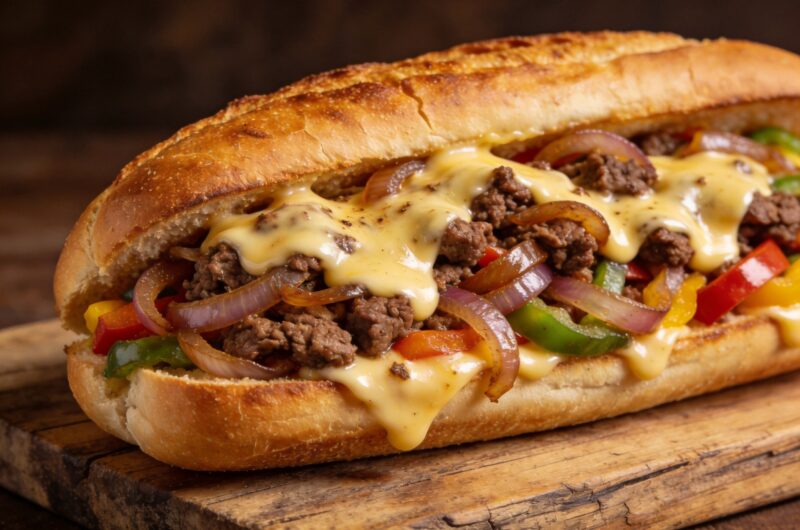
Classic Cheesesteak Flavor Using Just Ground Beef
4
servings10
minutes20
minutesThis Ground Beef Philly Cheesesteak combines seasoned 80/20 ground beef with caramelized onions, bell peppers, garlic, Worcestershire sauce, and melted provolone cheese, all loaded into a toasted hoagie roll. Ready in 30 minutes and serving four people, it delivers bold, cheesy, satisfying Philly flavor completely at home on a budget.
Ingredients
Filling:
500g ground beef (80/20)
1 large white onion, thinly sliced
1 large green bell pepper, thinly sliced
1 large red bell pepper, thinly sliced
3 cloves garlic, minced
2 tablespoons unsalted butter
1 tablespoon olive oil
1 tablespoon Worcestershire sauce
1 tablespoon soy sauce
1 teaspoon garlic powder
1 teaspoon onion powder
1/2 teaspoon smoked paprika
1/2 teaspoon black pepper
1 teaspoon salt
Cheese:
8 slices provolone cheese (or Cheez Whiz or American cheese)
Rolls:
4 hoagie or sub rolls
1 tablespoon butter for toasting
- Slice onion into thin half-moons and slice both bell peppers into thin strips, mince garlic, and measure all sauces and spices before starting
- Split hoagie rolls, butter the cut surfaces, and toast cut-side down in a dry skillet over medium heat for one to two minutes until golden, then set aside
- Heat olive oil and butter in a large skillet over medium-high heat, add sliced onions and cook using a stir-and-rest method for six to seven minutes until caramelized and golden
- Add sliced bell peppers to the onions and cook together for four to five more minutes until soft with slightly charred edges, then push the mixture to the outer edges of the pan
- Add ground beef to the center of the pan, break into small pea-sized pieces, and cook undisturbed for two minutes before stirring and continuing to cook until fully browned with no pink remaining
- Drain excess fat if needed, then stir the caramelized onions and peppers back into the center with the beef
- Add minced garlic and stir constantly for 60 to 90 seconds, then pour in Worcestershire sauce and soy sauce and stir immediately as they sizzle and reduce
- Add all dry spices, stir thoroughly to combine, and taste the filling to adjust seasoning before adding cheese
- Divide the filling into four equal sections in the pan, lay two slices of provolone over each section, cover with a lid, and let the cheese melt on the lowest heat for 60 to 90 seconds
- Scoop each cheese-covered section into a toasted hoagie roll using a wide spatula and serve immediately while hot
Tips That Make This Recipe Even Better
Want to elevate your one pan ground beef Cheesesteak recipe every single time?
- Use 80/20 ground beef — leaner beef equals a drier, less flavorful filling with no exceptions
- Toast the rolls — this one step prevents the bread from going soggy within minutes of filling
- Do not skip Worcestershire and soy sauce — they create the deep savory backbone of the entire filling
- Melt the cheese with a lid — trapped steam melts cheese smoothly without drying or burning it
- Eat immediately — Philly Cheesesteaks decline in quality quickly, they are at their peak the moment they are assembled
- Season and taste before serving — the filling should taste bold and complete before cheese is added
Frequently Asked Questions
Q1: Is ground beef a good substitute for thinly sliced ribeye in a Philly Cheesesteak? Ground beef makes a genuinely excellent substitute for ribeye in terms of flavor and texture, especially when seasoned well with Worcestershire sauce, soy sauce, and the right spice blend. It does not replicate the exact texture of thin-sliced steak — which has a slightly chewier, more distinct bite — but the flavor profile is very close and the accessibility and price make it a practical and delicious alternative for everyday cooking.
Q2: What type of roll works best for a ground beef Philly Cheesesteak? A soft hoagie roll with a slight chew works best. You want bread that is soft enough to bite through easily but sturdy enough to hold the juicy beef filling without immediately disintegrating. Avoid crusty French baguettes — they are too hard and make the sandwich difficult to eat without everything falling out. Italian hoagie rolls or submarine rolls from most supermarket bakeries work perfectly for this easy Philly Cheesesteak with ground beef.
Q3: Can I add mushrooms to this recipe? Absolutely — sliced cremini or white button mushrooms make a fantastic addition to this filling. Add them to the pan at the same time as the bell peppers and cook until they release their moisture and begin to brown around the edges. Mushrooms add a rich umami depth that pairs exceptionally well with the beef and Worcestershire sauce base. Use about 150g of sliced mushrooms per four-sandwich batch.
Q4: Can I make the filling ahead of time? Yes — cook the beef, onion, and pepper filling completely and store it in an airtight container in the refrigerator for up to three days. Reheat it in a skillet over medium heat with a small splash of beef broth to prevent drying. Toast the rolls and melt the cheese fresh right before serving. Pre-assembled sandwiches do not store well because the bread softens quickly from the filling moisture.
Make These Tonight — Seriously, Right Now
This Ground Beef Philly Cheesesteak recipe proves that great food does not require expensive ingredients or complicated techniques. Bold beef filling, caramelized vegetables, melted cheese, and a toasted hoagie roll — ready in 30 minutes, on a budget, with one pan to wash.
Make these for a weeknight dinner, a weekend lunch, or the next time someone walks into your kitchen looking hungry. They will not be disappointed. And neither will you 🙂