You know that specific joy of peeling open a honey bun and getting that first whiff of cinnamon, sugar, and sweet glaze? This Honey Bun Cake recipe homemade captures that exact feeling and scales it up into a full, sliceable, shareable cake that feeds a crowd and disappears just as fast as the gas station version — except infinitely better.
I brought this to a potluck last spring and three people asked me which bakery I ordered it from. Making it from scratch at home took me under an hour of actual work. That ratio of effort to impression is genuinely one of the best in baking. Let us get into exactly how to make it.
Servings: 12 to 15 slices Prep Time: 15 minutes Bake Time: 40 to 45 minutes Cooling and Glazing Time: 20 minutes Total Time: Approximately 1 hour 20 minutes
What You Need — The Complete Ingredients List
This easy honey bun cake from scratch uses accessible, everyday ingredients. Here is everything for a standard 23x33cm rectangular baking pan:
For cake batter:
- 1 box (432g) yellow cake mix (the shortcut that makes this a brilliant boxed cake mix honey bun cake hack)
- 4 large eggs, room temperature
- 3/4 cup vegetable oil
- 1 cup full-fat sour cream, room temperature
- 2 teaspoons pure vanilla extract
Cinnamon swirl filling:
- 1 cup packed light brown sugar
- 2 teaspoons ground cinnamon
- 1/2 teaspoon ground nutmeg (optional but adds warmth)
- 2 tablespoons unsalted butter, melted
For the honey glaze:
- 2 cups powdered sugar, sifted
- 4 tablespoons whole milk (add more for a thinner glaze, less for a thicker one)
- 3 tablespoons honey (the real kind — not honey-flavored syrup)
- 1 teaspoon pure vanilla extract
- Pinch of salt
FYI, the sour cream in this recipe is what makes this a genuinely moist honey bun cake recipe easy rather than a standard box cake result. The fat and acidity in sour cream tenderize the crumb and add a richness that transforms the boxed mix batter into something that tastes completely homemade and bakery-level.
The Making Process — Every Step in Full Detail
Step 1: Prepare Your Pan and Preheat the Oven
Preheat your oven to 175 degrees Celsius. Grease a 23x33cm rectangular baking pan thoroughly with butter or cooking spray, making sure to reach the corners and edges completely. Then dust the greased pan with two tablespoons of all-purpose flour, tilting and tapping to coat every buttered surface before tapping the excess out over the sink.
This butter-and-flour preparation creates a physical barrier between the cake batter and the pan that allows the finished cake to release cleanly for serving. Skipping the flour step and using spray alone often causes the bottom and sides of the cake to stick, which means tearing the bottom crust when you try to serve it. The extra two minutes of pan preparation protects the entire bake.
Alternatively, line the pan with parchment paper with enough overhang on the two long sides to lift the finished cake out entirely after cooling. This is the most reliable method for clean removal and makes slicing and serving significantly easier — especially if you want to present the whole cake on a board rather than serving from the pan.
Step 2: Make the Cinnamon Swirl Filling
Combine the packed light brown sugar, ground cinnamon, ground nutmeg, and melted butter in a small bowl. Stir everything together until the mixture looks like damp, fragrant sand with no dry spots of sugar remaining. The melted butter coats the sugar and spice blend, which helps the filling melt smoothly into the batter during baking rather than sitting in dry pockets.
The brown sugar cinnamon honey bun cake filling is what creates the characteristic swirl of caramelized sweetness running through the center of the cake — exactly like the filling in a real honey bun pastry. Brown sugar rather than white is essential here because the molasses content in brown sugar caramelizes beautifully during baking and produces that sticky, slightly chewy, deeply sweet ribbon of cinnamon that defines the whole cake.
Set the filling aside while you make the batter. Do not make it too far in advance — the butter will soak into the sugar completely if it sits too long and the mixture becomes too dense to spread evenly over the batter later. Making it right before you need it gives the best texture for distributing across the cake.
Step 3: Make the Cake Batter
Place the yellow cake mix, four room-temperature eggs, vegetable oil, sour cream, and vanilla extract into a large mixing bowl. Beat with a handheld electric mixer or stand mixer on medium speed for two to three minutes until the batter looks completely smooth, thick, and uniform with no dry mix pockets visible. Stop and scrape down the sides and bottom of the bowl halfway through and again at the end.
This batter will look noticeably thicker and richer than standard box cake batter — that is exactly right and exactly what the sour cream achieves. Standard box cake batter made with water alone produces a lighter, thinner consistency. The sour cream replaces the water entirely in this recipe and adds fat, protein, and acidity that all contribute to a denser, more tender, more flavorful crumb that holds up to the heavy cinnamon swirl and generous glaze without becoming soggy or collapsing.
Do not overmix the batter past three minutes. Overmixing cake batter develops the gluten in the flour and produces a tougher, chewier texture rather than the soft, tender crumb this simple honey bun coffee cake recipe needs. Mix until smooth and stop — the batter will look slightly lumpy but will smooth out during baking.
Step 4: Layer the Batter and Cinnamon Filling
Pour approximately half of the cake batter into the prepared pan. Use a rubber spatula or offset spatula to spread it into an even, level layer that covers the entire bottom of the pan from corner to corner. Do not rush this spreading step — uneven batter means uneven layering, which causes the cinnamon filling to sink through in some spots and sit on top in others rather than creating a clean center swirl.
Sprinkle the entire cinnamon brown sugar filling mixture evenly over the first layer of batter. Distribute it across the surface all the way to the edges of the pan — not just in the center. Coverage from edge to edge ensures every slice of the finished cake contains the full cinnamon swirl experience rather than just the center pieces.
Pour the remaining batter over the cinnamon filling layer and spread it carefully into an even layer that covers the filling completely. Use gentle spreading motions with the spatula rather than vigorous stirring — you want the two batter layers and the filling between them to remain as distinct as possible going into the oven. Some swirling happens naturally during spreading and baking, which is perfectly fine and actually creates the beautiful marbled appearance in the finished cake.
Step 5: Create the Swirl — Optional but Beautiful
For a more dramatic visual swirl effect, use a butter knife or thin skewer to draw a figure-eight or snake pattern through the batter after the top layer is spread. Insert the knife about halfway down into the batter and drag it through in slow, sweeping S-shaped motions across the entire pan. Do this just three or four times — overdoing the swirling blends the layers together too completely and the distinct cinnamon ribbon disappears.
This marbling technique creates the gorgeous visual effect of cinnamon swirl honey bun cake when you cut into the finished bake — dramatic swoops of amber cinnamon ribbon running through the golden cake. It adds zero time to the recipe and produces a significantly more impressive cross-section when each slice is cut and served. Have you ever served a cake and watched people take a photo of the slice before eating it? This swirl is exactly why.
Step 6: Bake to Golden, Set, and Fragrant
Place the filled pan on the center rack of your preheated 175-degree Celsius oven. Bake for 40 to 45 minutes without opening the oven door during the first 35 minutes. The cinnamon and brown sugar filling produces an incredible aroma as the cake bakes — the whole kitchen smells like a professional bakery within about fifteen minutes and it only gets better from there.
Start testing for doneness at the 40-minute mark. Insert a wooden toothpick or thin skewer into the center of the cake — it should come out with a few moist crumbs clinging to it but no wet batter. A completely clean skewer often indicates very slight overbaking for this type of cake — a few moist crumbs are the sweet spot that guarantees a tender, moist interior rather than a dry one.
The top of the cake should look deep golden brown and feel set and springy when you press it gently in the center with your fingertip. If the center still feels soft and jiggly like liquid underneath the surface, bake for five more minutes and test again. Every oven runs slightly differently — your actual bake time may vary by five minutes in either direction from the stated range.
Step 7: Make the Honey Glaze While the Cake Bakes
Whisk the sifted powdered sugar, whole milk, honey, vanilla extract, and pinch of salt together in a medium bowl until completely smooth with no lumps. Start with four tablespoons of milk and adjust from there — add milk one teaspoon at a time for a thinner, more pourable glaze or reduce the milk slightly for a thicker, more opaque coating. The honey adds both sweetness and a slight floral depth that makes this glaze honey bun cake recipe distinctly different from a plain sugar glaze.
Taste the glaze before applying it to the cake. It should taste sweet, slightly floral from the honey, and have a clean vanilla finish. Adjust if needed — more honey for more floral sweetness, a tiny pinch of extra salt to balance if it tastes cloying, or a drop more vanilla if it tastes flat. The glaze should taste good on its own because it defines the top layer of every bite of the finished cake.
Make the glaze while the cake bakes so it is ready to pour the moment the cake comes out of the oven. Applying the glaze while the cake is still hot allows it to soak slightly into the top surface of the cake rather than sitting entirely on top — this creates that characteristic honey bun stickiness that makes each bite cohesive and indulgent.
Step 8: Glaze the Hot Cake and Let It Set
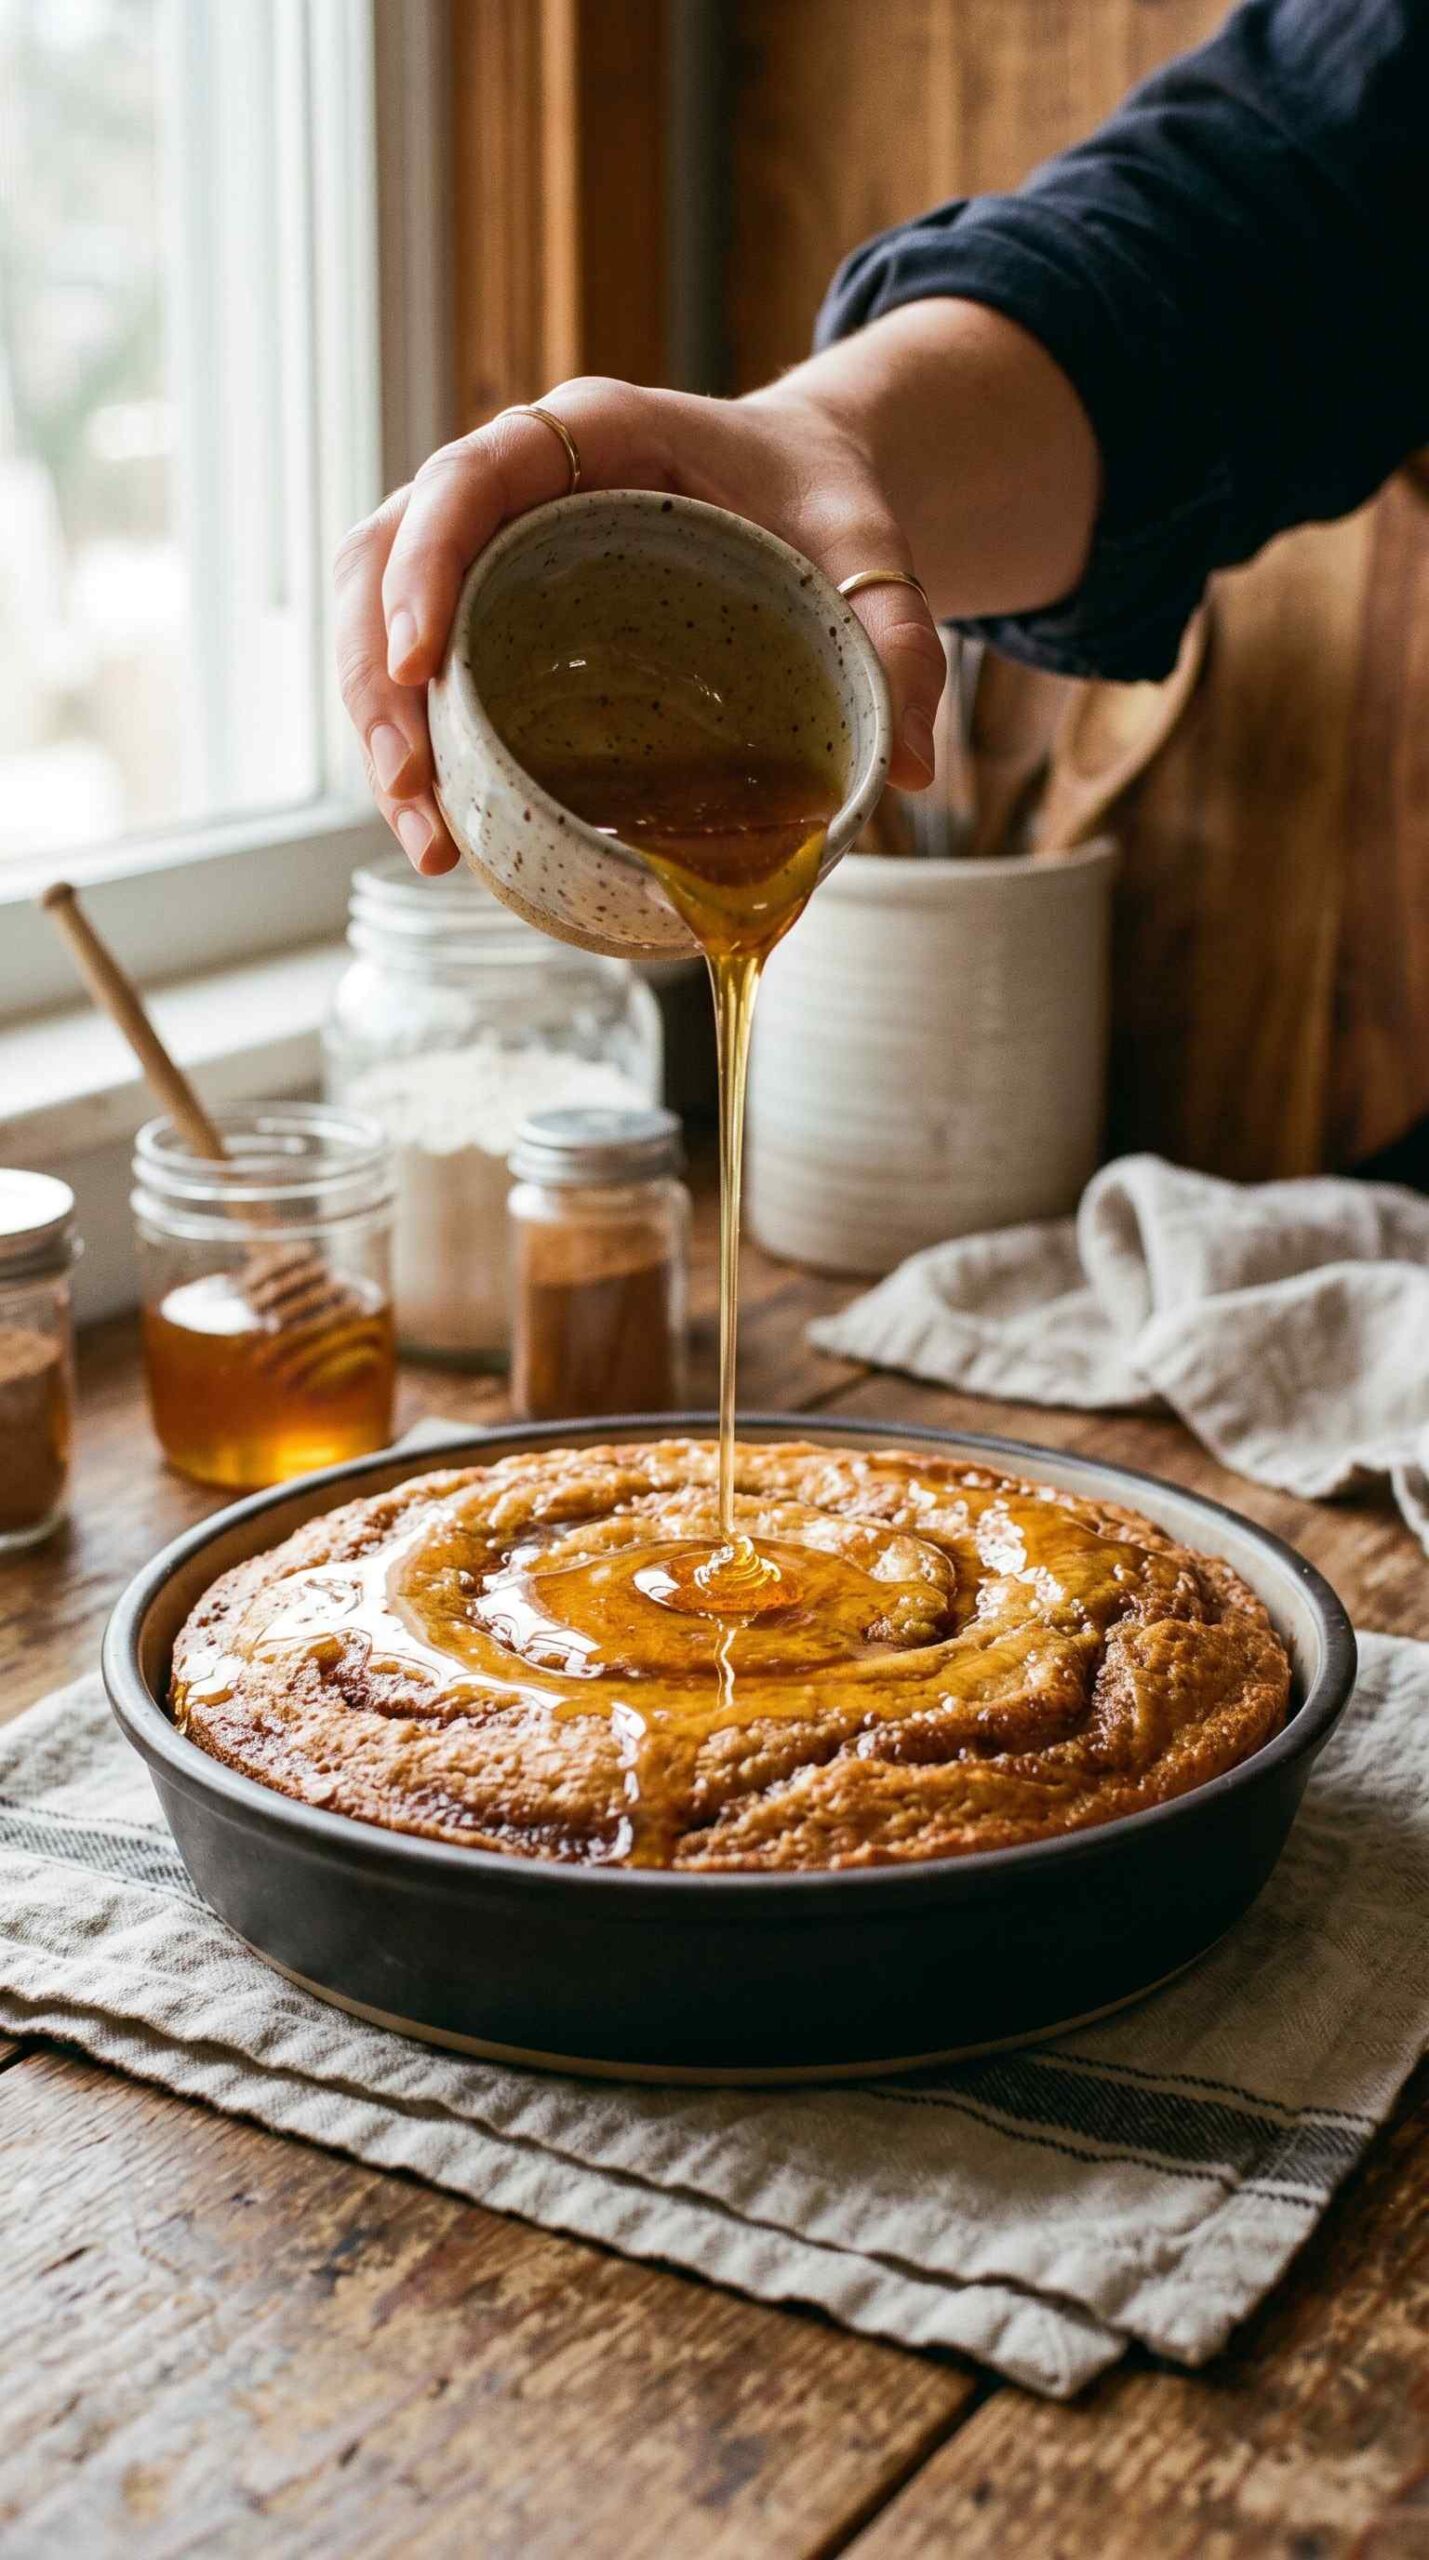
Remove the cake from the oven the moment the toothpick test confirms it is done. Place the pan on a wire cooling rack. Immediately pour the honey glaze evenly over the entire surface of the hot cake, starting from one edge and moving across to the other in a slow, steady stream. Use a spatula or the back of a spoon to nudge the glaze gently into any corners or areas it did not reach naturally.
Watch the glaze absorb partially into the hot cake surface as you pour — this is exactly what you want. The hot steam from the cake pulls the liquid glaze slightly downward into the crumb, creating a moist, lightly glazed interior beneath a thicker glazed crust on the very top surface. This dual-texture result — slightly sticky glazed top with a glaze-soaked interior layer — is the defining characteristic of a proper Southern honey bun cake dessert.
Let the glazed cake cool in the pan for at least 20 minutes before slicing. The glaze needs this time to fully set from its initially pourable consistency into a slightly firm, glossy coating that holds its shape when cut. Slicing too early produces glaze that slides off each piece and pools on the cutting board instead of staying beautifully in place on each slice. IMO, 20 minutes is the minimum — 30 minutes produces cleaner, more defined slices 🙂
From-Scratch Version — No Box Mix Required
Want to make this easy honey bun cake from scratch without a boxed mix? Here is your from-scratch batter to substitute directly:
- 2.5 cups all-purpose flour, sifted
- 1.5 cups granulated sugar
- 1 tablespoon baking powder
- 1/2 teaspoon salt
- 4 large eggs, room temperature
- 3/4 cup vegetable oil
- 1 cup full-fat sour cream
- 2 teaspoons vanilla extract
Whisk the dry ingredients together, then beat in the wet ingredients until smooth. Use this batter exactly as you would the box mix batter — the cinnamon filling, layering method, bake time, and glaze all remain identical. The from-scratch version has a slightly more buttery, complex flavor but takes an extra five minutes of measuring to prepare.
Variations Worth Trying
Cream Cheese Glaze Version
Replace the honey glaze with a cream cheese glaze for a tangier, richer topping. Beat 115g of room-temperature cream cheese with 1.5 cups of powdered sugar, three tablespoons of milk, and one teaspoon of vanilla until smooth. Pour over the hot cake exactly as you would the honey glaze. The cream cheese version pairs particularly well with the brown sugar cinnamon filling and creates a richer, more indulgent flavor profile.
Pecan Honey Bun Cake
Add half a cup of finely chopped toasted pecans to the cinnamon brown sugar filling mixture before layering. The pecans add crunch, a slight bitterness, and a nutty depth that contrasts beautifully with the sweetness of the brown sugar and honey glaze. Scatter an additional two tablespoons of chopped pecans over the wet glaze immediately after pouring for a decorative and textural topping. This version is IMO the best variation of all.
Apple Honey Bun Cake
Fold half a cup of finely diced, peeled apple into the top layer of batter before spreading it over the cinnamon filling. The apple pieces soften during baking and add small pockets of fruity moisture throughout the cake. Add half a teaspoon of ground ginger to the cinnamon filling when making the apple version to complement the fruit. This variation works particularly well in autumn and makes this quick honey bun cake dessert recipe feel seasonal and special.
Storage and Serving Tips
This moist honey bun cake recipe easy stores beautifully:
- Room temperature: Cover the pan tightly with plastic wrap or foil and store at room temperature for up to four days — the sour cream keeps the crumb moist far longer than oil-only cakes
- Refrigerator: Store covered for up to seven days — let each slice come to room temperature for ten minutes before serving for the best texture
- Freezer: Cut into individual slices, wrap each in plastic wrap then foil, and freeze for up to two months — thaw at room temperature for one hour before serving
- Reheating: Ten seconds in the microwave per slice warms it through and softens the glaze back to a slightly sticky, bakery-fresh consistency
Honey Bun Cake That Tastes Like a Giant Pastry Dream
15
servings15
minutes40
minutes20
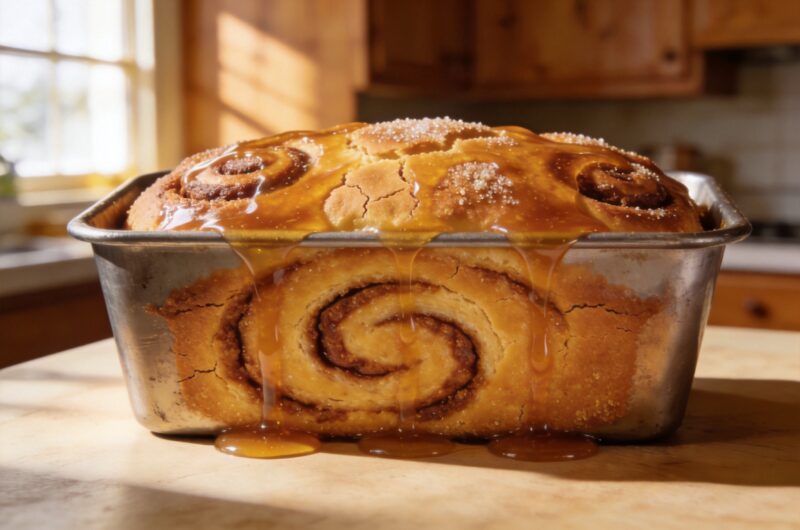
minutesThis Honey Bun Cake layers yellow cake mix batter with a buttery brown sugar cinnamon swirl, bakes until golden, and finishes with a hot honey vanilla glaze that soaks into the crumb. Ready in under 90 minutes, serving 12 to 15 people, it tastes like a giant bakery honey bun.
Ingredients
Cake Batter:
1 box (432g) yellow cake mix
4 large eggs, room temperature
3/4 cup vegetable oil
1 cup full-fat sour cream, room temperature
2 teaspoons pure vanilla extract
Cinnamon Swirl Filling:
1 cup packed light brown sugar
2 teaspoons ground cinnamon
1/2 teaspoon ground nutmeg
2 tablespoons unsalted butter, melted
Honey Glaze:
2 cups powdered sugar, sifted
4 tablespoons whole milk
3 tablespoons honey
1 teaspoon pure vanilla extract
Pinch of salt
- Preheat oven to 175 degrees Celsius and grease and flour a 23x33cm rectangular baking pan thoroughly, reaching all corners and edges
- Combine packed brown sugar, ground cinnamon, ground nutmeg, and melted butter in a small bowl and stir until it resembles damp fragrant sand, then set aside
- Beat yellow cake mix, eggs, vegetable oil, sour cream, and vanilla extract together on medium speed for two to three minutes until completely smooth and thick, scraping down the bowl halfway through
- Pour half the batter into the prepared pan and spread it into an even layer reaching all corners
- Sprinkle the entire cinnamon brown sugar filling evenly over the first batter layer from edge to edge
- Pour the remaining batter over the filling and spread it gently into an even layer that covers the cinnamon filling completely
- Use a butter knife to draw three to four slow S-shaped swirling motions through the batter to create a marbled cinnamon ribbon effect
- Bake at 175 degrees Celsius for 40 to 45 minutes until a toothpick inserted in the center comes out with just a few moist crumbs and the top looks deep golden brown
- While the cake bakes, whisk sifted powdered sugar, milk, honey, vanilla, and salt together until completely smooth, adjusting milk quantity for desired thickness
- Remove the cake from the oven immediately when done and pour the honey glaze evenly over the entire hot surface in a slow, steady stream, using a spatula to reach the corners
- Allow the glazed cake to cool in the pan for 20 to 30 minutes until the glaze sets, then slice and serve directly from the pan
Frequently Asked Questions
Q1: Can I make Honey Bun Cake without a box mix? Absolutely — the from-scratch batter included in this article substitutes directly for the box mix with identical results in terms of the layering method, bake time, and glaze application. The from-scratch version requires an extra five minutes of measuring dry ingredients but produces a slightly more complex, buttery flavor. Both versions deliver an excellent result — the box mix version simply gets you there faster on a busy day.
Q2: Why is my Honey Bun Cake dry instead of moist? Dryness in this cake almost always comes from one of three causes — overbaking past the correct toothpick test, substituting low-fat sour cream for full-fat, or not applying the glaze while the cake was still hot. Full-fat sour cream provides the fat content that keeps this cake moist for days. Applying the glaze hot allows it to partially soak into the crumb and add a layer of internal moisture. Check your oven temperature with a thermometer — many ovens run hot and overbake faster than the stated time.
Q3: Can I use Greek yogurt instead of sour cream? Full-fat plain Greek yogurt works as a direct substitute for sour cream in this recipe with minimal difference in the final result. It has similar fat content, similar acidity, and a comparable thick consistency that produces a tender, moist crumb. Avoid low-fat or non-fat Greek yogurt — the reduced fat content produces a noticeably drier, less tender cake that does not hold moisture as well during storage.
Bake This Today — Your Kitchen Will Thank You
This honey bun cake recipe homemade delivers one of the best effort-to-result ratios in the entire world of home baking. Fifteen minutes of active prep, a single pan, one bowl of batter, one cinnamon filling, and one honey glaze — and you get a cake that tastes genuinely special, travels beautifully, and keeps well for days.
Make it for a weekend brunch, a bake sale, a potluck, or just because a Tuesday deserves something excellent to look forward to. The moment that glaze hits the hot cake and the whole kitchen smells like cinnamon and honey — that is the moment you will understand why this recipe never stops getting made