I made this honey garlic kielbasa for a friend who claimed he did not like sausage for dinner. He asked for the recipe before he finished his plate. That is genuinely the most reliable reaction this dish gets — every single time without exception.
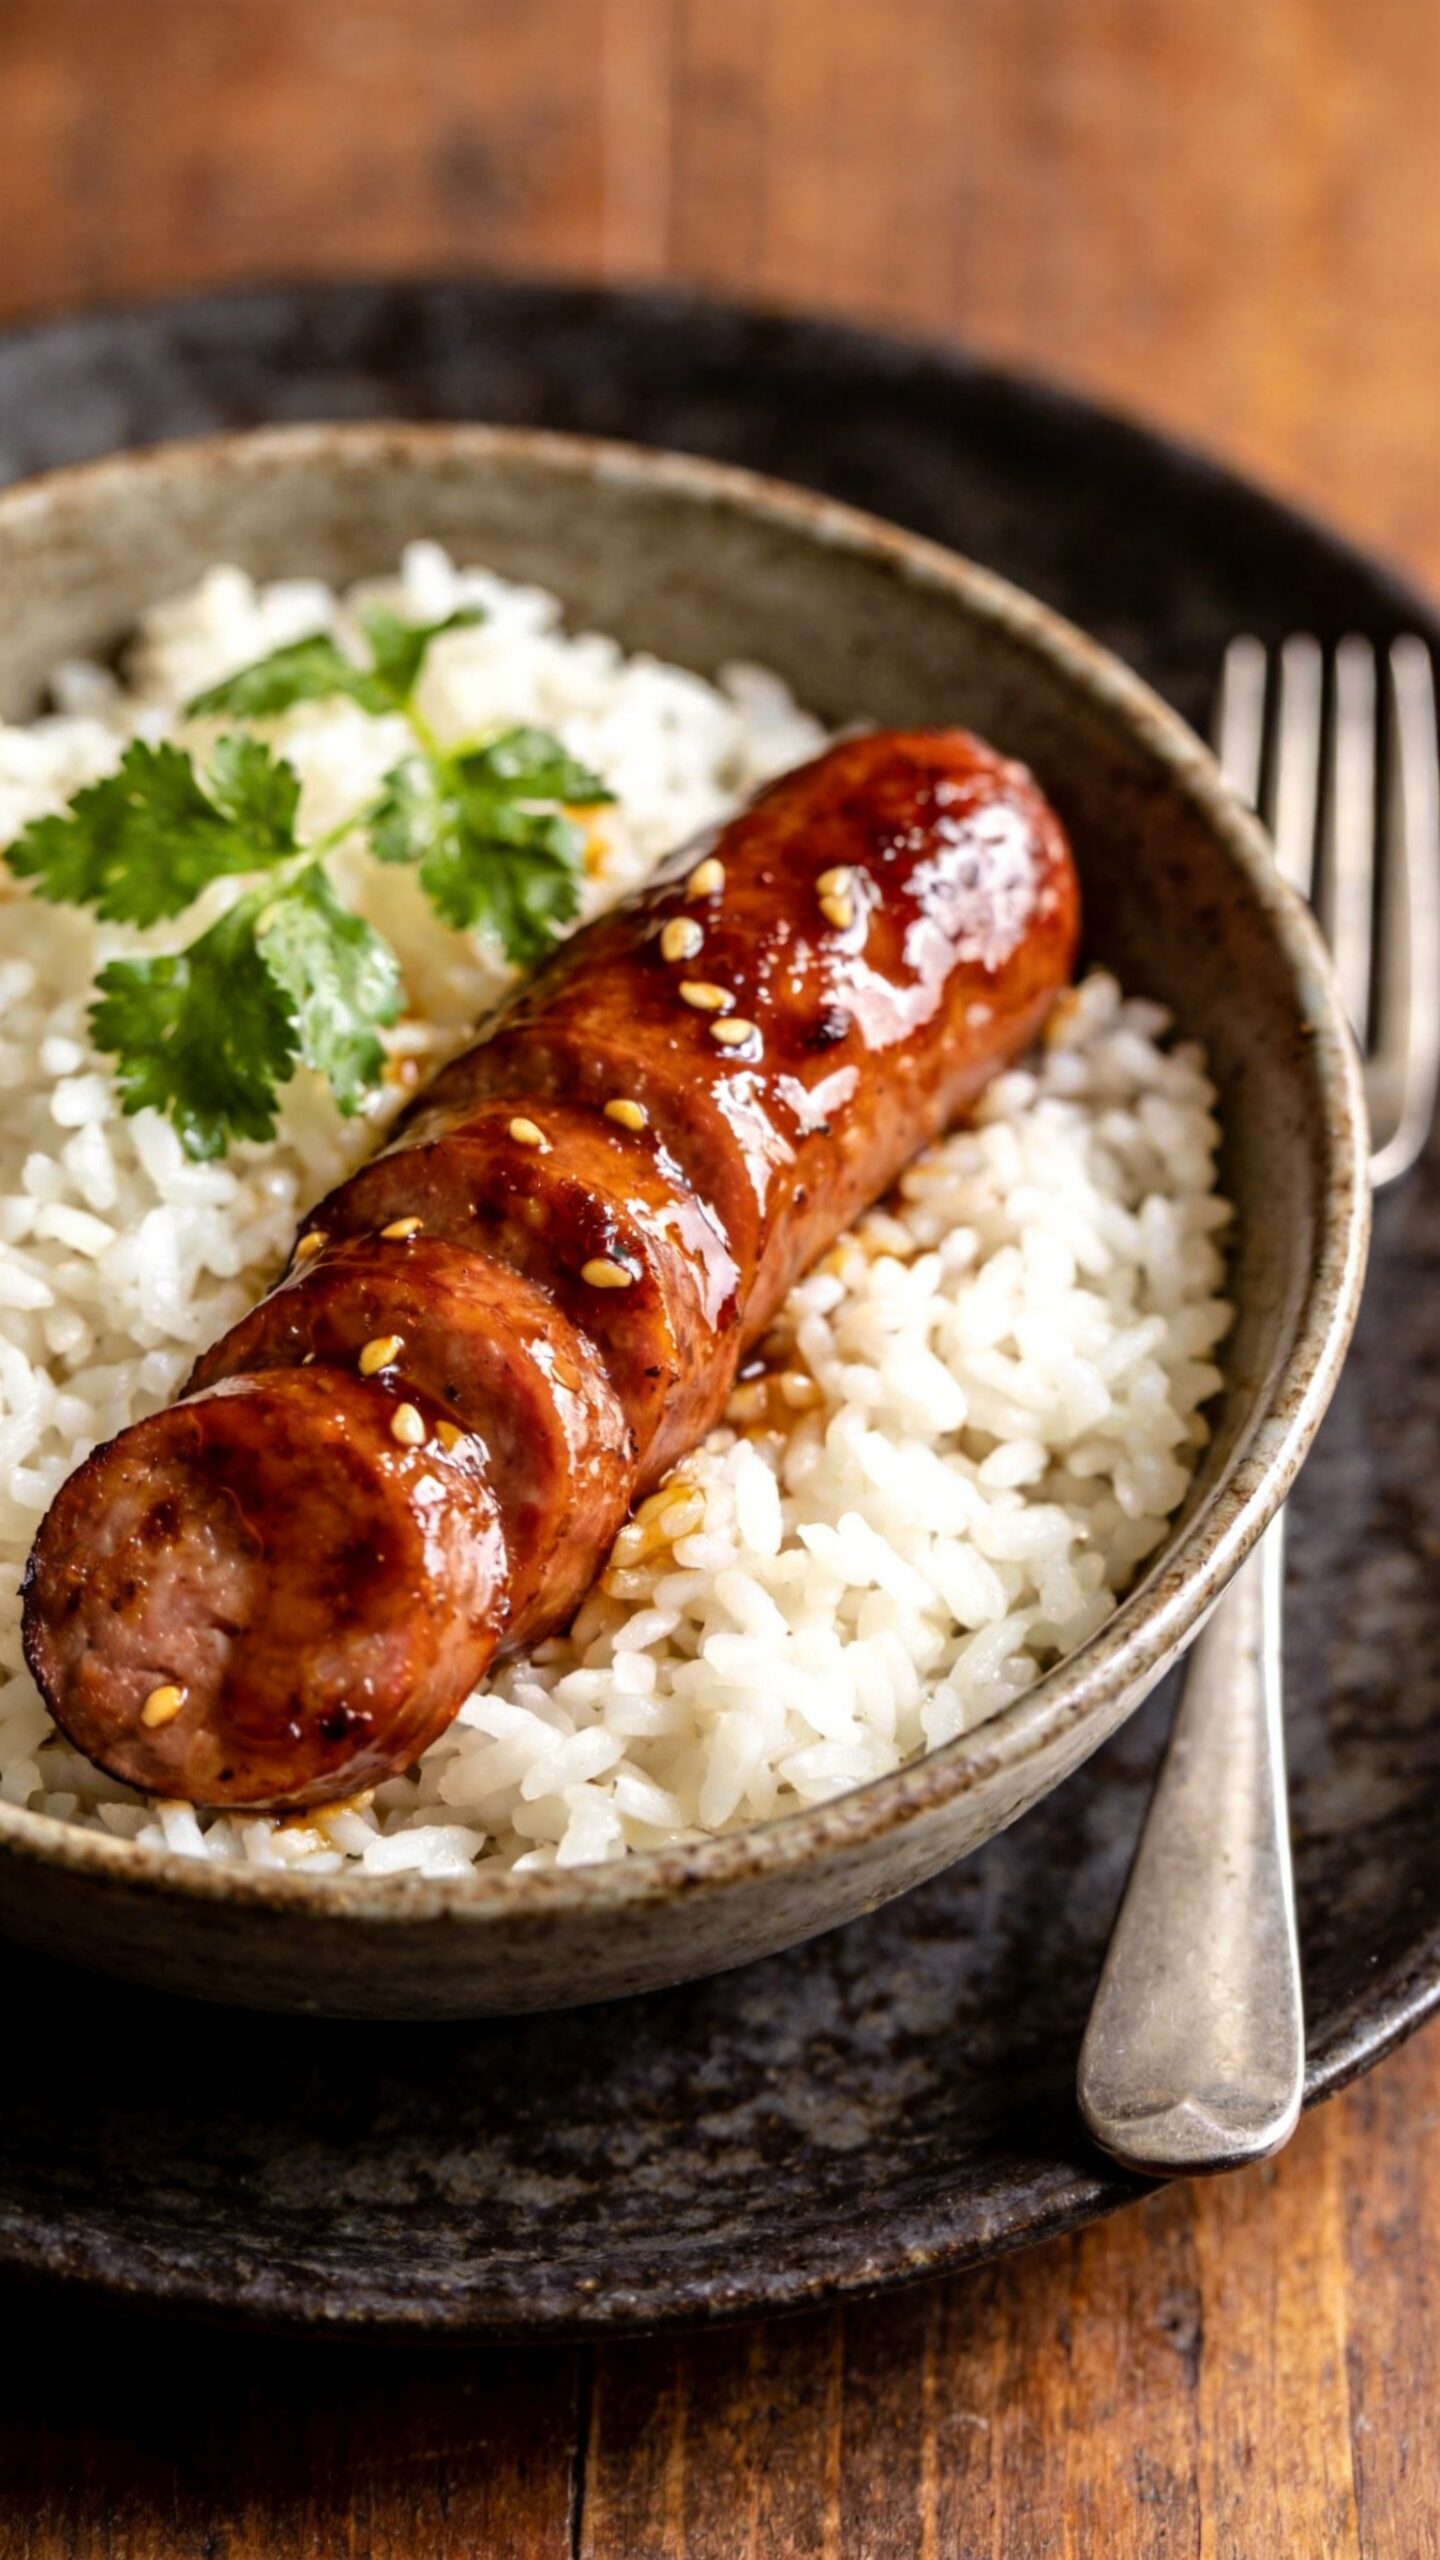
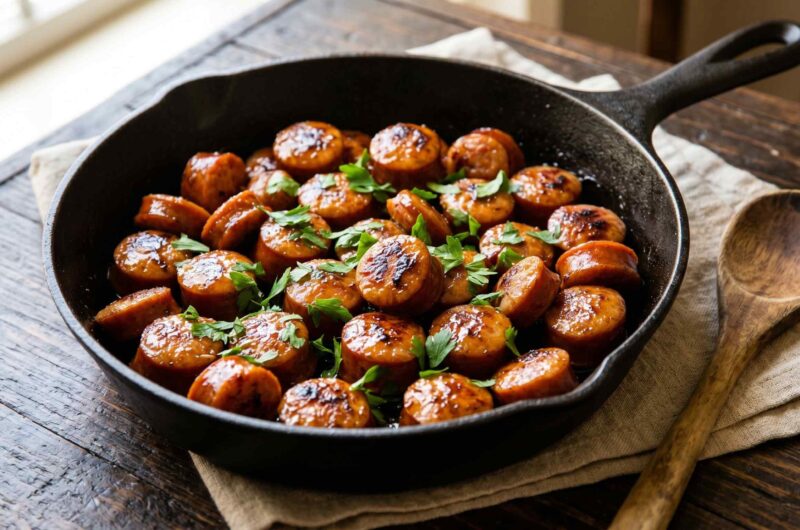
This honey garlic kielbasa recipe combines smoky sausage with a rich, sticky glaze that caramelises beautifully in the pan. The whole thing comes together in one skillet in under 25 minutes, which makes it one of the most practical quick honey garlic sausage dinner recipes you will ever add to your rotation.
What You’ll Need (Ingredients)
Simple, affordable ingredients — everything available at any supermarket without a second thought.
For the kielbasa:
- 450g (1 lb) kielbasa sausage, sliced into 1cm rounds
- 1 tablespoon olive oil or butter
Honey garlic sauce:
- 4 tablespoons honey
- 4 garlic cloves, finely minced
- 2 tablespoons soy sauce
- 1 tablespoon apple cider vinegar or white vinegar
- 1/2 teaspoon smoked paprika
- 1/4 teaspoon black pepper
- 1/4 teaspoon red chilli flakes — optional, for heat
- 1 teaspoon cornstarch mixed with 2 teaspoons cold water
For serving:
- Fresh parsley, roughly chopped
- Steamed rice, mashed potatoes, or crusty bread
How to Make It — Full Step-by-Step Process
Step One: Slice the Kielbasa
Take your 450g kielbasa sausage and place it on a clean chopping board. Slice it into rounds approximately 1cm thick — not too thin, not too chunky. Rounds that are too thin burn quickly in a hot pan before the centre has time to heat through properly. Rounds that are too thick take longer to caramelise and often stay pale on the outside while the centre goes rubbery.
Aim for consistency in your slices because uneven pieces cook at different rates. If some slices are 5mm and others are 2cm, you will pull the pan off the heat with some pieces perfectly caramelised and others still undercooked and pale. A sharp knife and 2 minutes of careful slicing prevents this entirely and makes the cooking process significantly easier to manage.
Step Two: Mix the Honey Garlic Sauce
Before heating the pan, mix your sauce completely so it is ready to pour the moment you need it. Grab a small bowl and add 4 tablespoons of honey, 4 minced garlic cloves, 2 tablespoons of soy sauce, 1 tablespoon of apple cider vinegar, 1/2 teaspoon of smoked paprika, and 1/4 teaspoon of black pepper. If you like a mild heat, add the red chilli flakes now as well.
Whisk everything together with a fork for about 20 seconds until the honey fully incorporates into the soy sauce and the mixture looks uniform and smooth. In a separate tiny bowl, mix 1 teaspoon of cornstarch with 2 teaspoons of cold water until no lumps remain. Set both bowls directly beside the stove — when this dish moves fast, you need everything within arm’s reach immediately.
The cornstarch slurry thickens the sauce during the final stage of cooking and gives it that gorgeous, glossy, restaurant-style coating. Without it, the sauce stays thin and runs off the sausage rather than clinging to it. This one small addition makes a dramatic difference to the final presentation and eating experience of the caramelized sausage honey garlic glaze recipe.
Step Three: Sear the Kielbasa
Place a large skillet or wide frying pan over medium-high heat and allow it to heat up for a full 2 minutes before adding anything. A properly preheated pan makes the difference between sausage that sears and sausage that steams. Add 1 tablespoon of olive oil or butter and swirl to coat the base of the pan completely.
Add the kielbasa slices in a single, even layer across the pan. Do not crowd them — if your pan cannot fit all the slices in a single layer with a little space between each piece, cook them in two separate batches. Crowding the pan traps steam between the pieces, which prevents browning and produces a boiled, grey-looking sausage rather than the deep caramelised colour you want. Give each piece enough space to make full contact with the hot surface.
Leave the kielbasa completely undisturbed for 2 to 3 minutes on the first side. Resist the urge to move or flip anything during this time. The sausage needs uninterrupted contact with the hot pan surface to develop a proper caramelised crust. After 2 to 3 minutes, check the underside of one piece by lifting it with tongs — it should look deep golden-brown, almost mahogany in colour. If it looks pale, give it another minute before flipping.
Flip every piece using tongs and cook the second side for another 2 to 3 minutes using the same method. Remove the pan from heat briefly and transfer the seared kielbasa slices to a plate. Do not discard the pan — you will use the same one for the sauce immediately.
Step Four: Build the Honey Garlic Sauce in the Pan
Return the same skillet to medium heat. All those golden, caramelised bits stuck to the bottom of the pan from searing the sausage carry enormous flavour — you want to keep every bit of them in the sauce rather than scraping them into the bin.
Pour the honey garlic mixture you prepared earlier directly into the hot pan. It will sizzle loudly on contact with the residual heat — that is perfectly normal. Stir the sauce with a wooden spoon or silicone spatula immediately, scraping up all the browned bits from the bottom as you stir. These bits dissolve into the sauce within about 30 seconds and add a deep, savoury richness that gives the smoky kielbasa and honey garlic sauce its complex, layered character.
Allow the sauce to cook over medium heat for 2 minutes, stirring regularly, until it reduces slightly and starts to smell intensely fragrant. The garlic should be fully cooked through at this point and the sauce should look slightly darker and more concentrated than when you first poured it in. Add the cornstarch slurry now by pouring it slowly into the simmering sauce while stirring continuously. Cook for a further 60 to 90 seconds until the sauce thickens noticeably and turns glossy. The finished sauce should coat the back of a spoon and hold its shape briefly before dripping off.
Step Five: Combine and Glaze
Add all the seared kielbasa slices back into the pan with the thickened honey garlic sauce. Use tongs or a spatula to turn every piece through the sauce thoroughly, making sure each slice gets coated on all sides. The sauce should cling to every piece and look shiny and rich rather than pooling at the bottom of the pan.
Turn the heat up to medium-high for a final 60 seconds. This brief blast of higher heat caramelises the sauce coating on each kielbasa slice slightly, creating a sticky, lacquered exterior that looks and tastes genuinely incredible. Watch the pan carefully during this final minute — honey-based sauces can go from perfectly caramelised to burnt very quickly on high heat, so stay attentive and remove the pan from heat the moment the sauce starts to look deeply golden rather than just glossy.
Step Six: Garnish and Serve
Remove the pan from heat and scatter a generous handful of roughly chopped fresh parsley directly over the glazed kielbasa. The parsley adds a fresh, slightly bitter contrast that cuts beautifully through the rich sweetness of the honey garlic glaze. It also makes the dish look significantly more appealing on the plate — a pan of brown glazed sausage without any garnish looks perfectly fine, but the same dish with bright green parsley scattered over it looks genuinely restaurant-worthy.
Serve immediately while the glaze is still warm and sticky. Spoon the kielbasa and any remaining sauce in the pan directly over steamed white rice, creamy mashed potatoes, or thick slices of crusty bread to catch every last drop. Do not let it sit in the pan for longer than 5 minutes before serving — the honey in the sauce continues to cook even off the heat and can make the glaze sticky to the point of hardening slightly if left too long.
Why This Recipe Works So Well Every Time
Have you ever noticed that the most reliably impressive dinners are often the simplest ones? This one pan kielbasa honey garlic recipe works so consistently because the flavour combination is genuinely foolproof. Smoky, savoury sausage plus sweet honey plus sharp garlic plus a touch of acid from the vinegar creates a balance that hits every taste receptor at once.
Kielbasa specifically works better in this recipe than most other sausages because of its smoking process. The deep smokiness of kielbasa cuts through the sweetness of the honey and prevents the glaze from tasting cloying or one-dimensional. A plain pork sausage in the same sauce tastes noticeably sweeter and less complex. The smokiness is doing serious heavy lifting here, even if it never gets the credit it deserves. :/
Baked Version: Honey Garlic Kielbasa in the Oven
The stovetop skillet method delivers the fastest result with the best caramelisation. However, the baked honey garlic kielbasa recipe easy option works brilliantly for hands-off cooking when you need the stove free for other things.
Preheat your oven to 200°C (400°F). Slice the kielbasa and spread it in a single layer across a lined baking tray. Mix the honey garlic sauce as described above and pour it evenly over the sausage slices. Toss to coat every piece thoroughly, then spread back into a single layer. Bake for 20 minutes, flipping the pieces once at the halfway point. For the last 3 minutes, switch the oven to grill or broil mode to caramelise the top surface of each slice and deepen the colour significantly. Remove, garnish with parsley, and serve immediately.
Serving Ideas That Actually Work
This dish is genuinely flexible and pairs well with a wide range of sides. Here are the combinations that work best:
With rice: Steamed jasmine or basmati rice absorbs the extra honey garlic sauce from the plate and turns a simple sausage dish into a full, satisfying meal. This is the quickest and most practical pairing for a weeknight.
With mashed potatoes: Creamy mashed potatoes balance the sticky sweetness of the glaze beautifully. The richness of butter and cream in the mash softens the sharpness of the garlic and creates a more indulgent overall experience.
With crusty bread: Thick slices of toasted sourdough or a warm baguette work brilliantly for scooping up the sauce. This version works well as a casual sharing dish for a group rather than a plated individual meal.
With roasted vegetables: Bell peppers, courgette, and red onion roasted alongside the kielbasa absorb the dripping honey garlic glaze and taste extraordinary. This turns the simple kielbasa dinner recipe sweet garlic concept into something close to a full sheet pan meal.
Caramelized Kielbasa With Sweet Garlic Sauce Recipe
4
servings5
minutes20
minutesThis honey garlic kielbasa recipe sears smoky sausage rounds until deeply caramelised, then glazes them in a sticky honey garlic sauce made with soy sauce, vinegar, and smoked paprika. Ready in 25 minutes in one skillet, it delivers bold, restaurant-quality flavour with minimal effort and maximum weeknight satisfaction.
Ingredients
Kielbasa:
450g kielbasa sausage, sliced into 1cm rounds
1 tablespoon olive oil or butter
Honey garlic sauce:
4 tablespoons honey
4 garlic cloves, finely minced
2 tablespoons soy sauce
1 tablespoon apple cider vinegar
1/2 teaspoon smoked paprika
1/4 teaspoon black pepper
1/4 teaspoon red chilli flakes (optional)
1 teaspoon cornstarch mixed with 2 teaspoons cold water
For serving:
Fresh parsley, chopped
Steamed rice, mashed potatoes, or crusty bread
- Slice 450g kielbasa into even 1cm rounds on a clean chopping board
- Combine honey, minced garlic, soy sauce, vinegar, smoked paprika, and black pepper in a small bowl
- Whisk sauce ingredients together until smooth and set beside the stove
- Mix cornstarch with cold water in a separate small bowl until fully dissolved
- Heat a large skillet over medium-high heat for 2 full minutes
- Add olive oil or butter and swirl to coat the pan base completely
- Add kielbasa slices in a single layer with space between each piece
- Cook undisturbed for 2 to 3 minutes until the underside turns deep golden brown
- Flip each piece with tongs and cook the second side for 2 to 3 minutes
- Transfer seared kielbasa to a clean plate and set aside
- Return the same pan to medium heat without cleaning it
- Pour honey garlic sauce into the hot pan and stir immediately to lift browned bits
- Cook sauce for 2 minutes stirring regularly until fragrant and slightly reduced
- Pour cornstarch slurry slowly into the simmering sauce while stirring continuously
- Cook for 60 to 90 seconds until sauce thickens and turns glossy
- Add seared kielbasa back into the pan and toss to coat every piece thoroughly
- Increase heat to medium-high for a final 60 seconds to caramelise the glaze
- Remove from heat immediately once sauce looks deeply golden and sticky
- Scatter fresh chopped parsley generously over the top
- Serve immediately over rice, mashed potatoes, or crusty bread
Common Mistakes to Avoid
Not preheating the pan: A cold or lukewarm pan produces steamed, grey sausage instead of seared, caramelised rounds. Always preheat for a full 2 minutes before adding oil and sausage.
Crowding the pan: Too many sausage slices in a small pan traps steam and prevents browning. Cook in batches if needed — the extra 3 minutes it takes is absolutely worth the result.
Skipping the cornstarch slurry: Without it, the sauce stays thin and watery and slides straight off the sausage rather than coating it properly. The cornstarch step takes 20 seconds and transforms the final texture completely.
Adding the sauce too early: Adding honey garlic sauce while the sausage is still in the pan and on high heat burns the honey before it can caramelise properly. Always sear the sausage first, set it aside, build the sauce separately, then combine at the end.
FAQs
Q1: Can I use a different type of sausage in this recipe?
Yes — andouille, smoked bratwurst, or chorizo all work well as substitutes. However, the smokiness of kielbasa is what makes this easy kielbasa skillet recipe honey garlic version taste so distinctively good. Other sausages produce a slightly different flavour balance, but the recipe still delivers excellent results with any pre-cooked smoked sausage variety.
Q2: Can I make this recipe ahead of time?
Yes. Cook the full recipe and store in an airtight container in the fridge for up to 3 days. Reheat in a pan over medium heat with a splash of water to loosen the sauce. The flavour actually develops further overnight as the sausage absorbs more of the honey garlic glaze, which makes the reheated version taste noticeably richer than the freshly made one.
Q3: How do I stop the honey from burning in the pan?
Keep the heat at medium rather than high when building the sauce, and stir continuously once the honey hits the pan. Honey burns fast on high heat because of its high sugar content. Additionally, adding the soy sauce and vinegar to the honey before it goes into the pan dilutes the sugar concentration and gives you more time to work with it safely.
Q4: Is kielbasa already cooked before I buy it?
Most kielbasa sold in supermarkets is fully cooked and smoked, which means it is safe to eat straight from the packet. The pan searing process in this recipe is about developing flavour and caramelisation rather than cooking the sausage through. However, always check the packaging label — raw kielbasa exists and requires a longer cooking time to reach a safe internal temperature of 74°C (165°F).
Q5: Can I add vegetables to this recipe?
Absolutely. Sliced bell peppers and onion work best — add them to the pan after removing the seared sausage and cook for 3 to 4 minutes until softened before adding the sauce. The vegetables absorb the honey garlic glaze beautifully and turn this into a more complete one pan kielbasa honey garlic recipe with minimal extra effort.
Wrapping It Up
This honey garlic kielbasa recipe delivers bold, caramelised flavour in just 25 minutes using one pan and a handful of pantry staples. Sear the kielbasa properly, build the sauce in the same pan, add the cornstarch slurry, and glaze everything together at the end. Those four steps guarantee a sticky, flavour-packed dinner that genuinely impresses every single time.
Whether you make the stovetop skillet version on a busy weeknight or the baked honey garlic kielbasa recipe easy oven method for a hands-off approach, the result is consistently excellent. FYI, you will want to double the batch — because leftovers of this dish are even better the next day.