Okay, let’s be real. You’ve probably had fried chicken a hundred times. But have you ever had butter fried chicken that made you close your eyes and forget everything? That’s what this recipe does. It’s crispy, juicy, buttery, and honestly life-changing.
Why Butter Makes All the Difference
Most people fry chicken in plain oil and call it a day. But adding butter? That’s where the magic happens. Butter adds a rich, nutty flavor that oil simply cannot replicate.
It also helps the coating get that deep golden color you see in every great Southern Fried Chicken Recipe. The butter caramelizes slightly during cooking, giving the crust an extra crunch. IMO, butter is the secret weapon nobody talks about enough.
Ingredients You’ll Need
For the Chicken:
- 4 bone-in, skin-on chicken pieces (legs or thighs work best)
- 1 teaspoon salt
- 1 teaspoon black pepper
- 1 teaspoon garlic powder
- 1 teaspoon onion powder
- 1/2 teaspoon smoked paprika
- 1/2 teaspoon cayenne pepper (optional but recommended)
For the Coating:
- 1 and 1/2 cups all-purpose flour
- 1 teaspoon baking powder
- 1 teaspoon salt
- 1/2 teaspoon black pepper
For the Egg Wash:
- 2 large eggs
- 3 tablespoons whole milk
For Frying:
- 4 tablespoons unsalted butter
- 2 cups vegetable oil
- 3 cloves garlic, smashed
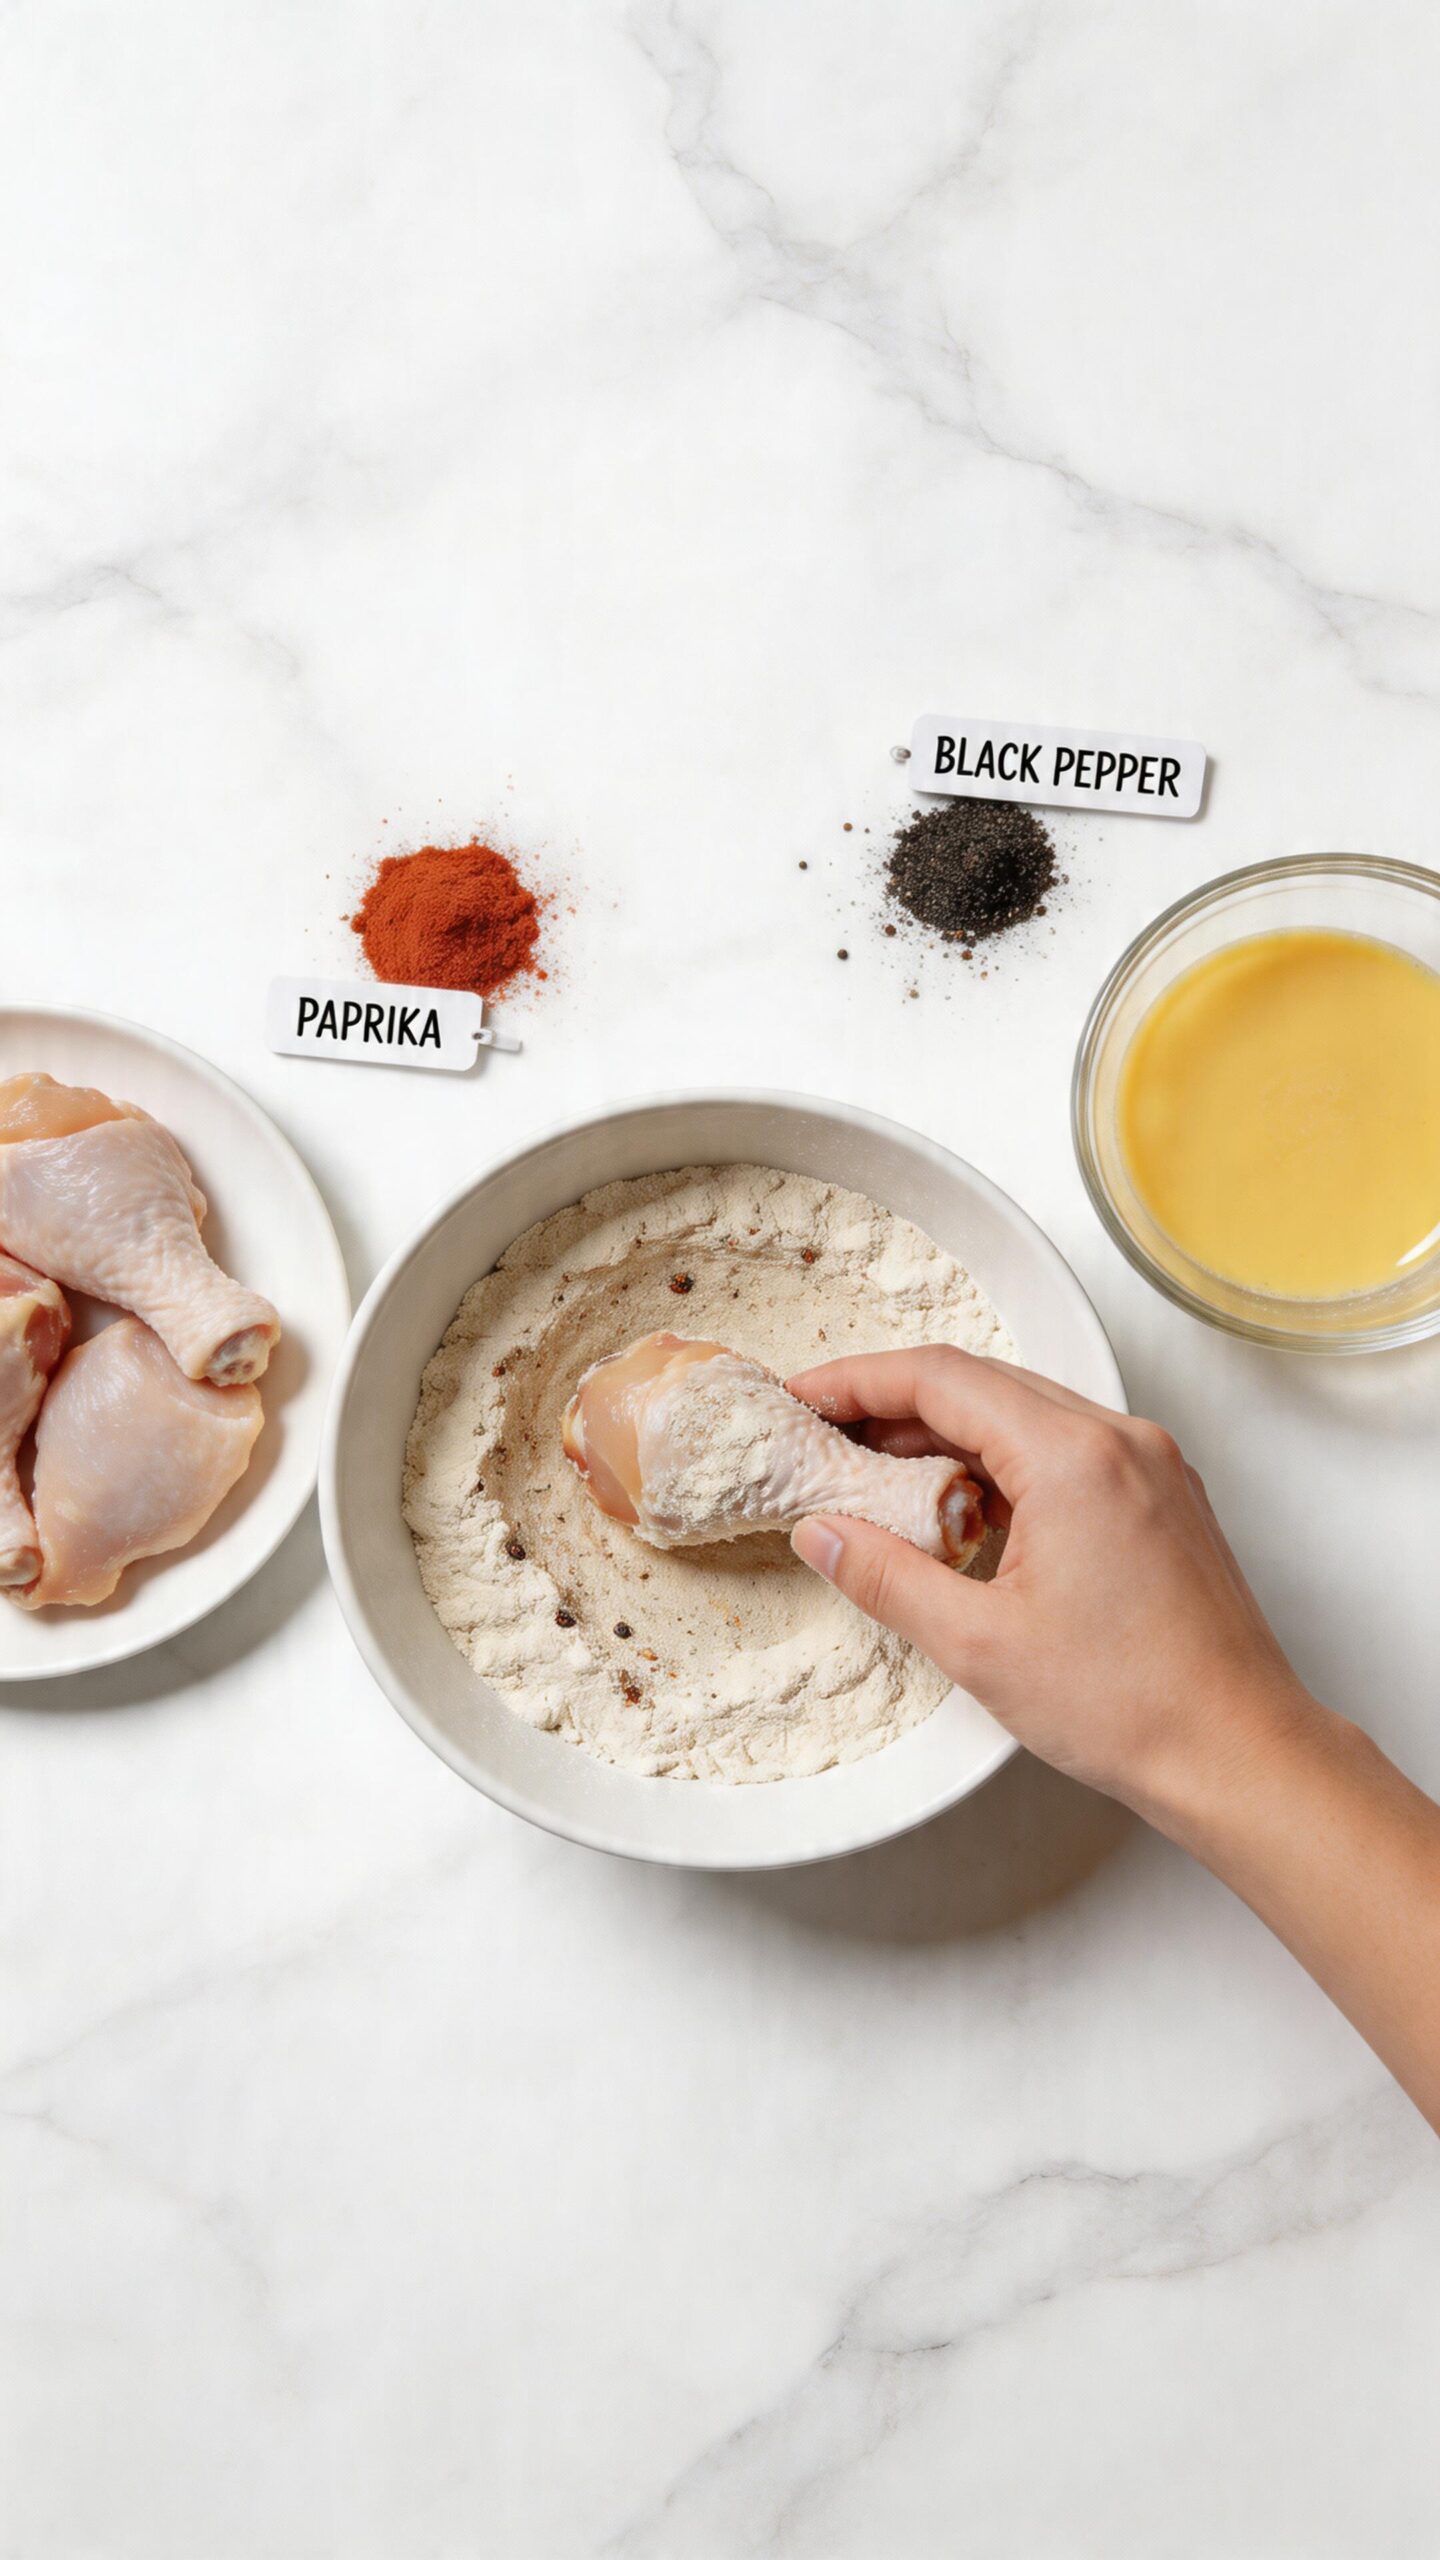
How to Make Butter Fried Chicken
Step 1 — Prepare the Chicken
- Pat each chicken piece completely dry using paper towels
- Dry chicken is the first secret to a crispier crust — don’t skip this
- Season every piece generously with salt, pepper, garlic powder, onion powder, paprika, and cayenne
- Let the seasoned chicken sit at room temperature for at least 10 minutes before moving on
Pro Tip: Drying the chicken with paper towels removes surface moisture that would otherwise create steam during frying. Steam is the number one enemy of a crispy crust.
Step 2 — Make the Coating Mix
- In a large bowl, combine the flour, baking powder, salt, and black pepper
- Mix everything together evenly so the seasoning is distributed throughout the flour
- Baking powder is the trick that makes the coating puff up slightly and turn extra crispy
- Set this bowl aside and move on to the egg wash
Pro Tip: Do not skip the baking powder. It reacts with the heat during frying and creates tiny air bubbles in the crust that make it dramatically crunchier than regular flour alone.
Step 3 — Prepare the Egg Wash
- Crack 2 large eggs into a separate bowl
- Add 3 tablespoons of whole milk
- Whisk together until the mixture is fully smooth and combined
- This egg wash is what binds the flour coating to the chicken — don’t skip it
Pro Tip: Adding milk instead of water to your egg wash makes the coating slightly richer and helps it brown more evenly during frying.
Step 4 — Coat the Chicken
This is the most important step. Take your time and don’t rush it.
- First: Dip each chicken piece into the flour mixture and coat it lightly all over
- Second: Shake off any excess flour — you only want a thin base layer at this point
- Third: Dip the floured chicken into the egg wash and let the excess drip off naturally
- Fourth: Drop it back into the flour mixture for a second coat
- Fifth: Press and squeeze the flour firmly into the chicken with both hands
- Sixth: Place the coated pieces on a wire rack and rest for 5 full minutes before frying
Pro Tip: That pressing step creates those beautiful crispy ridges and crags on the crust. The resting time lets the coating bond properly to the chicken so it does not fall off during frying.
Step 5 — Set Up Your Frying Station
- Pour 2 cups of vegetable oil into a deep, heavy-bottomed skillet or cast iron pan
- Add 4 tablespoons of unsalted butter and the 3 smashed garlic cloves directly into the oil
- Heat everything together over medium heat until the butter fully melts
- Use a kitchen thermometer and wait until the oil reaches 325F to 340F before adding chicken
- Too hot means burnt coating with raw inside. Too cool means greasy and soggy chicken
Pro Tip: A cast iron pan is strongly recommended here. It holds heat more evenly than a regular skillet and keeps the oil temperature stable when you add the cold chicken pieces.
Step 6 — Fry the Chicken
- Carefully lower 2 pieces of chicken into the hot butter-oil mixture at a time
- Do not overcrowd the pan — this drops the oil temperature and ruins the crust
- Fry the first side for 8 to 10 minutes without moving or pressing the chicken at all
- Watch the edges — when they turn deep golden, flip carefully using tongs
- Fry the second side for another 8 to 10 minutes on slightly lower heat
- While frying, spoon some of the hot butter-oil over the top of the chicken pieces
- That basting step adds extra flavor and keeps the coating perfectly crispy
Pro Tip: Resist the urge to move or press the chicken while it fries. Every time you touch it, you risk breaking the crust and losing that crunch you worked so hard to build.
Step 7 — Check for Doneness
- Insert a meat thermometer into the thickest part of the chicken
- The internal temperature must read 165F before you remove it from the pan
- The coating should look deeply golden brown — not pale yellow, not dark brown
- Press the coating gently with your tongs — it should feel firm and crunchy, not soft
Pro Tip: If the coating is browning too fast but the inside is not cooked yet, lower the heat slightly and cover the pan loosely with a lid for the last few minutes of cooking.
Step 8 — Rest Before Serving
- Remove the chicken from the pan and place it on a wire rack — not paper towels
- Paper towels trap steam underneath and soften the crust you worked so hard to build
- Let the chicken rest on the rack for 5 minutes before serving
- This allows the juices to redistribute inside the meat so every bite stays moist
Pro Tip: If you are frying multiple batches, place the wire rack in a 200F oven to keep the finished pieces warm and crispy while you cook the rest.
Fried Chicken Without Buttermilk
This recipe works perfectly as a Fried Chicken No Buttermilk Recipe. I skip buttermilk often and honestly never miss it. Milk and butter together create the same tenderness, making this the best Easy Fried Chicken Recipe Without Buttermilk you will find.
Flavor Variations
Garlic Butter Fried Chicken
- Add an extra teaspoon of garlic powder to your flour coating
- Toss in an extra smashed garlic clove into the frying oil
- Perfect for Garlic Fried Chicken lovers who want a stronger, bolder flavor
Spicy Butter Chicken
- Add 1 teaspoon of chili flakes directly into the flour coating
- Increase the cayenne pepper to a full teaspoon
- Great for spicy lovers who want serious heat in every bite
Baked Version
- Coat the chicken using the exact same steps above
- Spray generously with cooking oil on all sides
- Bake at 400F for 30 minutes, flipping once halfway through
- This becomes your go-to Baked Fried Chicken Recipe without any deep frying
Pro Tip: For the baked version, place the chicken on a wire rack set inside a baking sheet. This allows hot air to circulate all around the chicken and crisps up the bottom just as well as the top.
Why This Recipe Works
There are three main reasons this recipe always delivers perfect results:
- Butter enhances flavor in a way that plain oil never can
- Double coating creates crispiness by building layers in the crust
- Proper frying temperature locks moisture inside the meat while crisping the outside
These three steps together create the best Fried Chicken Meals you can make at home.
Serving Ideas
Pair your butter fried chicken with any of these sides for a complete meal:
- Mashed potatoes
- Coleslaw
- Fries
- Rice
- Cornbread
- Mac and cheese
These combinations make perfect Fried Chicken Dinner Ideas for any night of the week. FYI, coleslaw and fried chicken together is one of the greatest food pairings ever invented.
Common Mistakes to Avoid
Avoid these mistakes and your chicken will come out perfect every single time:
- Overcrowding the pan — always fry in small batches of 2 pieces at a time
- Frying on high heat — medium heat is the sweet spot for cooking through without burning
- Skipping seasoning — season the meat itself, not just the coating
- Not drying the chicken — wet chicken creates steam that destroys the crust
- Skipping the resting step — both before frying and after frying, resting matters
Storage Tips
Store your leftover butter fried chicken properly to keep it tasting great:
- Refrigerator: Store in an airtight container for up to 3 days
- Freezer: Wrap tightly in foil and freeze for up to 2 months
- Reheating: Always reheat in an oven at 375F for 10 to 15 minutes to bring back crispiness
- Never reheat in a microwave — it turns the coating soft and rubbery
Pro Tip: When reheating from frozen, let the chicken thaw in the refrigerator overnight first. Then reheat in the oven uncovered so the crust crisps back up properly.
Tips to Make This Recipe Even Better
- Use bone-in chicken for more flavor and juicier results every time
- Cast iron pans conduct heat more evenly than regular skillets — highly recommended
- For fried chicken tenderloins, reduce frying time to 5 to 6 minutes per side
- Season every layer — the meat, the egg wash lightly, and the flour coating
- Let the oil come back up to temperature between batches before adding the next pieces
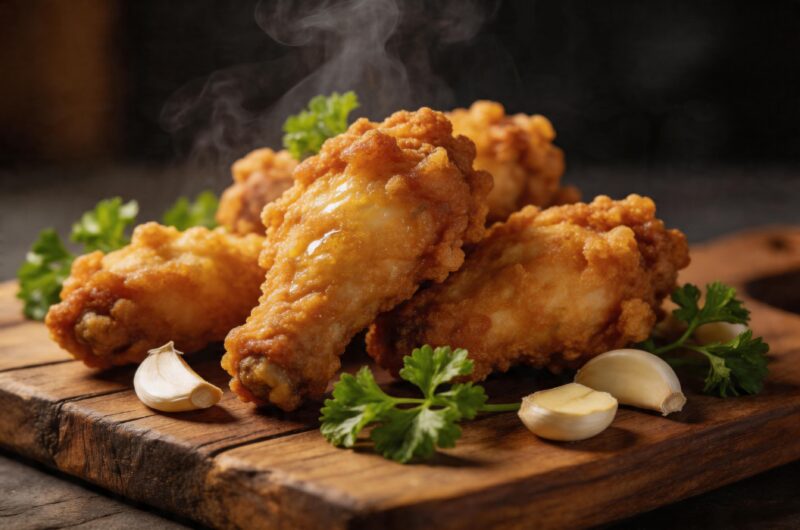
Homemade Butter Chicken That’s Better Than Takeout
Course: Fried4
servings15
minutes30
minutes300
kcalButter fried chicken is a crispy, golden, no-buttermilk recipe using seasoned chicken coated in spiced flour and egg wash, then fried in a butter-oil blend with garlic. The butter creates a rich, flavorful crust while keeping the inside juicy. Ready in 45 minutes and serves 4 people perfectly.
Ingredients
Full Ingredients List
For the Chicken:
4 bone-in, skin-on chicken pieces
1 tsp salt
1 tsp black pepper
1 tsp garlic powder
1 tsp onion powder
1/2 tsp smoked paprika
1/2 tsp cayenne pepper
For the Coating:
1.5 cups all-purpose flour
1 tsp baking powder
1 tsp salt
1/2 tsp black pepper
For the Egg Wash:
2 large eggs
3 tbsp whole milk
For Frying:
4 tbsp unsalted butter
2 cups vegetable oil
3 garlic cloves, smashed
- Step 1: Pat chicken dry and season with all spices
- Step 2: Mix flour, baking powder, salt, and pepper in a bowl
- Step 3: Whisk eggs and milk into a smooth egg wash
- Step 4: Coat chicken in flour, dip in egg wash, coat in flour again, press firmly, rest 5 minutes
- Step 5: Heat oil, butter, and garlic together to 325 to 340F
- Step 6: Fry 2 pieces at a time for 8 to 10 minutes per side, basting with butter-oil
- Step 7: Check internal temp reaches 165F
- Step 8: Rest on wire rack for 5 minutes and serve
FAQs
Q1: Can I make this with no buttermilk and still get juicy chicken? Yes, absolutely. The egg and milk wash locks moisture into the coating while the butter in the oil adds richness. You genuinely will not miss the buttermilk at all.
Q2: What oil works best for butter fried chicken? Vegetable oil or canola oil work best because of their high smoke point. The butter is added purely for flavor — it is not the primary frying fat.
Q3: How do I keep fried chicken crispy after cooking? Place it on a wire rack inside a 200F oven. Never cover it or stack the pieces — that creates steam and destroys the crust completely.
Q4: Is this recipe beginner-friendly? Yes, completely. The steps are straightforward and all ingredients are pantry staples. Follow each step without rushing and you will nail it on the very first try.
Q5: How do I make it taste like Southern fried chicken without buttermilk? Season every single layer — the raw chicken, lightly in the egg wash, and throughout the flour coating. That layered seasoning approach is the real Southern secret.
Conclusion
Butter fried chicken is not complicated. It is just fried chicken done right, with one clever ingredient that changes everything. You get a crispy golden coating, juicy interior, and that rich buttery flavor in every single bite.
Whether you are cooking a quick weeknight dinner or showing off at a family gathering, this recipe delivers every single time. Give it a try this weekend — your kitchen is about to smell absolutely incredible.