Buttercream frosting is one of those things that looks like it requires skill, a piping certification, and about three years of practice. It does not. It requires butter, icing sugar, and five minutes of mixing — and the result is a smooth, fluffy, pipeable frosting that makes any cake or cupcake look considerably more impressive than the actual effort involved.
This buttercream frosting recipe easy enough for a weeknight bake uses unsalted butter as the base — which gives you full control over the saltiness of the final result — alongside icing sugar, a splash of milk, and vanilla extract. The result pipes beautifully, holds its shape at room temperature, and tastes like the frosting you get at a good bakery rather than the overly sweet, slightly greasy version most people have experienced at some point and quietly tried to forget.
What You’ll Need (Ingredients)
Simple, pantry-friendly, and entirely accessible. The quality of the butter makes the biggest flavour difference here.
For the vanilla buttercream base:
- 250g (1 cup + 2 tablespoons) unsalted butter, room temperature
- 500g (4 cups) icing sugar, sifted
- 3 to 4 tablespoons whole milk or double cream
- 2 teaspoons vanilla extract
- 1 pinch of salt
For chocolate buttercream variation:
- 250g (1 cup + 2 tablespoons) unsalted butter, room temperature
- 400g (3¼ cups) icing sugar, sifted
- 60g (½ cup) cocoa powder, sifted
- 3 to 4 tablespoons whole milk or double cream
- 1 teaspoon vanilla extract
- 1 pinch of salt
Optional additions:
- 1 to 2 tablespoons double cream — for a richer, silkier texture
- Food colouring gel — added at the end for coloured frosting
- ½ teaspoon almond extract — instead of vanilla for a different flavour profile
How to Make It — Full Step-by-Step Process
Step One: Prepare the Butter Properly
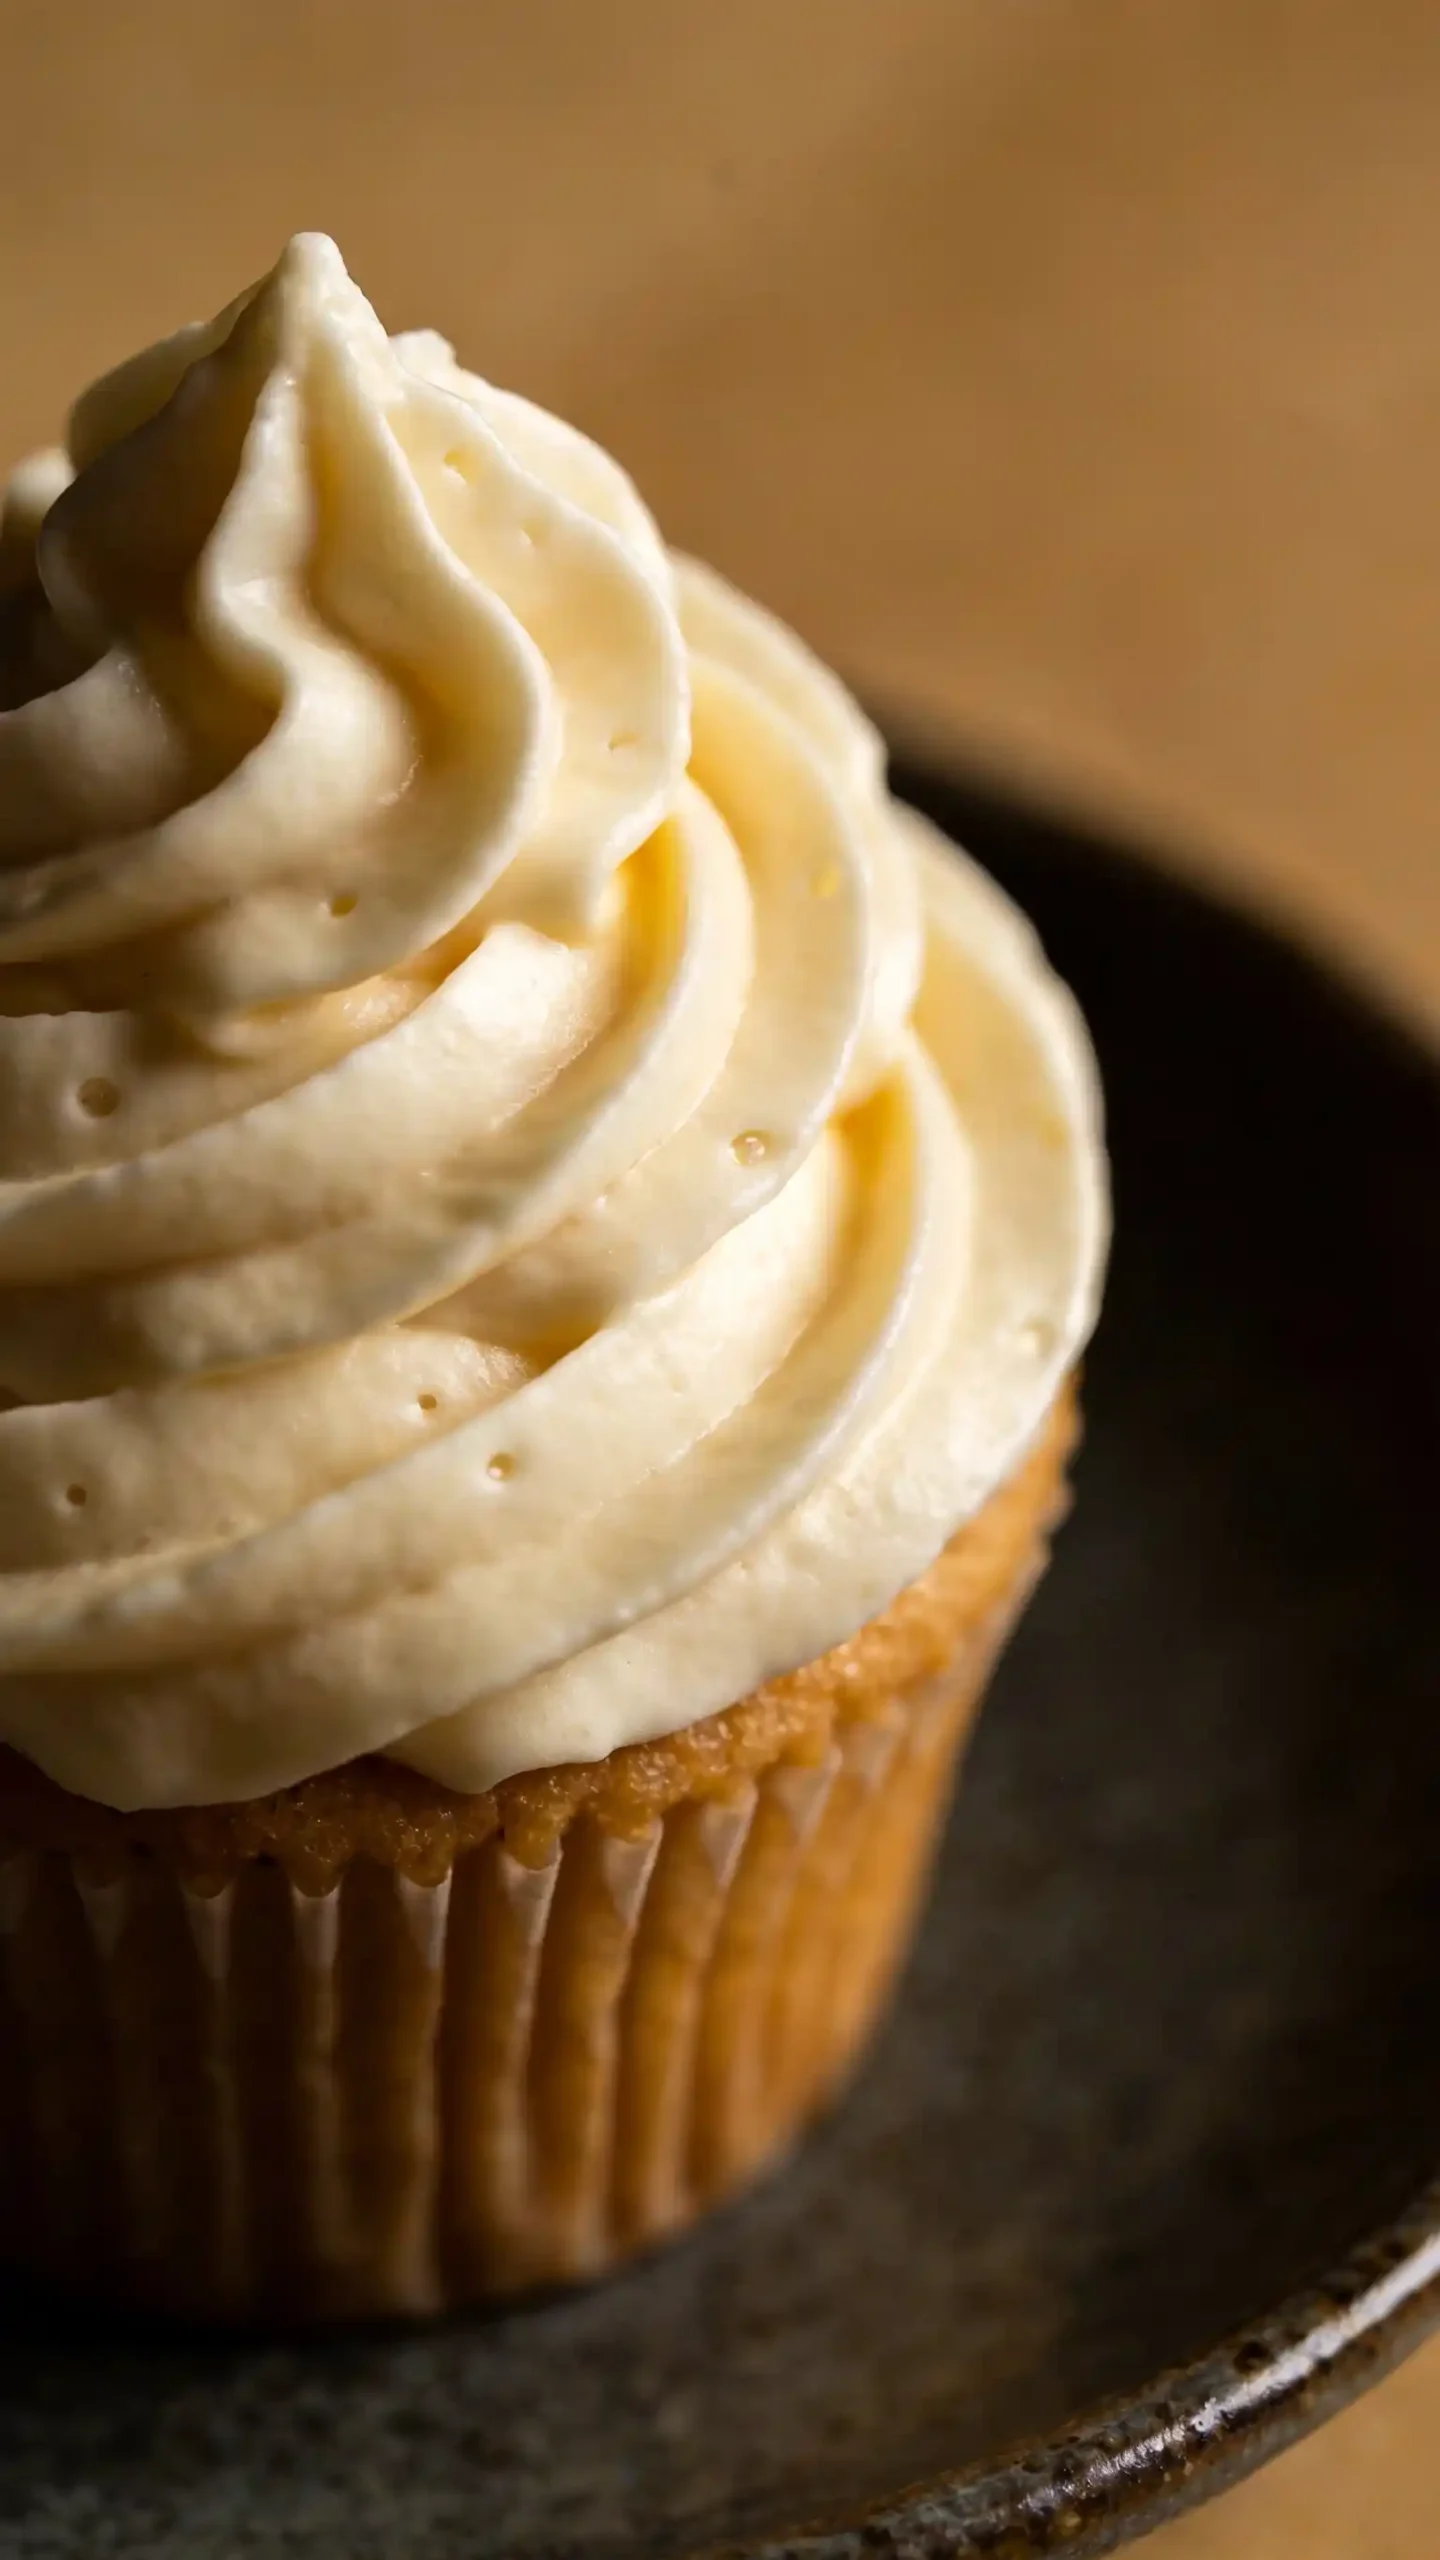
Take 250g of unsalted butter out of the fridge at least 60 minutes before you begin — this is the single most important preparation step in the entire recipe. Room temperature butter beats into a pale, fluffy, aerated base that incorporates the icing sugar smoothly and evenly. Cold butter stays dense and lumpy no matter how long you beat it, and the resulting frosting feels heavy and slightly greasy rather than light and creamy.
The butter is at the correct temperature when you press your finger into it and it leaves an indent easily without the butter feeling sticky, oily, or slimy. If the butter feels slippery or shiny on the surface, it has gone too warm and will produce a frosting that is too soft to pipe neatly. If this happens, place the butter in the fridge for 10 minutes and check again before proceeding. Getting the butter temperature right takes no active effort but makes a visible difference to the finished texture of the frosting.
Step Two: Beat the Butter Until Pale and Fluffy
Place the room temperature butter in a large mixing bowl and beat it alone using an electric hand mixer or stand mixer fitted with the paddle attachment on medium-high speed for a full 3 to 4 minutes. This step — beating the butter on its own before adding any sugar — is something most quick recipes skip, and it is the reason homemade buttercream so often tastes dense and heavy rather than genuinely light and fluffy.
Beating butter alone for 3 to 4 minutes incorporates air into the fat molecules and changes the colour of the butter from yellow to a noticeably paler, almost off-white shade. This colour change is your visual confirmation that enough air has been incorporated and the butter is ready for the sugar. Do not rush this step — 90 seconds of beating does not produce the same result as 3 full minutes, and the difference shows clearly in the finished frosting.
Step Three: Add the Icing Sugar Gradually
Sift 500g of icing sugar before adding it to the beaten butter — sifting removes the lumps that form in stored icing sugar and prevents them from appearing as gritty white specks in the finished frosting. Add the sifted icing sugar to the beaten butter in three or four separate additions rather than all at once. After each addition, start the mixer on the lowest speed setting to combine the sugar into the butter without sending a cloud of white powder across your entire kitchen — which will absolutely happen if you start on medium speed. :/
Once each addition of sugar is roughly incorporated and no longer flying around the bowl, increase the speed to medium and beat for 30 to 45 seconds before adding the next portion. After all the icing sugar has been added, beat the entire mixture on medium-high speed for 2 full minutes. The frosting will look stiff and slightly dry at this stage — this is completely normal and exactly what you want before adding the liquid.
Step Four: Add Milk, Vanilla, and Salt
Add 3 tablespoons of whole milk or double cream, 2 teaspoons of vanilla extract, and 1 pinch of salt to the stiff buttercream mixture. Beat on medium speed for 1 minute until the liquid is fully incorporated and the frosting loosens into a smooth, spreadable consistency. The milk adjusts the texture from stiff and dense to light and pipeable — add the fourth tablespoon if the frosting still feels too thick to pipe through a nozzle comfortably.
The salt is not optional flavouring — a single pinch of salt cuts through the sweetness of 500g of icing sugar and prevents the frosting from tasting one-dimensionally sugary. Without salt, even the best homemade vanilla buttercream frosting tastes flat and cloying. With it, the vanilla reads clearly, the butter flavour comes through, and the whole thing tastes balanced rather than just sweet. Beat the finished frosting on high speed for a final 30 seconds and it is ready to use immediately.
Step Five: Colour, Flavour, or Use Immediately
If you are using food colouring, add gel food colouring — not liquid — to the finished buttercream one small amount at a time and beat on low speed until the colour is evenly distributed throughout. Gel colouring produces vibrant, consistent colour without adding extra liquid that thins the frosting texture. Liquid food colouring adds water to the mixture and can make a stable buttercream frosting decorating cakes format too soft to pipe cleanly, particularly in warmer conditions.
If you are making the chocolate buttercream frosting recipe easy variation, add 60g of sifted cocoa powder alongside the icing sugar in the gradual addition stage. Cocoa powder is dry and absorbs liquid, so you will need the full 4 tablespoons of milk to achieve the right pipeable consistency. The finished chocolate version is richer, slightly denser, and works particularly well on vanilla sponge cakes where the contrast between the pale cake and dark frosting looks visually striking.
Why Room Temperature Butter Changes Everything
Have you ever made buttercream that looked smooth in the bowl but felt greasy and heavy on the cake? The problem is almost always the butter temperature — either too cold, too warm, or never properly beaten on its own before the sugar goes in.
Butter at exactly the right temperature — soft but not warm, pliable but not shiny — contains fat and water in the right balance to trap air during beating. That trapped air is what gives the best buttercream frosting for cakes its light, cloud-like texture rather than the dense, overly rich result that most people associate with homemade frosting. The temperature window is not complicated to hit — 60 minutes on the counter in a normal kitchen is almost always sufficient.
The same principle applies to the mixer speed. Starting on low speed before increasing to medium prevents both the icing sugar cloud problem and the risk of over-beating the butter into a broken, oily mixture. The creamy buttercream frosting for cupcakes format in particular benefits from this controlled approach because cupcake frosting needs to hold a piped shape for several hours rather than just being spread across a flat cake surface.
Getting the Piping Consistency Right
The optional extra tablespoon of double cream takes this from a standard easy buttercream icing from scratch result into something that pipes with noticeably more ease and produces cleaner, sharper definition through a piping nozzle.
Make the adjustment by adding double cream one teaspoon at a time after the frosting is fully made, beating briefly between each addition and checking the consistency by lifting the beaters — the frosting should form a peak that holds its shape without drooping. A peak that holds firmly and cleanly is the ideal piping consistency. A peak that droops slowly is workable for spreading but too soft for detailed piping. IMO, getting this consistency right takes one or two attempts but becomes second nature quickly, and it is completely worth the extra attention every time.
Common Mistakes to Avoid
Using cold butter: Cold butter does not beat into a fluffy base and produces a dense, heavy frosting that tastes more like sweetened butter than a light, airy simple buttercream frosting for piping. Always allow 60 minutes at room temperature before starting.
Adding all the icing sugar at once: Dumping 500g of icing sugar into the bowl at once creates both a mess and an uneven mixture that takes significantly longer to beat smooth. Add it gradually in three or four additions for the best result.
Skipping the initial butter-beating step: Beating butter alone for 3 to 4 minutes before adding sugar is what creates the pale, aerated base that makes the finished frosting genuinely light. Skipping it produces frosting that tastes fine but never achieves the right texture.
Using liquid food colouring: Liquid colouring adds water and thins the frosting. Use gel colouring exclusively — it delivers stronger colour with a fraction of the volume. FYI, most supermarkets stock gel food colouring in the baking aisle right next to the liquid version.
Over-beating after adding the milk: Once the milk is incorporated and the frosting reaches the right consistency, stop beating. Over-beaten buttercream can begin to separate and look slightly curdled, particularly in warm kitchens. Beat to the right consistency and use immediately or refrigerate.
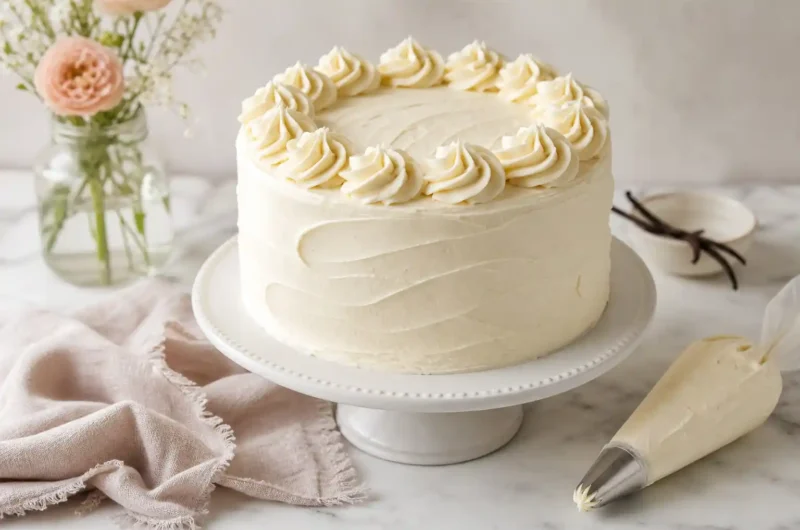
Fluffy Vanilla Buttercream That Pipes Perfectly Every Time
12
servings10
minutes10
minutesIngredients
Vanilla buttercream:
250g unsalted butter, room temperature
500g icing sugar, sifted
3 to 4 tablespoons whole milk or double cream
2 teaspoons vanilla extract
1 pinch of salt
Chocolate buttercream variation:
250g unsalted butter, room temperature
400g icing sugar, sifted
60g cocoa powder, sifted
3 to 4 tablespoons whole milk or double cream
1 teaspoon vanilla extract
1 pinch of salt
Optional:
1 to 2 tablespoons double cream for extra richness
Gel food colouring as needed
- Remove butter from fridge 60 minutes before starting and allow to reach room temperature
- Check butter is soft enough by pressing a finger in — it should indent easily without feeling oily
- Beat butter alone on medium-high speed for 3 to 4 minutes until pale and fluffy
- Sift icing sugar fully before adding to remove all lumps
- Add sifted icing sugar in three or four separate additions
- Start mixer on low speed after each addition to avoid a sugar cloud
- Increase to medium speed and beat for 30 to 45 seconds between each addition
- Beat the full mixture on medium-high for 2 minutes after all sugar is incorporated
- Add 3 tablespoons of milk, vanilla extract, and a pinch of salt
- Beat on medium speed for 1 minute until fully combined and smooth
- Check consistency by lifting beaters — frosting should hold a firm peak
- Add fourth tablespoon of milk if frosting feels too thick to pipe comfortably
- Beat on high speed for a final 30 seconds
- Add gel food colouring now if using and beat on low until evenly distributed
- Use immediately or refrigerate in an airtight container for up to 3 days
- Re-beat refrigerated frosting for 1 to 2 minutes before using to restore texture
FAQs
Q1: How far ahead can I make buttercream frosting? You can make this frosting up to 3 days ahead and store it in an airtight container in the fridge. Bring it back to room temperature for 30 to 45 minutes before using and beat briefly with the mixer to restore its light, pipeable texture. Buttercream also freezes well for up to 3 months — defrost overnight in the fridge and re-beat before using.
Q2: Why does my buttercream taste too sweet? Most buttercream tastes overly sweet because it lacks salt, uses too little butter relative to the sugar, or skips the vanilla extract. This recipe uses a higher butter-to-sugar ratio than many standard recipes, which produces a more balanced flavour. Adding an extra pinch of salt and a small squeeze of lemon juice can reduce sweetness without altering the texture.
Q3: Can I use salted butter instead of unsalted? Yes — salted butter works and actually reduces the need for the additional pinch of salt. However, salt levels vary between brands of salted butter, which makes it harder to control the final flavour consistently. Unsalted butter gives you precise control over the salt content, which is why most American buttercream frosting recipes specify it.
Wrapping It Up
This easy buttercream icing from scratch recipe delivers a genuinely light, pipeable, bakery-quality frosting from a 10-minute process. Beat room temperature butter alone until pale, add sifted icing sugar gradually, incorporate milk and vanilla, add salt, and beat to a smooth pipeable consistency. Those five steps produce a consistent, impressive result every single time.
Whether you pipe this onto cupcakes with a star nozzle, spread it thickly across a layer cake, make the chocolate variation for something richer, or tint it with gel colouring for a celebration — it consistently delivers the kind of frosting that makes people ask which bakery you ordered from. Now soften that butter and make something worth frosting.