Homemade ice cream always sounds like it requires a machine, perfect technique, and at least one dramatic failure before anything edible emerges. This coconut ice cream recipe homemade version requires none of those things. You need a blender, a freezer-safe container, and about 15 minutes of active effort. That is genuinely the whole equipment list.
This easy creamy coconut ice cream recipe uses full-fat coconut cream as the base — no dairy, no eggs, no churning — and produces a genuinely rich, smooth, scoopable ice cream that tastes tropical and clean without any compromise on texture. Whether you want a vegan coconut milk ice cream recipe or just the best-tasting ice cream you have made at home, this recipe delivers.
What You’ll Need (Ingredients)
Simple, clean, and entirely plant-based. Coconut cream quality determines the final result.
For base ice cream:
- 2 cans (800ml total) full-fat coconut cream — refrigerated overnight
- 80ml (1/3 cup) maple syrup or honey — adjust to taste
- 1.5 teaspoons vanilla extract
- 1/4 teaspoon salt
- 2 tablespoons coconut oil, melted and cooled
Optional flavour additions:
- 3 tablespoons toasted desiccated coconut — stirred in before freezing for texture
- 1 teaspoon lime zest — for a sharper, more tropical profile
- 2 tablespoons mango puree — swirled through before the final freeze
- 50g (1.75 oz) dark chocolate chips — stirred through for a chocolate chip variation
How to Make It — Full Step-by-Step Process
Step One: Refrigerate the Coconut Cream Overnight
Place both cans of full-fat coconut cream in the fridge the evening before you plan to make the ice cream. This overnight chilling is not a suggestion — it is the technical foundation of the entire no churn coconut ice cream easy recipe method.
Cold temperatures cause the fat and liquid components of coconut cream to separate. The thick, solidified white coconut fat rises to the top of the can and the watery coconut liquid sinks to the bottom. You need only the solid fat portion for this recipe — the liquid stays behind. Room temperature coconut cream has not separated and cannot be whipped to the volume and stability needed for a smooth, scoopable ice cream. Plan ahead and the rest of the process takes less than 15 minutes.
Step Two: Scoop Out the Solid Coconut Cream
Open both chilled cans without shaking them. The solid white coconut cream should be sitting in a thick layer at the top of each can. Use a large spoon to scoop only the solid cream into a large cold mixing bowl, leaving the watery liquid behind in the can.
Do not discard the leftover coconut liquid — save it in a jar in the fridge and add it to smoothies, curries, or porridge over the next few days. You should end up with approximately 400 to 450g of solid coconut cream across both cans. If the cream has not solidified fully even after overnight refrigeration, your coconut cream brand may contain stabilisers that prevent proper separation. Switch to a brand with coconut cream and water listed as the only ingredients for the best result.
Step Three: Whip the Coconut Cream
Add 80ml of maple syrup, 1.5 teaspoons of vanilla extract, 1/4 teaspoon of salt, and 2 tablespoons of cooled melted coconut oil to the bowl of solid coconut cream. The coconut oil adds extra fat that helps the finished ice cream freeze to a smoother, creamier consistency rather than an icy one.
Whip the mixture using a hand mixer or stand mixer on medium-high speed for 3 to 4 minutes until it looks thick, voluminous, and slightly pale. The coconut cream will not reach the same billowy peaks as dairy whipped cream, but it should look noticeably thicker and fluffier than the dense, solid state it started in. Taste at this stage — the sweetness and vanilla flavour should be pleasant but bold, because the freezing process dulls both sweetness and flavour intensity significantly. Adjust by adding an extra tablespoon of maple syrup if needed before proceeding.
Step Four: Add Any Flavour Additions
This is the stage where you personalise the ice cream. For a straight coconut vanilla ice cream recipe easy version, skip this step entirely and proceed to freezing. For the tropical coconut ice cream dessert style, add 1 teaspoon of lime zest and fold through gently with a spatula.
Now for toasted coconut texture, scatter 3 tablespoons of toasted desiccated coconut into the mixture and fold through. For the chocolate chip variation, stir in 50g of dark chocolate chips. For the mango version, transfer the mixture to the container first, then drop 2 tablespoons of mango puree across the surface and use a skewer to swirl it through in 3 to 4 passes without fully blending it in. The swirl creates pockets of mango flavour in the finished ice cream rather than a uniform mango-coconut blend.
Step Five: Transfer and Initial Freeze
Pour the whipped coconut cream mixture into a freezer-safe container — a standard 900ml loaf tin lined with parchment works brilliantly. The parchment makes it easy to lift the entire frozen block out of the tin for scooping or serving. Spread the mixture into an even layer using a spatula, smoothing the surface completely flat.
Cover the container tightly with cling film pressed directly onto the surface of the ice cream — not just stretched across the top of the tin. Direct contact between the cling film and the ice cream surface prevents ice crystals from forming on the top layer during the initial freeze, which produces a smoother, less icy texture throughout the finished scoop. Place in the freezer for 2 hours.
Step Six: Stir to Break Ice Crystals
After 2 hours, remove the partially frozen ice cream from the freezer. It should look firm around the edges with a softer, semi-liquid centre. Use a fork or spatula to stir vigorously from the edges toward the centre, breaking up any ice crystals that have begun forming and mixing the firmer outer portions back through the softer centre.
This mid-freeze stirring is the technique that replaces the churning function of an ice cream machine. Professional machines churn the ice cream continuously during freezing to break up forming crystals and incorporate air — producing the smooth, creamy texture associated with good ice cream. This manual stirring step achieves the same result at a fraction of the complexity. FYI — doing this stirring step at least once, and ideally twice at 2-hour intervals, produces a significantly smoother final texture than skipping it entirely.
Step Seven: Final Freeze and Serve
After stirring, smooth the surface flat again, press the cling film back down, and return the container to the freezer for a minimum of 3 more hours. For the best texture, freeze overnight. Remove the rich coconut cream ice cream homemade batch from the freezer 8 to 10 minutes before scooping — coconut-based ice creams freeze slightly harder than dairy versions because of the saturated fat content in coconut cream.
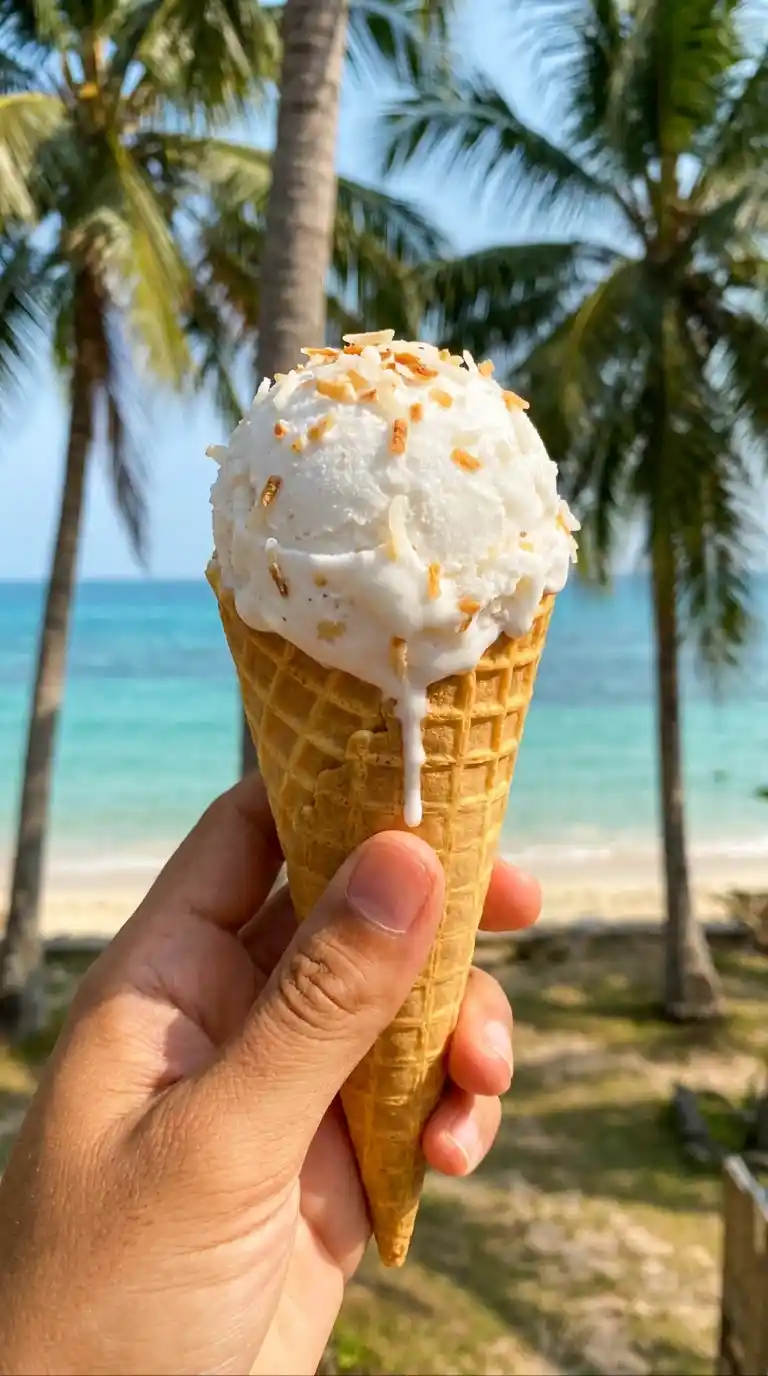
After 8 to 10 minutes, the ice cream will have softened enough to scoop cleanly. Use a warm ice cream scoop — run it under hot water and wipe dry — to produce clean, rounded scoops rather than broken, crumbled chunks. Serve immediately topped with toasted coconut flakes, a drizzle of mango puree, or a simple squeeze of fresh lime juice. The finished texture should feel dense, creamy, and melt slowly on the palate — exactly what this homemade frozen coconut dessert recipe is designed to deliver.
Why Full-Fat Coconut Cream Works Better Than Coconut Milk
Have you ever made coconut ice cream with coconut milk from a carton and wondered why it came out icy and hard rather than creamy and smooth? The fat content is the entire answer. Full-fat coconut cream contains 20 to 30 percent fat. Coconut milk contains 5 to 15 percent fat. Light coconut milk sits below 5 percent.
Ice cream texture comes almost entirely from fat content — fat disrupts ice crystal formation and produces the smooth, continuous texture that feels creamy rather than crunchy. Low-fat coconut milk produces a significantly icier result regardless of technique because there is simply not enough fat to prevent large ice crystal formation. Always use full-fat coconut cream from a can, and always refrigerate it overnight. 🙂
Sugar-Free Version
The healthy coconut ice cream sugar free version replaces maple syrup with 60ml of pure stevia liquid or 3 tablespoons of erythritol dissolved in 2 tablespoons of warm water before adding. The technique stays identical throughout — the sweetener substitute does not affect the whipping, freezing, or stirring process.
Erythritol produces a slightly cooler mouthfeel than sugar-based sweeteners, which some people notice and enjoy in ice cream specifically. Stevia liquid produces a clean, neutral sweetness without any noticeable flavour difference from sugar in a coconut base. Both options work reliably and produce a dairy free coconut ice cream recipe result with significantly lower sugar impact. IMO, erythritol gives the closest texture to the full-sugar version.
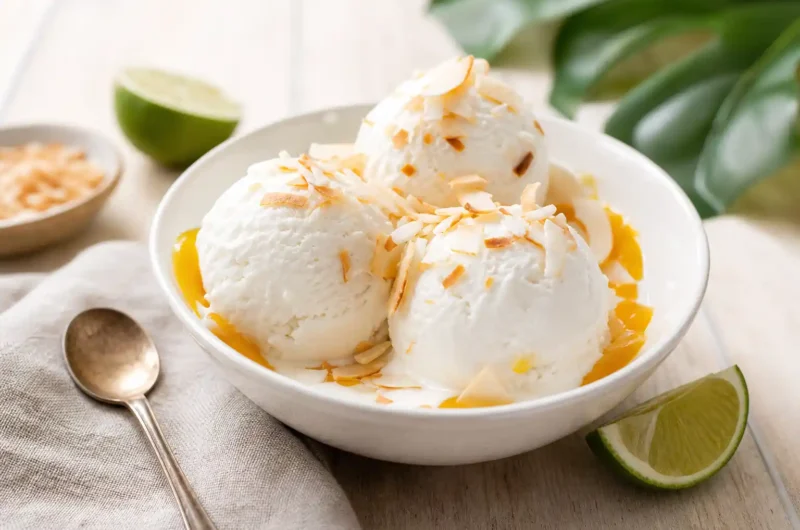
Healthy Sugar Free Coconut Ice Cream at Home Today
8
servings15
minutesThis no-churn coconut ice cream uses refrigerated full-fat coconut cream whipped with maple syrup and vanilla, then frozen with a mid-freeze stir to prevent ice crystals. Dairy free, vegan, and ready in 6 hours, it delivers a genuinely creamy, smooth, scoopable tropical dessert from the simplest possible ingredient list.
Ingredients
Base ice cream:
2 cans (800ml) full-fat coconut cream, refrigerated overnight
80ml maple syrup or honey
1.5 teaspoons vanilla extract
1/4 teaspoon salt
2 tablespoons coconut oil, melted and cooled
Optional additions:
3 tablespoons toasted desiccated coconut
1 teaspoon lime zest
2 tablespoons mango puree
50g dark chocolate chips
- Refrigerate both cans of full-fat coconut cream in the fridge the night before
- Open chilled cans without shaking and scoop only the solid white cream into a cold bowl
- Reserve the leftover coconut liquid for another use
- Add maple syrup, vanilla extract, salt, and cooled melted coconut oil to the bowl
- Whip on medium-high speed for 3 to 4 minutes until thick and slightly fluffy
- Taste and adjust sweetness with extra maple syrup if needed
- Fold through any flavour additions — toasted coconut, lime zest, or chocolate chips
- Pour mixture into a parchment-lined loaf tin and smooth the surface flat
- Press cling film directly onto the surface of the ice cream
- Freeze for 2 hours then remove and stir vigorously from edges toward the centre
- Break up any forming ice crystals and mix outer frozen portions through the softer centre
- Smooth the surface flat again and press cling film back down
- Return to freezer for a minimum of 3 more hours or overnight
- Remove from freezer 8 to 10 minutes before serving to soften slightly
- Scoop using a warm ice cream scoop and serve immediately
Common Mistakes to Avoid
Not refrigerating overnight: Room temperature coconut cream does not separate or whip properly. The overnight chill is non-negotiable for both the separation and the whipping steps.
Using light coconut milk: Insufficient fat content produces icy rather than creamy results. Always use full-fat coconut cream specifically from a can — not coconut milk, not drinking coconut milk, not reduced-fat versions.
Skipping the mid-freeze stir: Without at least one mid-freeze stir, large ice crystals develop throughout the mixture and produce a crunchy, icy texture rather than a smooth, creamy one. :/
Scooping straight from the freezer: Coconut ice cream freezes firmer than dairy ice cream. Always rest for 8 to 10 minutes at room temperature before scooping — otherwise you get broken chunks instead of clean rounded scoops.
FAQs
Q1: Can I make this without any sweetener?
Yes — the coconut cream alone has a mild natural sweetness. Unsweetened coconut ice cream tastes pleasant but noticeably less dessert-like than the sweetened version. If you want minimal sweetener, start with 2 tablespoons of maple syrup, taste before freezing, and add more only if needed. The sweetness should taste slightly stronger than your preference at the liquid stage because freezing reduces the perceived intensity.
Q2: How long does homemade coconut ice cream keep?
Stored well covered in the freezer, this ice cream keeps for up to 2 weeks. After 2 weeks, ice crystal formation becomes progressively more noticeable and the texture deteriorates. Press cling film directly onto the surface before each storage session to minimise ice crystal development during extended freezing. Consume within 10 days for the best texture and flavour.
Q3: Can I use an ice cream machine with this recipe?
Yes — if you own an ice cream machine, churn the whipped coconut cream mixture according to your machine’s instructions rather than following the freeze-and-stir method. Machine churning produces an even smoother, softer result than the manual method. Transfer to a container and freeze for 2 hours after churning to firm to scoopable consistency.
Wrapping It Up
This coconut ice cream recipe homemade version delivers genuinely creamy, scoopable results without an ice cream machine using just refrigerated coconut cream, maple syrup, vanilla, and 15 minutes of effort. Refrigerate the coconut cream overnight, whip thoroughly, freeze for 2 hours, stir to break crystals, then freeze for 3 more hours. Those five steps produce a perfect result every time.
Whether you make the classic vanilla version, the mango swirl, or the chocolate chip variation, this recipe consistently impresses. Now put those coconut cream cans in the fridge tonight and make the best ice cream your freezer has ever produced.